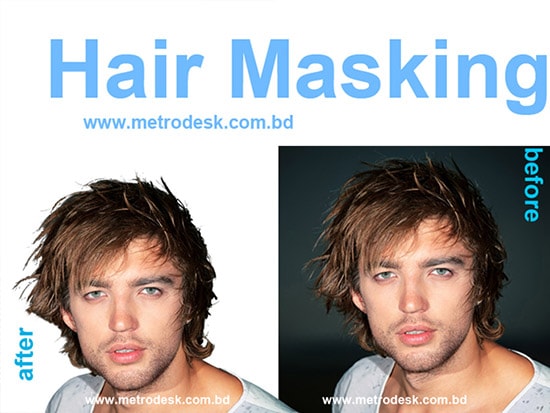
Hair Masking in Photoshop
Here, you will learn on how to mask hair in Photoshop. I hope it will help you both the beginner and advanced level of students in a great deal.
Open an image under a background. Create a new layer. Go to Channels and select the one which has most contrast. It should be ‘Blue.’ Duplicate the blue channel. Make sure only ‘Blue Copy’ channel is visible. Hit Ctrl + I to inverse. Adjust the levels and make the areas dark around it. Click Ctrl + L to bring out the levels and increase it from the left side. Select ‘Burn Tool’ from the toolbar. Make sure the range is selected on ‘Shadows.’ With this burn tool, remove the white areas that are around the image. Select ‘Polygenic Lasso Tool’ and select specific area. Make sure the foreground color is white and background color is also white. Click Ctrl + Delete. Hit Ctrl + D, to de-select. Select ‘Dodge Tool’ and dodge the whole image. Make sure the range is selected as ‘Highlight.’ Go back to channels and select ‘RGB’ and select every channel except ‘Blue Copy.’ Go to Select> Load Selection and select the channel that you are working on (here it is blue copy) from above toolbar. With Layer 1 selected, go to select mask and close the eye of the background.
You will need another image for this task. It should be of a background. Bring that image under the masking layer. You will see some white around the hair. Duplicate the masking layer but close an eye of this layer. With the original masking layer is selected, change the blending mode from normal to multiply. Open an eye that of a copy of masking layer and delete the layer mask. You must use refine edge on this layer. To do that, you need to go to default masking layer and hold Ctrl key. It will select the selected areas. Go to Select> Refine Edge from the above toolbar to select the refine edge and lower down the shift edge. If it still does not remove the white color in the hair, increase the feather and smooth. Now, go on the top layer and click on ‘Mask.’ Select adjustment layer and change the blending mode from ‘Normal’ to ‘Soft Light.’ In the adjustment panel, click on colorize if the background is colorful. Make some adjustment that requires to match with the background. That sums up the whole process.
I hope that it will help you and from now on, hopefully you will create lot more masking in the hair in Photoshop and be an expert in this field in the future.
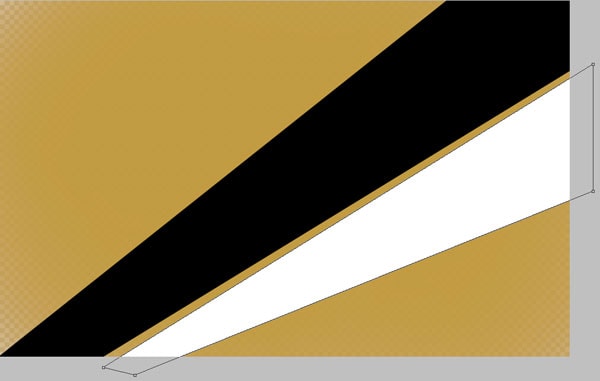
In this tutorial, you will learn on you how to create a colorful abstract vector background in Photoshop using gradients, brushes and Curves adjustment layer. Start working by creating a new document in Adobe Photoshop CS5 with the size 1920 … Continue reading How to Create a Colorful Abstract Vector Background using Photoshop
Read More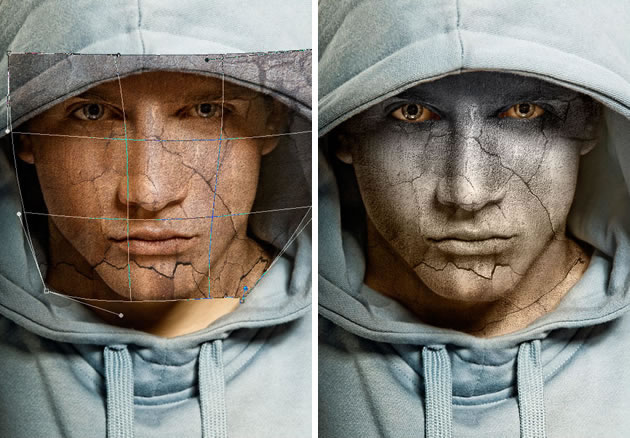
Here, you will learn how to photo edit and turn a portrait into a sculpture in Photoshop. This will help the both beginner and advanced level of students in a great details. At first, open … Continue reading How to Turn a Portrait into a Sculpture in Photoshop
Read More