Tricks and Tips while Clipping Path on Images
Photoshop is very popular software, mainly used for photo editing. Clipping Path is done to use it in a different way for a better effect.
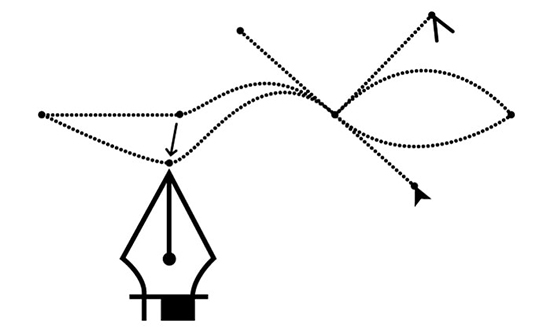
Photo Courtesy – Photoshop Pen Tool
Images are clipped to isolate them from the unwanted background or to enhance the image. This way, the shadow accompanying the product can be omitted. There are other various other tools and shortcuts through which similar effect can be achieved like the background eraser tool, magic wand tool to delete the background, magnetic lasso tool, etc. However, none of these are done using the pen tool. It is done manually. The following steps can be followed for clipping images. Open the desired file to be worked upon. Select the ‘Pen Tool’ from the tools menu of the toolbar. Make sure that “Path” option is selected in the pen tool menu.
Magnify the image for ease and better selection. The distance between two points should be kept small while doing the path. Now, go to the layers window and find ‘Path’ tab on it. Double click on the “work path” to save the path and the name will automatically be changed to ‘Path -1.’ The file can now be saved in .psd or .tiff format, to be used later. The ensuing image will be free of any background. Clipping images are used by organizations and individuals involved in the business of advertising, graphics, design, e-commerce and photography to name a few. Using the pen tool not only ensures high quality results, it is also a trouble free method as compared to other tools and shortcuts that cuts down on a lot of time.

Working with tabbed documents Let’s open three individual images in Photoshop. As you will see the three image will open in three different tabs. You can do it by dragging the selected three images from … Continue reading Photoshop Tips: Tweaking Your Documents Right
Read More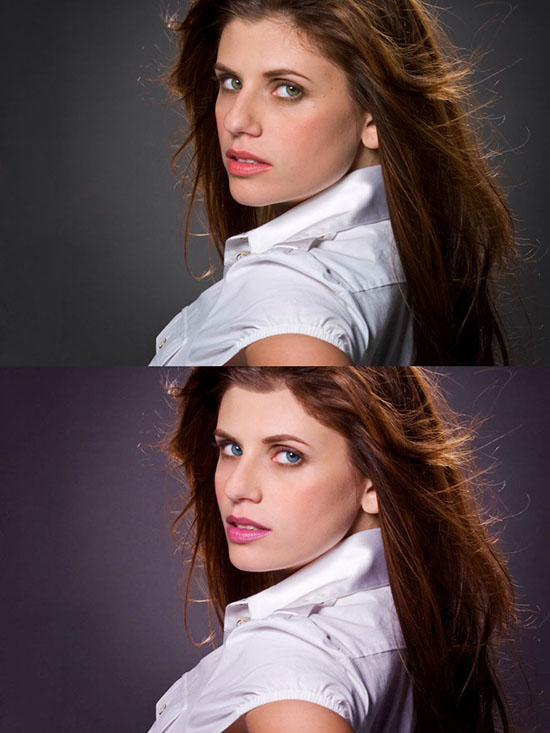
These are the fantastic examples of face and face-flow photo retouching. The person who retouch the photo has used different graphic tools to make the photo shinny and beautiful. You can feel the difference before … Continue reading About “Face-flow Retouching”
Read More