How to Use the Quick Mask Tool in Photoshop
Quick Mask is often ignored by Photoshop users. However, it can be really useful to control complex selections, quickly remove background from objects and more. Here, you will learn on how to use the quick mask tool in Photoshop. Keep in mind that this tool is built to improve the other tools and not to be used as a stand-alone function.
Photo Courtesy : http://www.webdesign.org/
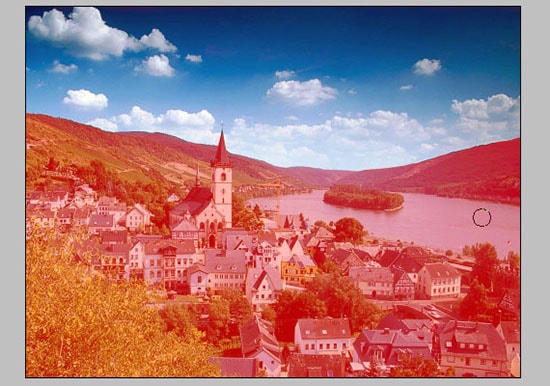
At first, open a random landscape image to work on. Let’s say you want to remove the sky to add a dramatic, cloudy one. How do you select it? For that to happen, go to Select > Color range. Click the sky, hold the SHIFT key and click also on the clouds. Adjust the Fuzziness a bit to make the selection more precise. Hit OK. If you see that the Color range does not make a perfect selection then you need to twist it a bit.
Enter Quick Mask, grab the Brush Tool and paint over the areas that are not covered with red. Use the Eraser Tool and erase the red areas on the clouds and sky. Exit Quick Mask after that. Now, you will see that the selection is cleaner than before. Select the Rectangular Marquee Tool, right-click inside the selection and click Layer via Copy. You can use this as a clipping mask for the sky you want to add later.
That ends the process. Hopefully, this will help you photo edit and use the quick mask tool in a better way. This technique is useful for high quality images and works better if the image has high contrasts. Your turn now!
Done with how to use the quick mask tool in Photoshop? You can go and check about “Getting to Know about Advanced Masking in Photoshop.”
In this tutorial, you will learn on how to ‘Whitening the teeth’ of images in Photoshop. I believe that it would be very helpful for beginner level of students in Photoshop. Photo Courtesy – https://www.joyus.com/ At … Continue reading How to "Whitening the Teeth" in Photoshop
Read More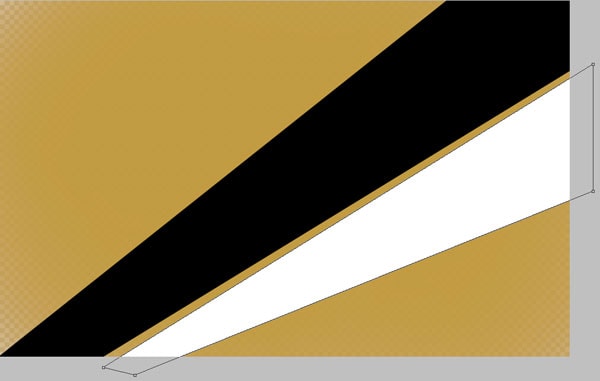
In this tutorial, you will learn on you how to create a colorful abstract vector background in Photoshop using gradients, brushes and Curves adjustment layer. Start working by creating a new document in Adobe Photoshop CS5 with the size 1920 … Continue reading How to Create a Colorful Abstract Vector Background using Photoshop
Read More