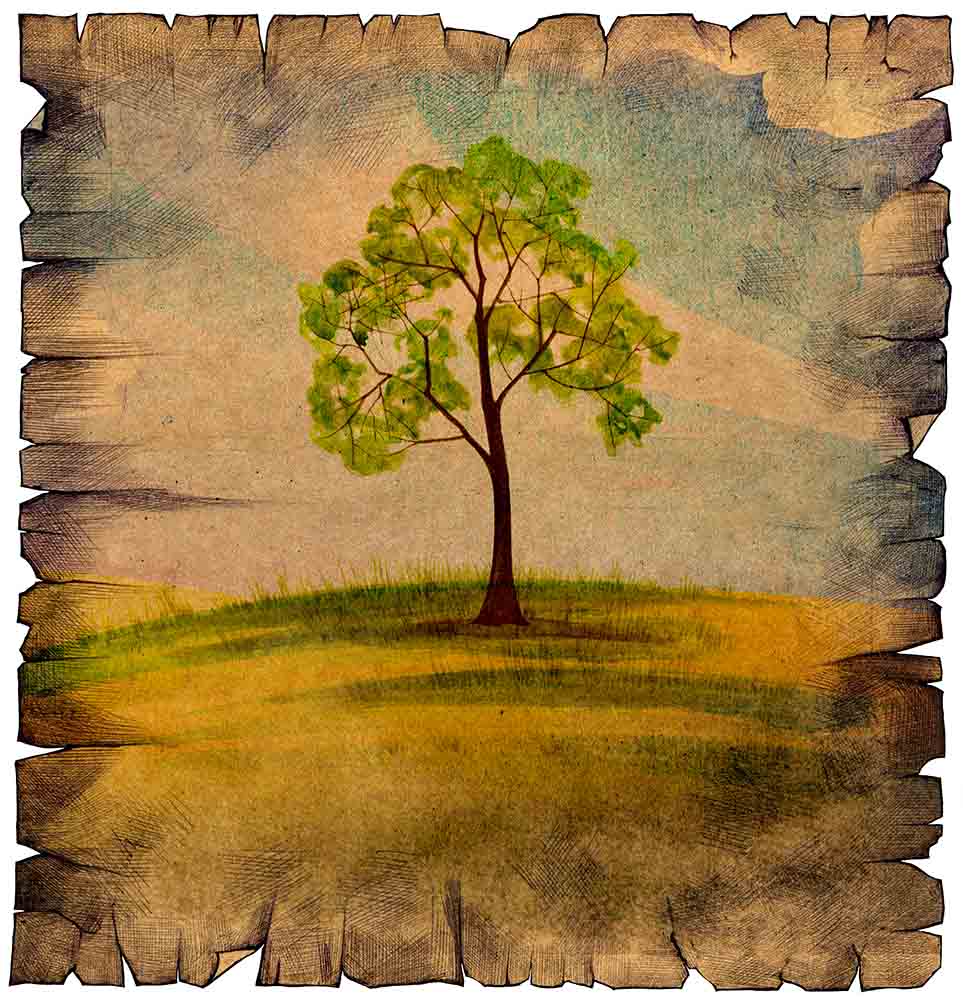
How to Create a Nature Poster in Photoshop
Here, you will learn on ‘how to create a nature poster in Photoshop.’ At this juncture, we will be creating a nature poster using stock images and brushes.
Create a new document of 800×1200 px at 72 dpi in RGB color mode. Grab the ‘Paint Bucket Tool’ and fill the layer with pure white. Open the ‘paper texture’ image. Select all, copy and paste it in our drawing. Go to Edit > Free Transform, hold the Alt+Shift keys and click-drag one of the corners to re-size it. Make it fit to the canvas. Then hit Enter. Open the layers palette and set Opacity to 45%. Grab the ‘Dodge tool,’ set it to Shadows at 17% Exposure and lighten the dark areas.
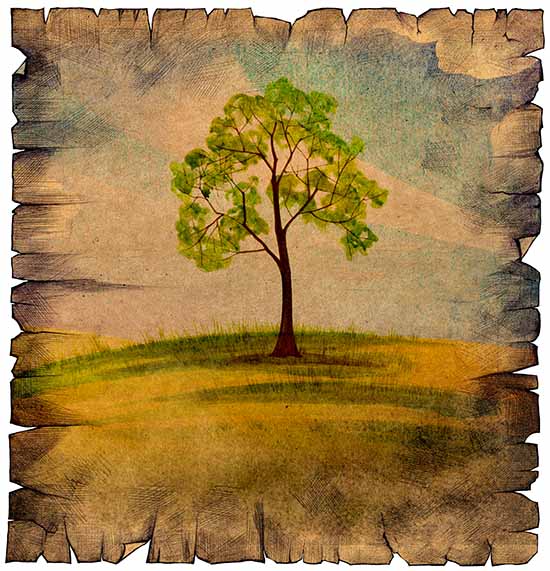
Go to Layer> Duplicate Layer. Go to Image> Adjustments> De-saturate. Set blending mode to ‘Hard Light’ and Opacity to 18%. This will strengthen the small mid-tones. Duplicate the layer again and set layer blending mode to ‘Overlay’ at 100% Opacity. This will enhance the small highlights on the paper texture. Select the top-most layer in the layers palette and click the ‘New Layer Group’ button. Name it as background. Select all layers and drag them in the layer group. Open the picture of a tree and extract it. Since the dominant color is green, try exploiting the “Green” Channel. Select all layers and drag them on the “New Layer” button. Then, Merge all Layers. Go to Filter > Other > High Pass. Set it to 1.5 px. Hit OK. Set blending mode to ‘Overlay’ and Opacity to 75%. That ends the whole process!
I hope this tutorial has helped you get the idea of ‘how to create a nature poster in Photoshop.’ Hopefully, you can now do it on your own with confidence in the future.
In this tutorial, you will learn on how to ‘Whitening the teeth’ of images in Photoshop. I believe that it would be very helpful for beginner level of students in Photoshop. Photo Courtesy – https://www.joyus.com/ At … Continue reading How to "Whitening the Teeth" in Photoshop
Read More
Here, you will get to know about how to create drop shadow effect that look realistic using Photoshop. At first, open the image that you want to work with. Before we can add a shadow … Continue reading How to Create Realistic Drop Shadow Effect in Photoshop
Read More