How to Use Ring Light Reflection Effects in Photoshop
Here, you will learn on how to use ring light reflection effects in Photoshop. I hope it will help you both the beginner and advanced level of students in a great deal.
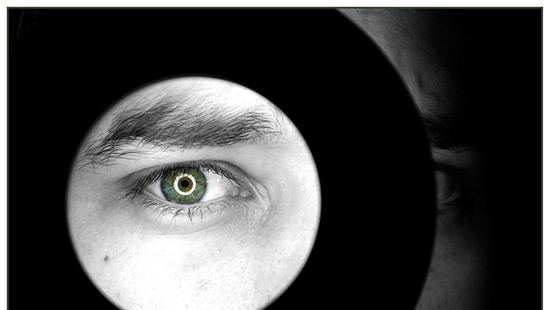
First thing that you need to do is that of shaping. It can be done through ‘Custom Shape Tool.’ A shape that of a ‘Donut’ is perfect but if unavailable, select all under the flyer menu and you will have it down under. Hold down the shift key and drag it out on the document. It should be in the pupil. Set the fill to pure white. To add glow on the shape, double click on the layer and select outer glow. Set the color to pure white, blending mode to color dodge, opacity in around 60 percent and adjust other tools by your choice. Now, to soften up a bit, add strokes and set the size to 1, position to center and color to medium gray. To duplicate it onto the other eye, hold ALT key and drag it to the other side. Now, add a layer mask in the layer panel and with the black brush which hardness is around 60 percent brush the top of the reflection to remove it from the eye. Lastly, to complete the effect, select both layers and decrease the opacity in around 85 percent so that it shows the reflection s too overwhelming. That sums up the whole process.
I hope that it will help you and from now on, hopefully you will create more and more ring light reflection effect images like this and be an expert in this field in the future.


