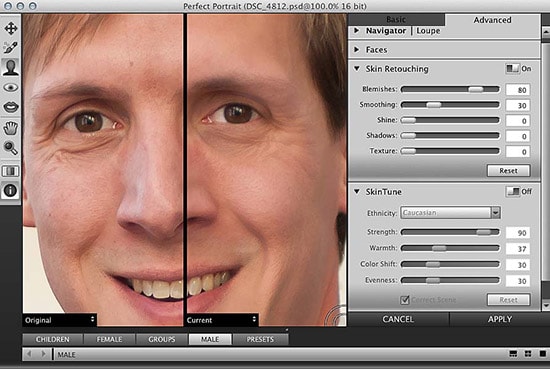
Retouching Shiny Skin Portraits using Photoshop
Gradually, it is becoming common practice to retouch the flaws and spots that are found on the faces and skins of everyone. However, it is sometimes easy to get carried away in editing and the subject may begin to look plastic and hardly be similar to their actual look. Here, you will learn on how to edit portraits and also to help the tone down shiny skin to make a portrait look right.

Photo Courtesy – http://www.adobepress.com/
After you make your initial corrections, such as cloning out stray hairs and removing any minor blemishes, you may move into more advanced editing techniques. If it does not drastically change the look of the subject, you may need to work on it more. The simple method was used only to fix color imbalances and unattractive reflections of light.You can see the redness and shine on the skin is distracting and does not do much to portray the subject in the most favorable way. After just a few minutes of editing and making adjustments in Photoshop, you will be able to enhance the portrait and give it a much more pleasing feel. Use Spot Healing tool, make some adjustments on Hue/Saturation/Color Correction, Frequency Separation, Re-Coloring, Texture Dodging and burning to make the image more realistic.
When it comes to portraits retouching, less really is more in most cases. It becomes evident in the work you do thus far. After finishing the job, the final portrait is balanced and true on the subject and the photographer also did not have to spend too much time making it that way.


