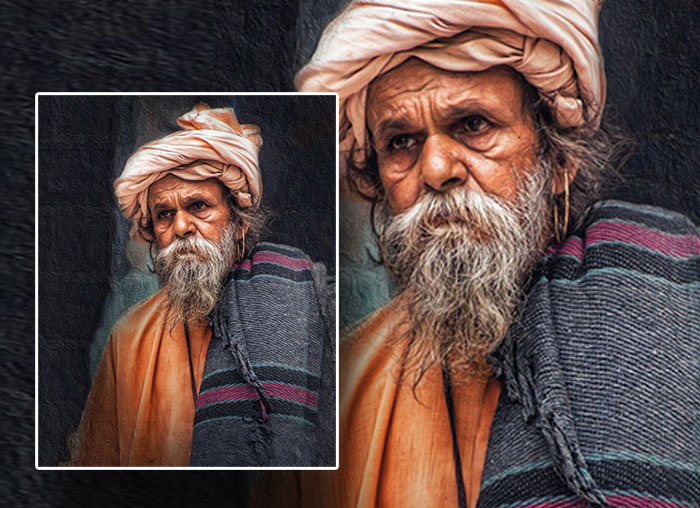
Image Size-Resize your image on Photoshop
When a Photographer takes a photo it’s normally comes in raw format. The initial photo is big in size. To share it easily on the web or via email it is a good idea to resizing an image from its original size. This can be easily achieved in Photoshop.
However, when you change any image in Photoshop it resamples the image. Put it simply, it is the process of decreasing or increasing the number of pixels in an image. This will affect the display and print size of your image. Thus it will produce a result with decrease in image quality when you shrink the photo. Although,it will not be visible without further zooming in. In this tutorial for beginner follow the easy to follow instruction and learn to resize your image for the very first time. Without much ado let’s dive in to learn it in simple way.

1. Click Image.
2. Click Image Size.

A The Image Size dialog box opens, listing the height and width of the image.
3. Make sure Resample Image is selected (changes to) to change the number of pixels in the image. Changing the number of pixels changes the Photos size.

4. Type a size for a dimension.
B. To resize by a certain percentage, click here ( ) to change the units to percent.
Changing the units of one menu automatically changes the units of the other.
C. Click the Constrain Proportions check box (changes to ), if it is not already selected, to force the other dimension to change proportionally.
D. You can restore the original dialog box settings by pressing and holding (Option on a Mac) and then clicking Cancel, which changes to Reset.
5. Click OK and Photoshop resizes the image.
This is the tutorial for you on how to change the size of an image on Photoshop
TIP
- To transfer the Photos via email make sure to zip it to protect it from any distortion.
- It is a good rule of thumb to follow the preferred guidelines of notable site like Amazon or eBay to resize your product photos.
- Measure width and height in pixels for images you plan to use online or in inches (or centimeters) for images to print.
To manually resize the image, Click the image or Layer then Ctrl + T (for PC) then click and hold the corners (Hold Shift to keep proportion, Hold Ctrl to Distort the image).
Did you know?
If you take off the (deselect) constrain proportion option and then you type in let’s say 850 and then you type in your own dimensions let’s say you typed in 350 and select ok. It won’t look right because the image is not being constrained the way it should be. See it for yourself.
To enhance your skill you can check out the following links:
How to Resize an Image in Adobe Photoshop
How to Properly Resize Images in Photoshop
If you need professional image resizing service, you can try Resize service by ImageEditing here: Image Resize by ImageEditing
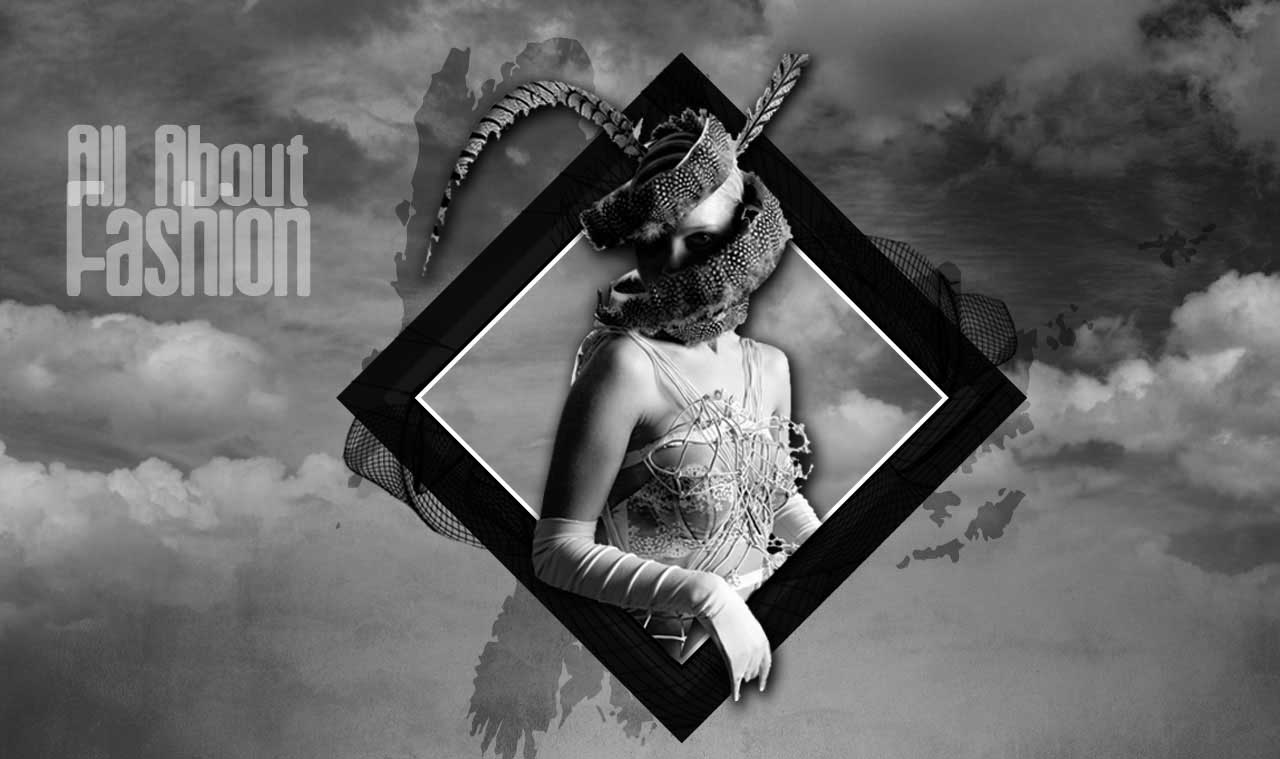
Today you will learn how to create a fashion poster in Photoshop. The techniques that will cover here include creating a collage of photos and applying simple layer adjustment. You will need an image of … Continue reading How to Create a Fashion Poster in Photoshop
Read More
In this tutorial, you will learn on how to remove the background of a product through Photoshop. I hope that it will help the beginner level of Photoshop users especially in a great deal. Picture before and … Continue reading Background Removal of a Product in Photoshop
Read More