How to Make a Stone Statue in Photoshop
Here, you will learn on how to make a stone statue in Photoshop. I hope it will help you both the beginner level of students in a great deal.
Photo Courtesy – http://www.ehow.co.uk/
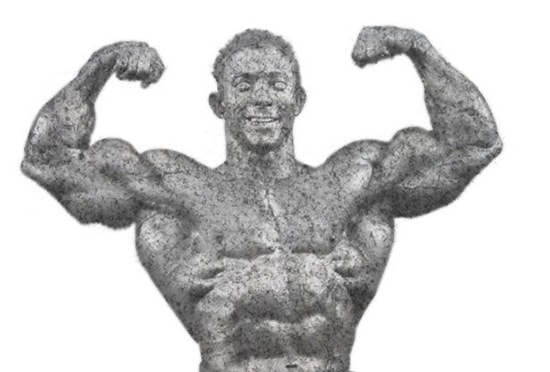
Select two images whereas one will be an image of a person and one that of an image of a stone. At first, open an image of a person which will be the background layer. Press Ctrl + Shift + U to de-saturate the image. It is time to displace the stone texture. Duplicate the layer which will be now called as Layer 1. Select document as ‘New.’ Name it as ‘Displacement.’ Select the image of a stone by going there with clicking Ctrl + A and click Ctrl + C to copy it. Now, press Ctrl + V to the background layer where the image of a person exists. Go to Filter> Distort> Displace from the above toolbar. Displace the horizontal and vertical scale to 5, displacement map to ‘Stretch to Fit’ and undefined areas to ‘Repeat Edge Pixels.’ Click on Layer 1 and then click on ‘Layer Mask’ button which will create a layer mask onto the layer 2 which is the stone texture. Click on the texture and change the blend mode from normal to multiply. Press Ctrl + L to open a level window and reduce the level from the right side where the black ends. Select the layer 1 which is the figure itself and do the same. This will sum up the whole process. The statue looks perfect after that.
I hope that it will help you and from now on, hopefully you will follow this procedure more often in Photoshop and be an expert in this field in the future.
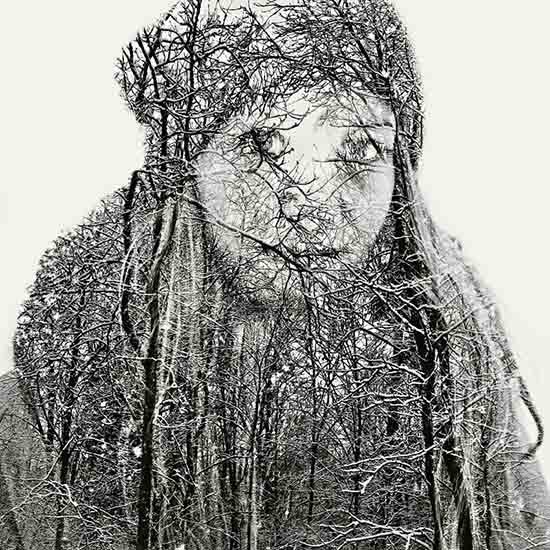
Here, you will learn on how to create a double exposure effects with photo edit in Photoshop. I hope it will help you both the beginner and advanced level of students in a great deal. … Continue reading How to Create a Double Exposure Effect in Photoshop
Read More
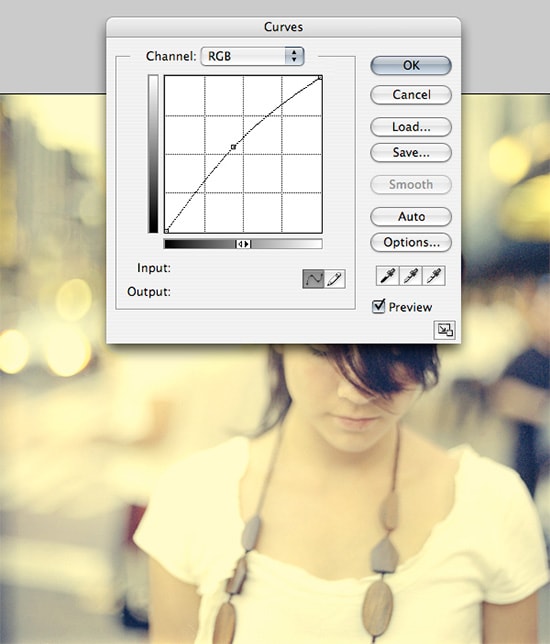
Here, you will learn on how to create glow effect wallpaper in Photoshop. I hope it will help you both the beginner and advanced level of students in a great deal. Set black layer and … Continue reading How to Create Glow Effect Wallpaper in Photoshop
Read More