
How to Create Glow Effect Wallpaper in Photoshop
Here, you will learn on how to create glow effect wallpaper in Photoshop. I hope it will help you both the beginner and advanced level of students in a great deal.
Set black layer and create new layer and rename it as abstract glow. Create a new layer. Click brush tool from the toolbar and choose the size that you want. Select colors and paint it in different colors in the foreground. Create another new layer. Set black and white color. Go to Filter> Render> Clouds. Change the blending mode from ‘normal’ to ‘overlay.’ Create another new layer. Stop the eye of those layers to become visible. Select brush tool and choose ‘Round Point Stiff’ and set small size. Click pen tool and create ‘S’ shape design. Then, right click and click ‘Stroke Path.’ Check ‘Similate Pressure.’ Right click and delete path. Duplicate the layer few times to make it better. After that, press Ctrl + click those layers.
Photo Courtesy – https://richbugger.wordpress.com/
Right click and then merge layers. Create another new layer. Select brush tool and choose ‘Soft Round’int Stiff’ and set big size. Click one of the selection tools, right click and lastly select ‘free transform.’ Make the line after that. Go to Filter> Distort> Twirls. Set the angle around 450. Duplicate the layer few times to make it better and then merge layers. Press Ctrl + click those two layers. Right click and then merge layers. Duplicate the layer. Click move tool and move it a little. Set the opacity to 15-20 percent. Duplicate primary layer with pattern. Go to Filter> Blur> Gaussian Blur. Make it little blurry. Duplicate it. Press Ctrl + click those Gaussian layers and then merge layers. Press Ctrl and click on primary layer thumbnail to make selection. Go to gradient and select gradient colors and styles. Make it little blurry using ‘Gaussian Blur.’ Create new layer. Go to ‘Solid Color’ and fill it with black. Set ‘Soft Layer’ in the blending mode for the layer. Go to Filter> Render> Lens Flare. Set ‘Movie Prime.’ Increase the brightness. Create new layer. Click brush tool and select ‘Star Brush.’ If you do not have it, select other brush. Toggle the brush panel and select ‘Scattering.’ Add some stars. Duplicate the layer and make it little blurry. That sums up the whole process.
I hope that it will help you and from now on, hopefully you will create more and more glow effect wallpaper like this and be an expert in this field in the future.
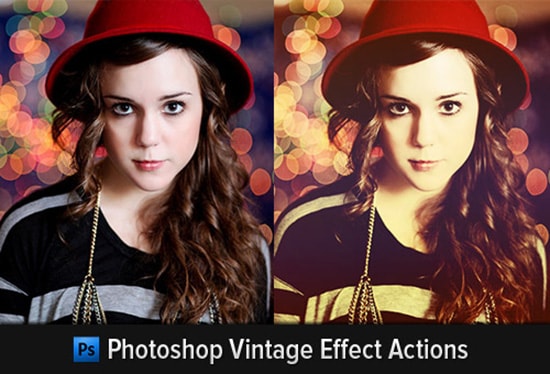
Here, you will learn on how to create vintage retro effect with some photo edit on an image in Photoshop. I hope it will help you both the beginner and advanced level of students in … Continue reading How to Create Vintage Retro Effect on an Image in Photoshop
Read More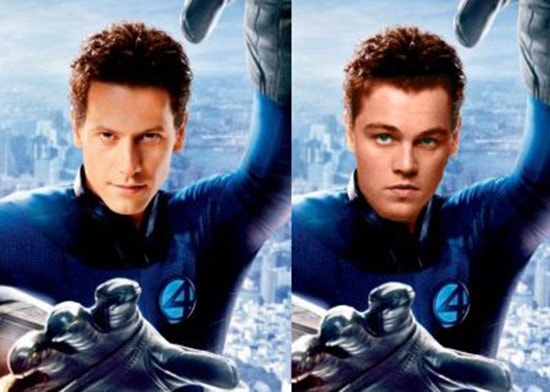
Here, you will learn on how to replace face in Photoshop. I hope it will help you both the beginner and advanced level of students in a great deal. Photo Courtesy – https://www.fiverr.com/ You will need … Continue reading How to Replace Face in Photoshop
Read More