How to do a ‘Watercolor effect on Photoshop’

In this tutorial, you will learn on ‘Watercolor effect on Photoshop.’ I believe that it would be very helpful for both beginner and advanced level of students in Photoshop.
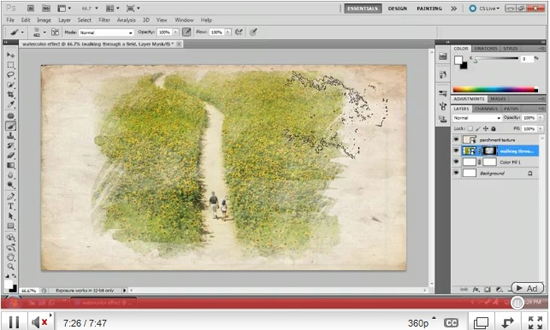
At first, choose the canvas size of the image that we want to work with. Select the canvas size to 1920 at width and height to 1200. Make the canvas to a white background. Then, select the image that you want to work with. Copy the image and link the image description that you always need to do and paste it to the canvas. Place it to the bottom right of the canvas. Press Ctrl + T. Hold the shift key and drag the image to fit it to the canvas. Make some necessary adjustments of the image in brightness and contrast sections. Make a layer and then duplicate the layer as well. Next, we need to go to filter toolbar, artistic and watercolor gradually. Make adjustments of watercolor section as well for the image. We keep the first layer just like it was earlier. We move on to next or second layer and go to image, adjustments and threshold chronologically and change the threshold layer by your choice which obviously best suit for your image. That sums up the whole process.


