How to Curve a Face into a Mountain using Photoshop
This tutorial is about how to carve a face into a mountain using adobe Photoshop CS6. I hope it will help you both the beginner and advanced level of students in a great deal.
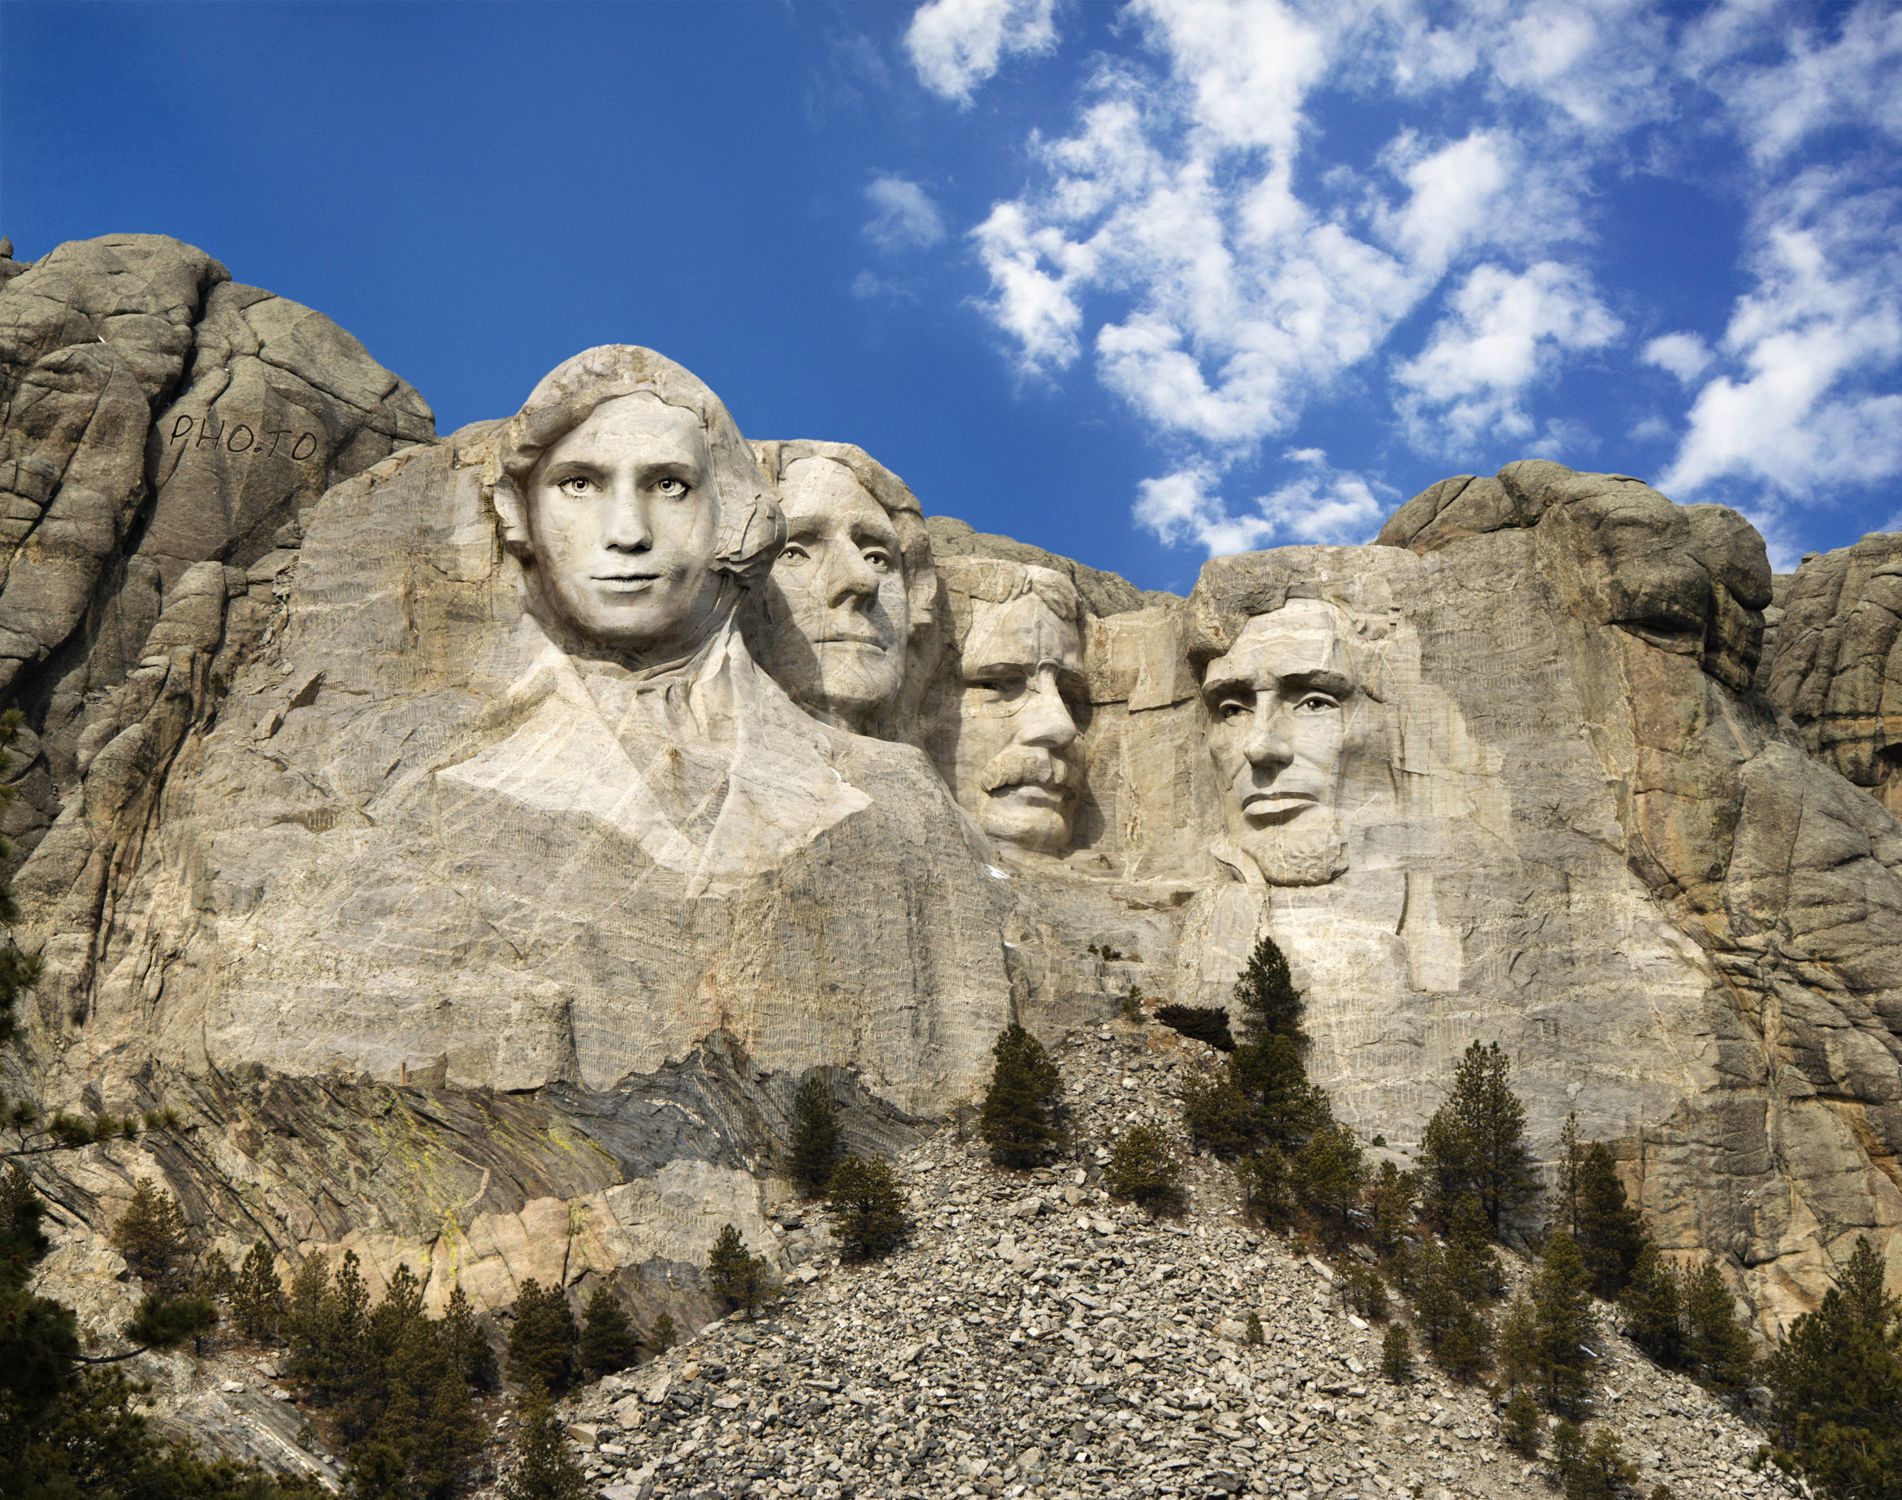
You will need an image of a mountain to proceed. Open a photo of a face that you would like to use. Choose the picture that has lit mainly from one side so that it casts shadow on the face. You can adjust its brightness or contrast by clicking Ctrl + Alt + L to invoke auto levels. Try to see which one looks best to you. If the photo is in color, then press Ctrl + Shift + U to de-saturate it. We need to make a selection around the face so that we can use it to cut it out from its background. Lets use ‘Magnetic Lasso Tool.’ Select the width, contrast and frequency as you may like it for your image. Start anywhere on the face and carefully drag your tool over the edge. The hair edges do not need to be perfect though. If anchor points get added in the wrong spot, press the delete key to remove them. Then continue along the edge. When you reach the first anchor point, you will see a small ring. If you left click on your mouse, it will close the path and instantly make the path into a selection. Press Ctrl + J to cut the face from its background and copy it to its own layer. To move it into the mountain document, open your move tool by clicking ‘v’ and drag it onto the tab of the mountain. Open your transform tool by clicking Ctrl + T and re-size it and place it onto the mountain. Make sure the shadow of the face are pointing to the right direction. After making the adjustments, press enter. Close the eye of layer 1 to temporarily hide it and click the thumbnail of the mountain to make it active.
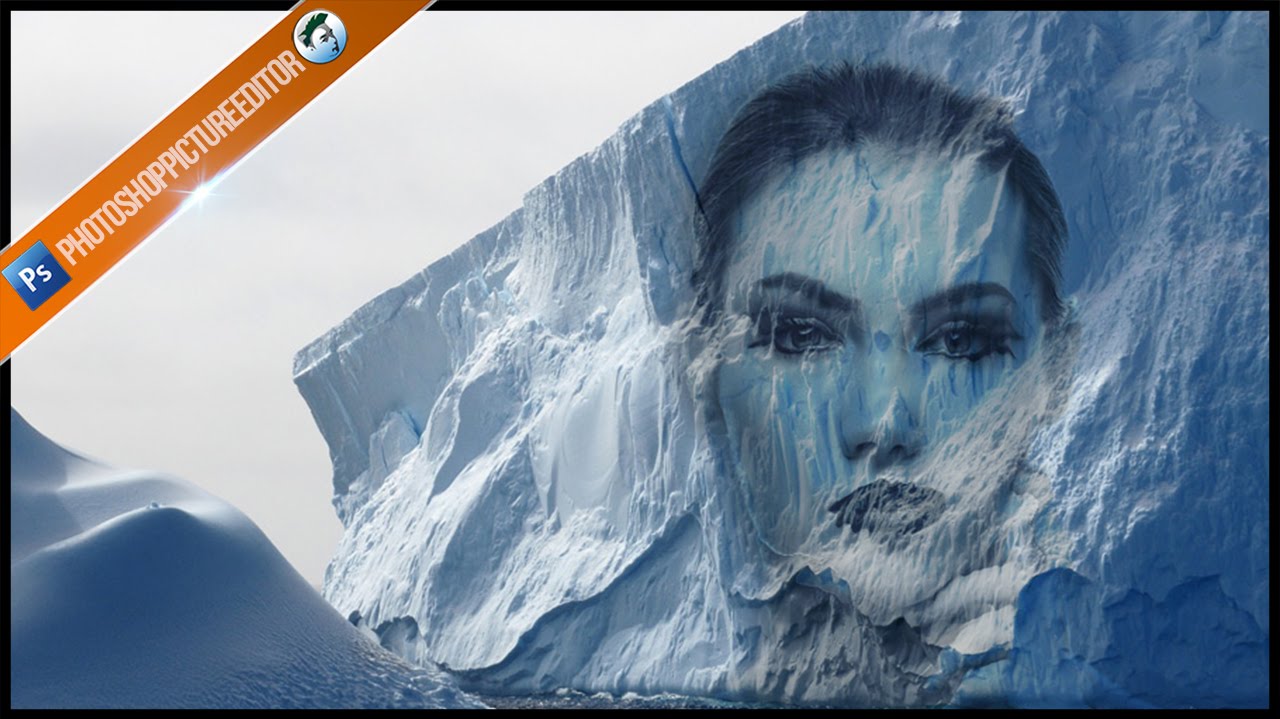
We are about to make the mountain into a displacement map to make the face follow the contours of the mountain. Go to layers panel above to do this and click duplicate layer. Rename the document as new and type in displacement and click OK. Displacement maps look better when they are slightly blurred. Go to Filter> Blur> Gaussian Blur and blur it to 1 px and hit OK. Save it as PSD file on your PC. Close the displacement file. Make a copy of the background by clicking Ctrl + J and change the blending mode to ‘Soft Light.’ Drag the copy to the top of the layers panel and click off its eyeball to temporarily hide it. Make the face visible and active. Now, go to Filter> Distort> Displace. Make some adjustment there according to your image. Click the displacement file and click open. You will see that the face of the person is wrapping itself around the contours of the mountain. You can change the blending mode options and make the adjustment in opacity according to your image if required. That sums up the whole process.
I hope that it will help you and from now on, hopefully you will follow this procedure more often in Photoshop and be an expert in this field in the future.

In this tutorial, I’m going to show you how to blend two images photographs together seamlessly. Sometimes it can be really, really easy to take two photographs, and then, blend them together, and just make … Continue reading Blend Two Images In Photoshop
Read More
Here, you will learn on how to how to do color splash in Photoshop. I hope it will help you both the beginner and advanced level of students in a great deal. Photo Courtesy – http://working-with-photoshop.blogspot.com/ … Continue reading How to Do Color Splash in Photoshop
Read More