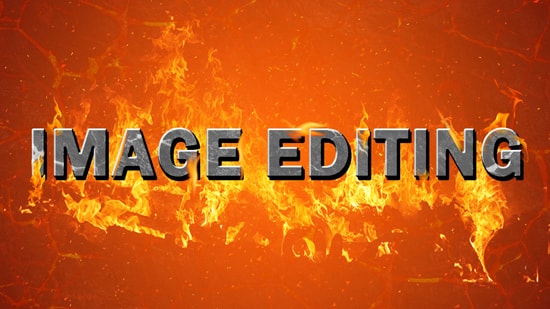
How to Create Fire Effect in Photoshop
Here, you will learn on how to create fire effect in Photoshop. Hopefully, it will help both beginner and advanced level of users in a great deal.
First of all, open your Photoshop and select an appropriate background onto which you’d like to create the fiery text effect. Afterwards, add your text by selecting the text tool (T) tool. Click on your canvas now. This would produce a type layer. Add the desired text to your background now. Make changes to your text if you need. Now, create the fire effect with a Flame Filter in Photoshop. Press Ctrl+Shift+N to create a new layer. Name this layer ‘flames.’ Select the Pen tool from the Photoshop tools bar on your left and move the pen along the places you would like your flames to appear. Once you are done, stop at the point where the flames would end and press the Ctrl button and click anywhere on your document from the path points. Then apply and adjust the settings if you feel like you need it. To make the effect look more like a flame, go to the Layers Panel and select the flames layer and copy it by pressing Ctrl+J and rename this layer as ‘glow’. Scroll it underneath the flames layer in the Panel list. Change the mixing mode to “Dodge” in the Layers panel.
Go to Filter> Blur> Gaussian Blur and adjust the radius. Now, go to Image> Changes> Hue and Saturation. Again, create a named layer by pressing Ctrl+Shift+N and name this layer as ‘Extra glow’ and move this layer underneath our ‘glow’ layer in the panel list. To add the sparks, make a new document by using the shortcut keys Ctrl+N. Use the Marquee tool and draw a small rectangle in this new document. Invert color this selected area to black by pressing Ctrl+I. Press Ctrl+D to deselect the area. Make the following changes. Click on Filter> Blur> Motion Blur Filter. Set the Distance as well as Angle and click OK. Go back to your previous document and select the Brush tool. To create real looking sparks, you need to make the following changes: Click on the Window menu and go to the Brush Panel and set the Roundness, Brush Tip Shape, Shape Dynamics, Angle Jitter, Angle jitter control and Scattering. Select the Foreground color square and set the color and paint the edges of your sparks.
That sums up the whole process. Happy Photoshopping!
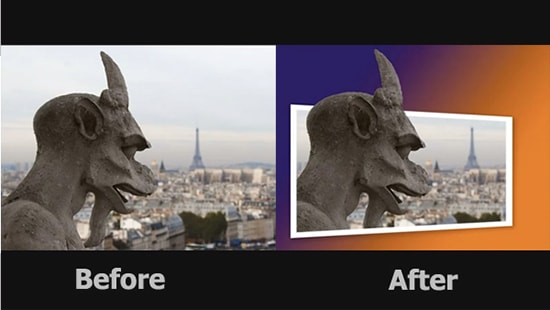
Here, you will learn on how to create out of bounds effects in Photoshop. I hope it will help you both the beginner and advanced level of students in a great deal. Photo Courtesy – http://blog.video2brain.com/ … Continue reading How to Create an Out of Bounds Effects in Photoshop
Read More
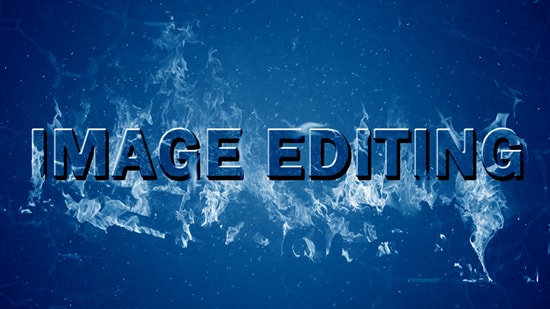
This tutorial will show you how to create nice looking snow effect on your text. This tutorial teaches you on how to use a couple of layer styles, different brush settings and some simple tricks … Continue reading How to Create Snowy Text Effect in Photoshop
Read More