Usage of ‘Spot Healing Brush Tool’ in Photoshop
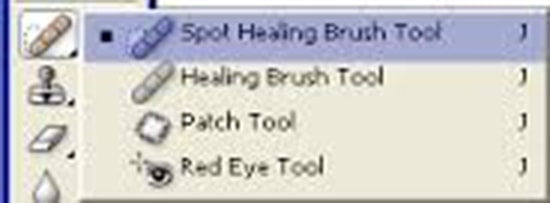
In this tutorial, you will get to know about the tool that is used for many purposes and one of the most important tools in Photoshop coined as the ‘spot healing brush tool.’ When you click on it, you will also see that ‘J’ is written beside the spot healing brush tool which tells you that it is also a shortcut form of the spot healing brush tool. There is a tool named ‘Type tool’ in Photoshop. When you click on that type tool, if you click ‘J,’ it will automatically take you to the spot healing brush tool. I hope that it will be very helpful for all and for the beginners especially.

Photo Courtesy – http://www.adesdesign.net/
The ‘Healing Brush Tool’ helps you to correct the slight imperfection of an image. This tool works in the same manner as the ‘Clone Stamp Tool.’ However, this tool will also match the texture, shed in and leading of the sample pixels in the source pixels so that the cloned pixels blended seamlessly into their new location. The only difference is that spot healing brush does not require you to identify a sample spot. Instead of that, it’s sample pixels from the surrounding area of the retouched area. Therefore, in order to use this tool at first you have to select the healing brush tool from the tools pallet and set your desired options up in the options bar. Give a click in the brush tool and reduced the diameter to 50 pixels and keep the rest at their own place. After doing that, you hold down the ALT key on your keyboard and click on the area that you want to use as the reference point for the pixels that you want to copy to another location. Then release the ALT key. That is the way; you use the healing brush tool. It is for more of complex pictures but for the normal pictures, you can just use proximity tool and remove any spot from any images.
