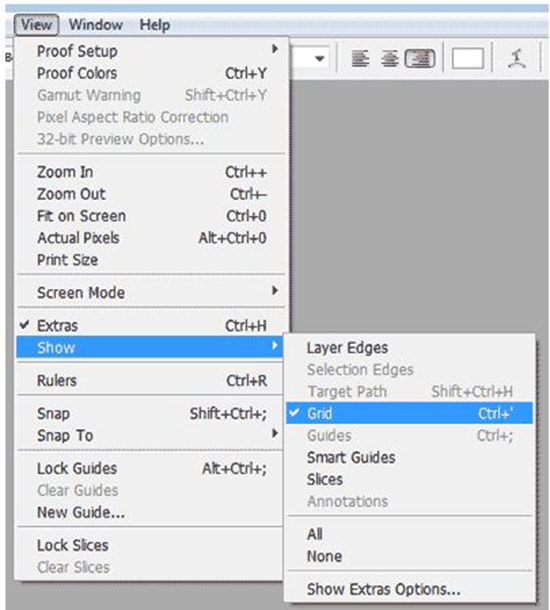
Usage of “Grid Tool” in Photoshop
In this tutorial, you will get to know about the tool that is used for many purposes and one of the most important tools in Photoshop coined as the ‘grid tool.’ When you click on it, you will also see that ‘apostrophe’ is written beside the grid tool which tells you that it is also a shortcut form of the clone stamp tool. There is a tool named ‘Type tool’ in Photoshop. When you click on that type tool, if you click ‘apostrophe,’ it will automatically take you to grid tool. I hope that it will be very helpful for all and especially for the beginners.

The ‘Grid tool’ is found under preference menu which is under the edit menu in the PC. There, you will see an option named creating a Grid-line. It may show to you through inches and probably 4 inches specifically. What you will do is change the setting by creating it to 33.3 and shows it to percentage mode. The subdivision tool is also set by 4 which is default. If you leave it there, you will see a kind of weird looking grid. Hence, you better change it to 1. After making these changes, if you go to the tool named view my grid which is obviously under the view menu and then go to show and grid gradually, you will see a very nice grid of a photo that of your choice. You can crop it by the proportion of the photo here. So, if you crop it and position to your crop area and hit the enter key, not only it cropped but also it re-shuffles itself. You can obviously check it and undo it if you do not like it. Therefore, you can use this grid tool in this manner.

