How to Remove Oily Faces in Photoshop
Here, you will learn on how to remove oily faces with photo edit in Photoshop. I hope it will help the beginner level of students in a great deal.
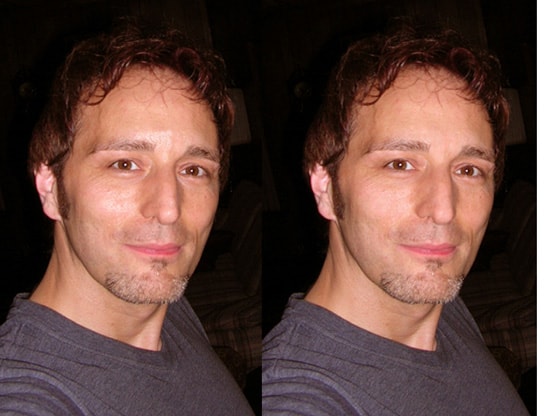
Photo Courtesy – http://www.photoshopatoms.com/
Open an image that you want to work with in Photoshop at first. After opening the background, click CTRL + J to open a new layer. Now, you have to select ‘Spot Healing Brush’ to remove the oily part in the face. You can reduce the opacity to get the best effect for your image. Next, we need to go back the background layer and duplicate. You can name that layer whatever you like. We will need to blur out the face completely. Hence, go to Filter > Blur > Gaussian Blur up next. Reduce the pixels from there where 30 pixels would be preferable. Click OK. Now, we need to take a mask. By using the mask, we will take out the eyes and lips which are considered to be the key features that you want to keep in focus. When you do that, the entire face looks nice and clear.
I hope that it will help you and from now on, hopefully you will practice more and use it in other pictures in the future.
Portrait generally means a painting, drawing, or photograph of something or someone. However, it does not necessarily have to be a picture of a grown man always. Photo Courtesy – nerdprint.com/ Although, by hearing the word portrait we usually … Continue reading Basic of ‘Child Portrait Photo Retouching’
Read More
This tutorial is all about how to disguise a face onto money using Photoshop. Hopefully, it will help beginner level of students in a great deal. Firstly, open the image that you want to work … Continue reading How to Disguise a Face into Money in Photoshop
Read More