How to Edit Skies in Adobe Lightroom
Many photographers are faced with the similar problem of an over-exposed sky and under-exposed foreground. It is because the detail of the foreground is often more important than the sky itself. Fortunately, this can be remedied with a quick fix using Adobe Lightroom.
Photo Courtesy – Edit Sky in Lightroom
If we see the original image, which is taken straight from the camera, all of the adjustment sliders of Adobe Lightroom are set to their default values and the exposure is all over the place. Now, the first thing that comes to anyone’s mind is to slap a graduated neutral density filter over the sky. However, the problem attached to it is that the parts of the trees will also be affected by the filter. Apply your filter now and then adjust the shadow slider to bring up the tones in the parts of the image in which you do not want affected by the filter. After the filter is applied, brighten up the shadows that you are suddenly left with a more dramatic sky and more equally exposed image overall.
By following this simple little trick brought the average looking original image and made it into stunning photo. The color and clouds in the sky give the image more depth without compromising the rest of the image.
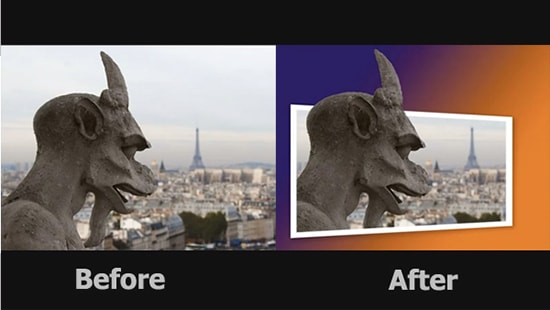
Here, you will learn on how to create out of bounds effects in Photoshop. I hope it will help you both the beginner and advanced level of students in a great deal. Photo Courtesy – http://blog.video2brain.com/ … Continue reading How to Create an Out of Bounds Effects in Photoshop
Read More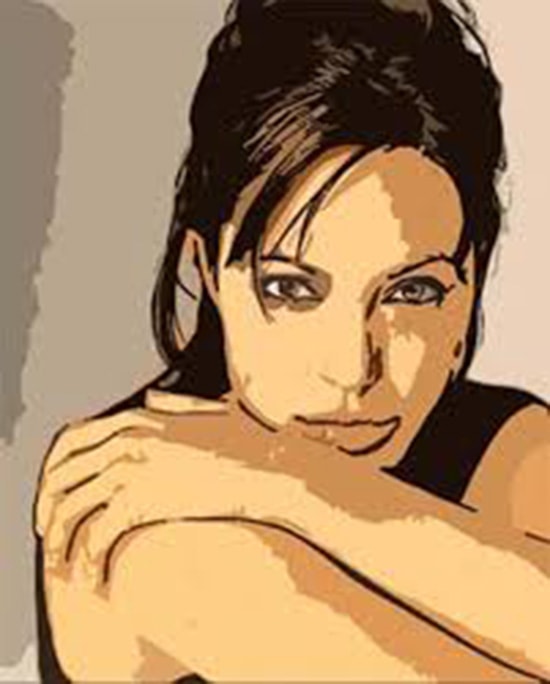
Here, you will learn on how to create cartoon effect with photo edit in Photoshop. I hope it will help you both the beginner and advanced level of students in a great deal. Photo Courtesy … Continue reading How to Create Cartoon Effect in Photoshop
Read More