Usage of ‘Quick Selection Tool’ in Photoshop
In this tutorial, you will get to know about the tool that is used for many purposes in Photoshop coined as the ‘quick selection tool.’ When you click on it, you will also see that ‘W’ is written beside the move tool which tells you that it is also a shortcut form of the quick selection tool. There is a tool named ‘Type tool’ in Photoshop. When you click on that type tool, if you click ‘W,’ it will automatically take you to the quick selection tool. I hope that it will be very helpful for all and for the beginners especially.
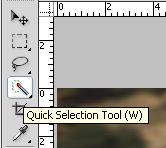
Photo Courtesy – http://www.buildtutorial.com/
The ‘Quick Selection Tool’ allows you to quickly select a consistently colored area or region of the image without do it manually trace it outline by hand. In order to use this tool, you have to click the quick selection tool that is there in the tool box. Now, up in the option bar, you can set the type of selection that you want. You can make a new selection, add selection or you can subtract from selection. You can adjust the size of the brush tips selection by using the brush menu which is also up there in the option bar. After selecting the desire area that you want to work with or focus on, all you have to do is that just hold the quick selection tool over the middle of the area that you want to select in the image and give it a click and hold. Then, you just drag the brush outwards to create your desired selection. However, if you stop dragging and then click and drag in the nearby area, the selection will grow to include the new area. Moreover, you can definitely use add or subtract tool to refine your selection as well. So, this is basically what the quick selection tool is used for.
It is not only very important to know how to create a realistic shadow in Photoshop for photo manipulations but also for any digital art. In this tutorial, I will show you how to add a shadow to … Continue reading How To Create a Text Shadow Effect in Photoshop
Read More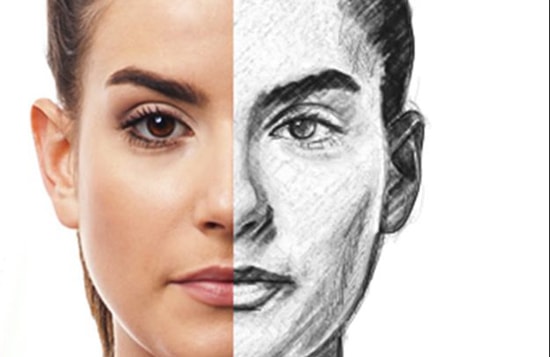
Here, you will learn on how to create a realistic photo sketch using pencil in Photoshop using some simple filters. You can create your own digital sketch drawing in just a few minutes. Let’s start by choosing a background image texture. … Continue reading How to Create a Pencil Photo Sketch in Photoshop
Read More