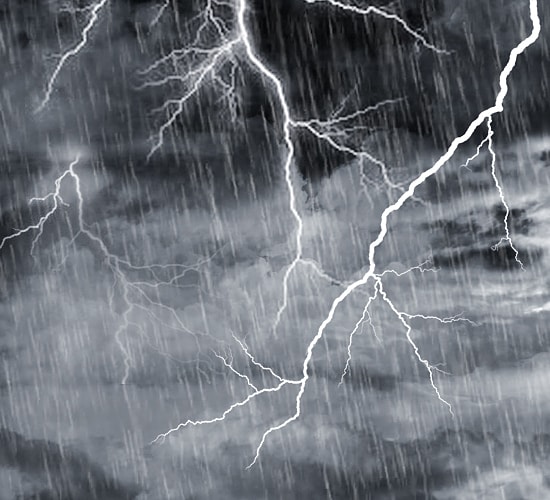
How to Create Rain Effects in Photoshop
Here, you will learn on how to create rain effects in Photoshop. Firstly, go to file> new and open a new file with your desired settings. Create a group Background and go to layer> new fill layer> solid color> white.
Copy the layer and make sure that the layer is a smart object. Go to the top menu> filter> Blur> Radical Blur. Repeat this step four times. Set the layer as Linear Dodge (Add). Go to the background group and open a new layer. Place the thunderbolts cloud image. Take a layer mask and select a black and white blur gradient. Create a new group Color Effect. Select the adjustment layer Gradient Map. Select the colors. Open a new layer. Go to the top menu> new fill layer> gradient> select the color and set the layer as multiply. Open a new adjustment layer and select Curves with required settings. Create a new group Rain Effect. Open a new layer next. Go to the top menu> layer> new fill layer> solid color> white. Make a copy of the white fill layer. Go to the top menu> filter> Noise> Add noise to 80%. Make a copy of this layer. Go to the top menu> filter> Blur> motion Blur with the desired settings.
Afterwards, go the top menu> image> adjustment> levels and select the settings that suits your image. Set the layer as ‘Screen’ and a fill of 80%. Open the star blur with white foreground color and place the Star Blur just under her right chest. Create a new group lightning and place the layer with the star blur in this group. Make some adjustments on the layer outer glow. Make a copy of this layer. Go the top menu> filter> Blur> Gaussian Blur 30.0 pixels. Go the group Rain effect. Open a new layer and make a black gradient. Open a new group Water Splash and open a new layer. Place the image water splash in the layer. Press on Ctrl + T and make the image smaller. Give the layer a layer mask. Go the brush tool with the black and white setting and brush the inside of the splash. Make a copy of the layer. Press Ctrl + T> go to the top menu> select edit> Transform> rotate horizontal. Place the water splash just a bit lower on the left side of the head. That sums up the whole process.
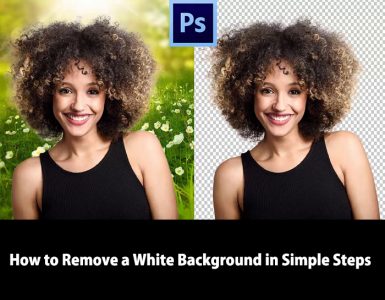
There will be numerous reasons for which you need to have a transparent background. For instance the image will look lively in some other background or color. Today we will look into ways on how … Continue reading How to Remove a White Background in Simple Steps
Read More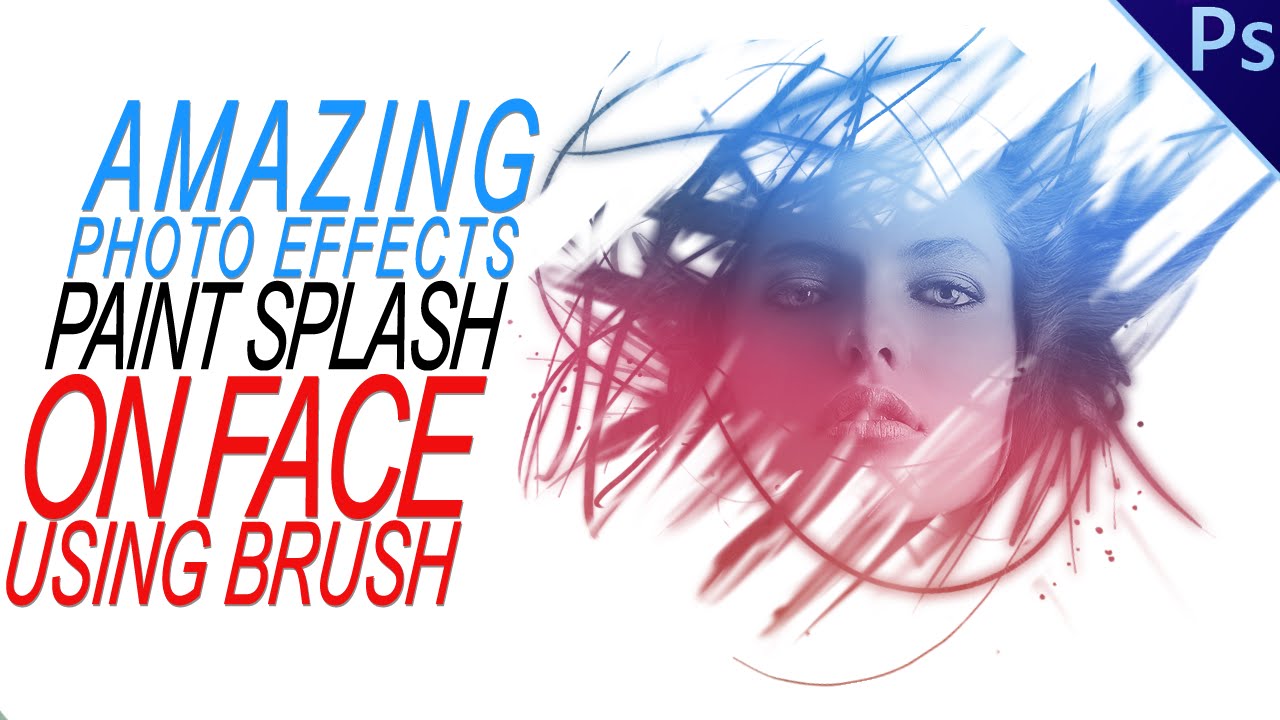
This tutorial is about how to make your own custom photo effect with photo edit using adobe Photoshop CS6. I hope it will help you both the beginner and advanced level of students in a great deal. … Continue reading How to Make Your Own Custom Photo effect using Adobe Photoshop
Read More