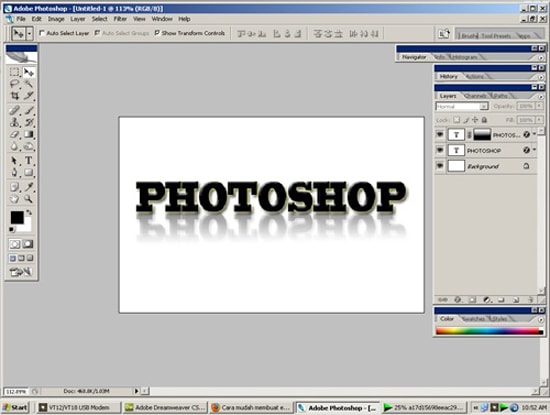
How To Create a Text Shadow Effect in Photoshop
It is not only very important to know how to create a realistic shadow in Photoshop for photo manipulations but also for any digital art. In this tutorial, I will show you how to add a shadow to a text in Photoshop using gradients and transform tools.

Courtesy – Text Shadow Effect
Let’s start with a simple Text Layer and a background Layer. Now, add a light source that comes from the front center towards the Text Layer. It is good to know that the distance and the intensity of the light source determine the opacity and the length of the shadow. The first thing to do after adding the light is to change the color of the text, making it a little brighter and also add a Gradient Overlay to the background. To create the text shadow, we have to duplicate the Text Layer and rename the first text layer as ‘Shadow Layer.’ Rasterize the Shadow Layer and resize it to 60% only on the vertical scale. Make sure that you select the Reference Point Location.
Use the ‘Perspective Tool’ from the Edit> Transform menu to add perspective and create a realistic drop shadow effect. Reduce the Fill of this shadow layer to 0% and add a Gradient Overlay with transparency. The last step is to add a soft Gaussian Blur effect. If your background is darker all you have to do is to adjust the opacity of the gradient. If the light is coming from the back of the text, you will have to add the same gradient for the background Layer but with Reverse button checked. As for the text, the steps are similar with the ones from previous case. The only difference is that you have to Flip Vertical the Shadow Layer after you rasterize it.
Add Perspective for the shadow, reduce the Fill to 0% and add the Gradient Overlay effect. To soften the shadow, apply the Gaussian Blur filter again. Also very important is to add a Gradient Overlay to the Text Layer, to darken the lower area of the text. That sums up the process.
