
How to Create a Realistic Glow in Photoshop
Photographing light sources without over exposing them or underexposing other objects in the image can be tricky. This tutorial will show you how to give your images a realistic glow.
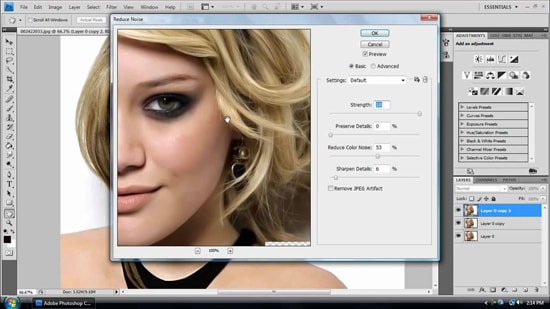
At first, you will start by using the ‘Elliptical Marquee Tool’ to select the area where the light source is located. Right-click and select Refine Edge. Feather the edge of the selection which is just being made. Be sure to feather it quite a bit so the light looks like it naturally falls off. Using the Curves, adjust the temperature and intensity of the light. If you want a nice warm glow, make some adjustments in the color section.
Photo Courtesy – http://www.designbolts.com/
Remember the settings you use for this portion of the edit so that you can match the light for the next step. Select a larger area in the image that you want to look illuminated from the light that is just being added. Make sure that it is an area where the light would fall naturally. Once your selection is complete, feather it, and go back into curves. Apply similar settings from the previous steps for the most realistic look. Play with the settings until you find what works best for the your photo. That sums up the whole process.
If the process seems confusing at first, do not be disappointed. After doing it a few times, you will capture it. With practice, you can be an expert in this field.
It is often seen that you take pictures with your digital camera and you look at them and wonder what is missing. The pictures just do not look good enough. In this tutorial, you are … Continue reading How to Intensify Your Images in Photoshop
Read More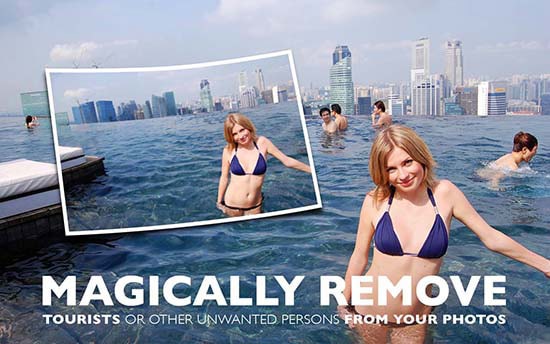
Here, you will learn on how to remove unwanted objects or people in Photoshop with photo edit. I hope it will help you both the beginner and advanced level of students in a great deal. … Continue reading How to Remove Unwanted Portion of an Image in Photoshop
Read More