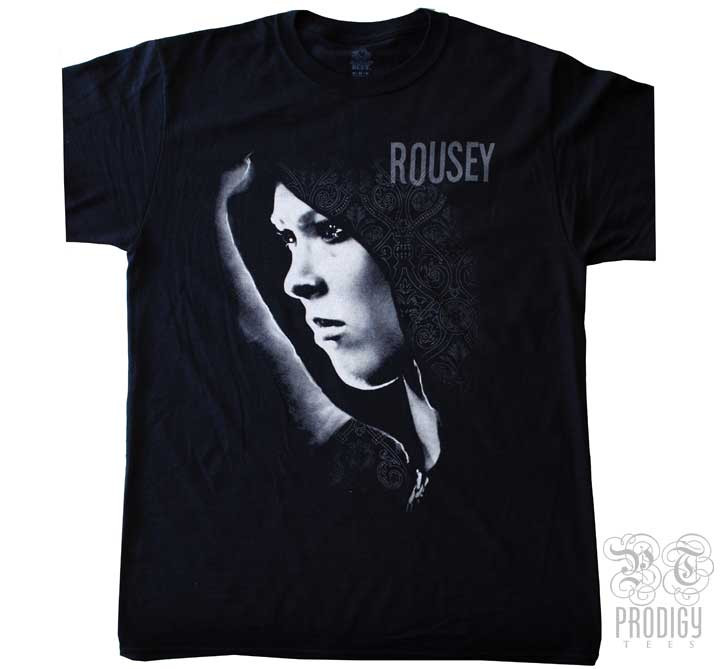
Creating a T-shirt Design in Photoshop
This is a tutorial where one will know about how to create a T-shirt design in Adobe Photoshop CS6. You need either a plain T-shirt on its own or a model wearing a plain T-shirt.
So, at first create a new document where you need to make the appropriate selections based on the size you want your design to be. Go to File> Place and find the photo or design file on your computer and click place. The image will then appear. Click on the move tool at the top of the left toolbar and place the image. Pull up the ‘Layer Style’ menu by double-clicking the image layer on the layer palette. You can add your effects here.
Insert your text on the shirt by selecting the text tool on the left toolbar and clicking anywhere on the canvas. Now, with the text highlighted, you can use the menu at the top to change the font, font size or font color. You should always remember that the color of the text should stand out against the background and the font should be easy to read. You need to create outlines on any text you use. Simply change the blending mode to ‘Multiply’ and you will see that the background of that image is now not there in the image. If the design is not looking good with the T-shirt, you can use the ‘Warp.’ Go to Edit> Transform and select Warp and just play with it as long as the design looks good with the T-shirt. Finally, add a Gaussian blur to make it look more natural. Go to Filter> Blur> Gaussian Blur. See what radius is best suited for your image. After that, it sums up the whole process.

I hope that it will help you people to create a design on a T-shirt using Photoshop. In this way, one can design his own T-shirt and go out with people by wearing it.

