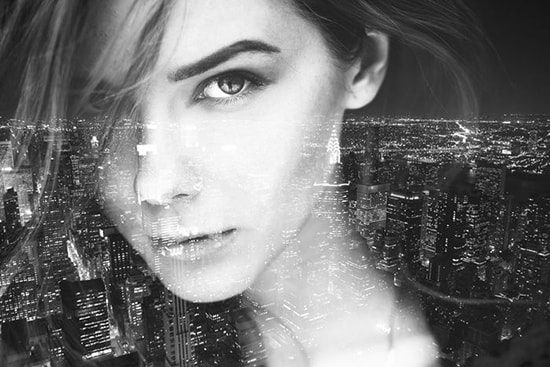
How to Create Double Exposure Photographs in Photoshop
Here, you will learn on how to create double exposure photographs with photo edit in Photoshop. I hope it will help you both the beginner level and advanced level of students in a great deal.
It is very much fun to work with. You can create them by simply taking two photos and super imposing them over each other to get great results. It is best to use simple photos like a texture or landscape photos for the background. It helps your foreground photos visible. For the foreground photos, high-contrast and the celluloid photos work great. At first, open the background photo. Drag and drop the foreground photo into the canvas as well. Set the blending mode to ‘Screen.’ Then, resize it by your own choice. You do not need to worry about the placement of it as you can re-adjust it anytime. You need to adjust the contrast of the photos from the adjustment panel. In there, you will find a curves adjustment layer. You can use this curves adjustment to increase or decrease the contrast of the foreground photo. In order to make this adjustment layer affect only one layer below, click ‘Create Clipping Mask’ in the properties panel. In the properties panel, select the non-image adjustment tool. Click anywhere in the image and drag up to brighten whereas drag to down to darken it.

Photo Courtesy – http://www.missyuan.net/
Now going to the last part of the image, you can transform and position the image anywhere you want. If you like to move or transform the background layer, right click on the layer and then select convert to smart object. This will unlock the layer and allow you to non-destructively unlock the layer. Now, we are going to add a low contrast photo effect with a slight split tuning effect. Create another curve which would be curve no. 3 and move it at the top of all layers. In the channel drop down menu, switch to the blue channel. Select your desired color there by moving the point of the curves up and down. If the colors look strong and you want to de-saturate it, add vibrant adjustments from the adjustment panel and adjust the vibrance or saturation effect that you like. You can select your desired effect after that. This sums up the whole process.
I hope that it will help you and from now on, hopefully you will make more and more double exposure photographs using Photoshop like this and be an expert in this field in the future.