How to Create a Neon Effect in Photoshop
Here, you will learn on how to create a neon effect with photo edit in Photoshop. I hope it will help you both the beginner level of students in a great deal.
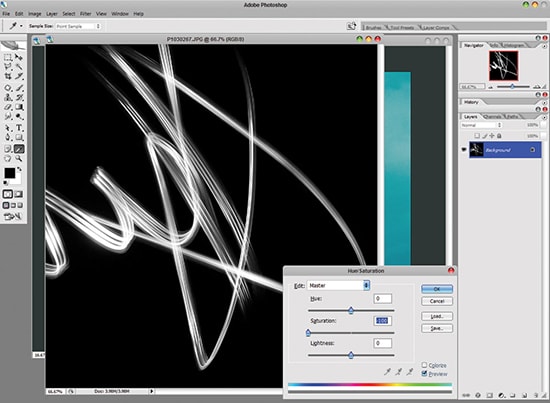
Photo Courtesy – http://www.digitalartsonline.co.uk/
At first, select an image that you want to work with. Then, create a new layer. Select the brush tool. Select the brush size and make sure that the hardness is at 0 percent. Now, select the pen tool and with the use of the mouse, draw the line that is needed. Right click on the line and select the stroke path. Select brush from that path box and make sure that ‘Stimulate Pressure’ box is checked. Click OK. Right click on the layer and select blending options. Now, click on ‘Outer Glow.’ In the blend mode menu, select ‘screen.’ Adjust other necessary materials from that box and click OK. Select the eraser tool next. With the help of the mouse, remove the line so that it looks like it strapped around to the subject of yours. Now, select the pen tool and right click on the line and select delete path. That will end the procedure.
I hope that it will help you and from now on, hopefully you will make more and more neon effect pictures like this and be an expert in this field in the future.

Here, you will learn on how to create photo manipulation rainy effect in Photoshop. I hope it will help you both the beginner and advanced level of students in a great deal. This will need … Continue reading How to Create Photo Manipulation Rainy Effect in Photoshop
Read MoreHere, you will learn on how to create a collage effect with photo edit in Photoshop. I hope it will help you both the beginner level and advanced level of students in a great deal. … Continue reading How to Create a Collage Effect in Photoshop
Read More