How to Blend the Extracted Image into New Background in Photoshop
In this tutorial, you will learn on ‘Advanced Background Removal’ through Photoshop. I believe that it would be very helpful for both beginner and advanced level of students in Photoshop.
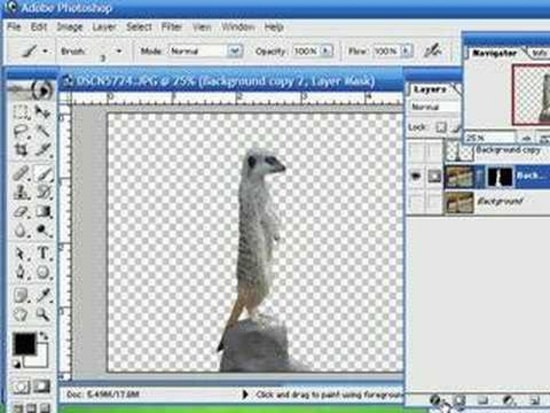
At first, open your desired image. You need to make a copy of background layer. Use the extract tool on the background layer to extract the background. Extract the image from the filter toolbar above and draw a highlighted line around the subject. You fill it and then extract it. It brings out the extracted image. Next, you need to make a black and white transparency mask. Then, you will need to use this transparency mask on to a new background layer. So, you need to take a copy of a background layer again. Then, you need to select the extracted image. To do that, press the control key on the keyboard and click on the top of the layer which contains the extracted image.

Photo Courtesy – http://www.designingtutorials.com/
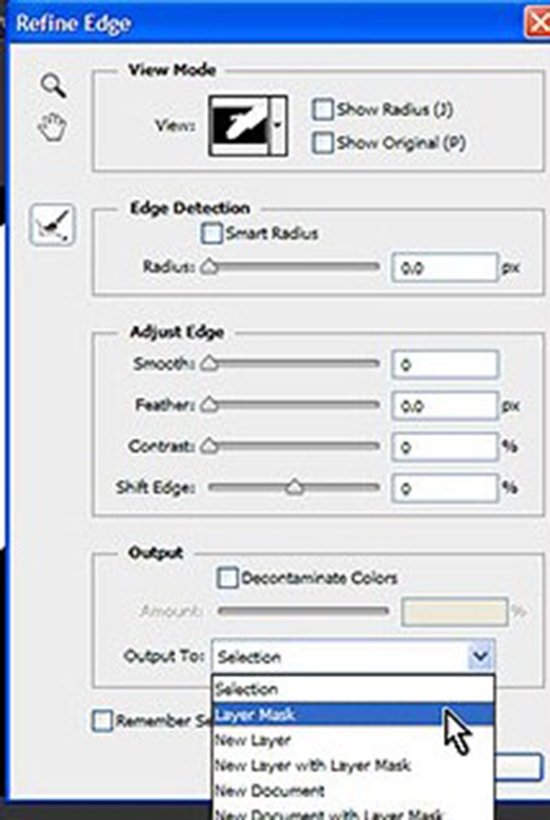
You can now turn off the extracted image so that we just focus on the copy of background layer. You can add a layer mask to the layer by clicking on add layer mask button below. This put a black and white mask based on the selection that you had. Bring some changes if it requires. To be able to see what you are doing, you can make a temporary background layer to this image. So, you need to create a new layer and put this new layer underneath the image. Then select the entire image by clicking Ctrl + A. Then press shift and backspace which is the fill dialogue. Fill it with the background color. Another thing that you can do is to use the level on the mask itself. Make some adjustments. The last step is to insert a background color for the image. Insert your image to the background that is also selected by yourself. This sums up the whole process.

