High-Volume Clipping Path Production Infrastructure
Hand-drawn clipping path and high-end retouching built for eCommerce brands, professional photographers, and enterprise teams that require consistent batch quality, structured workflows, and guaranteed delivery.
Schedule a Production Discussion Try a Free Sample21+ Years of Production Experience · 3-Step QC · 24/7 Coverage · One-Hour Express Available
Trusted by 150+ Large Enterprises


Human-Only Editing
No automation. No AI shortcuts. Every clipping path, shadow, and retouch is hand-crafted for accuracy and realism.
Batch-Level Consistency
One image looks good? We make sure every image in the batch looks identical edges, tones, shadows, and color behavior included.
Built for Professionals
Photographers, studios, brands, and agencies using Adobe Photoshop, Capture One, and advanced production pipelines.
Not One-Off Edits
Built for Real Production Workflows. Whether you’re processing 20 images a month or 10,000+ images per campaign, our workflow adapts to you—not the other way around.
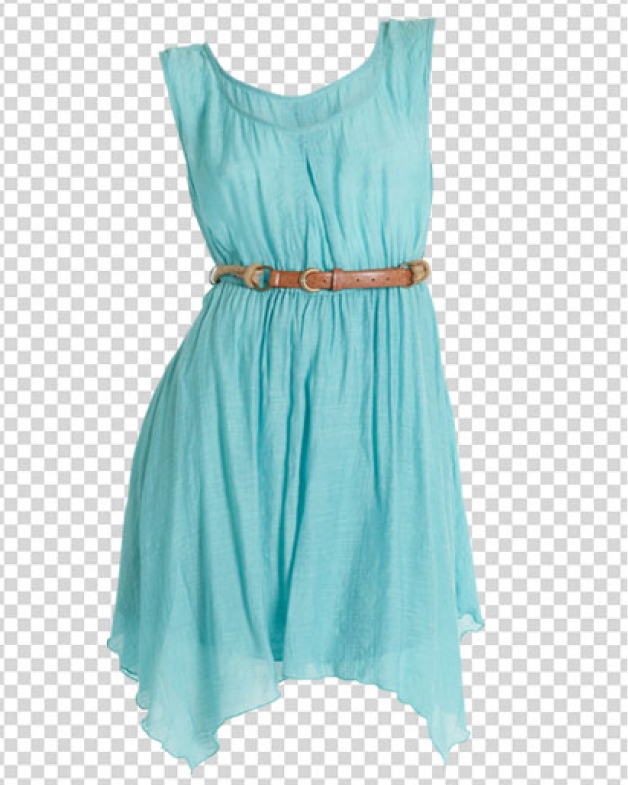
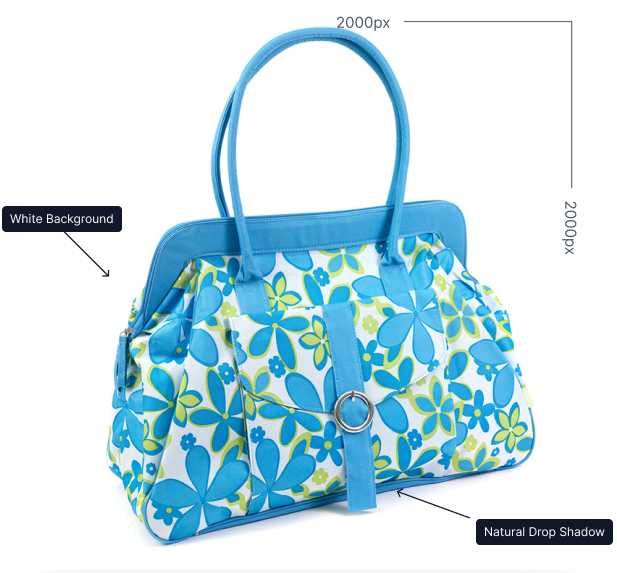
Clipping Path Service
Increase sales with images that standout.
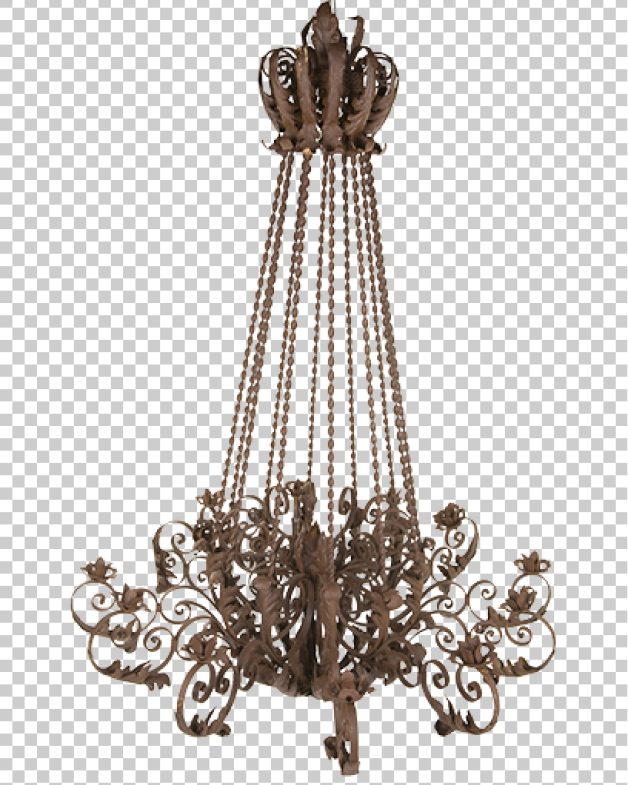
Clipping Path is a service that simply removes or cuts a background from an image. We deliver handmade Clipping path using Photoshop Pen Tool to have the best output.
Request a Custom Quote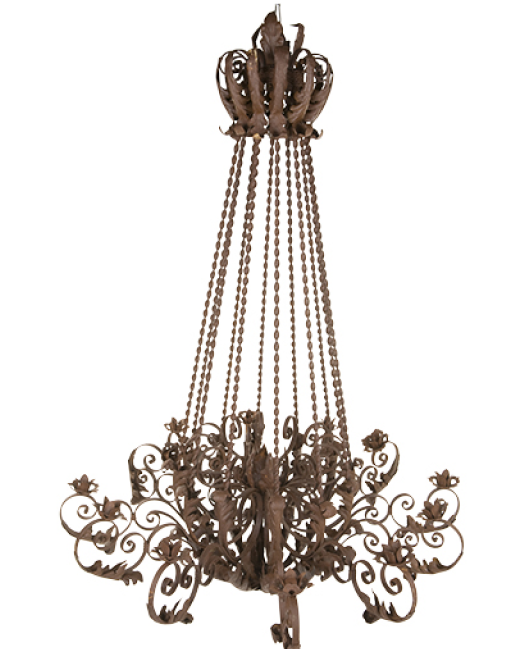
- 24/7 Human Support
- Volume savings
- Fast delivery!!
- Complex driven pricing
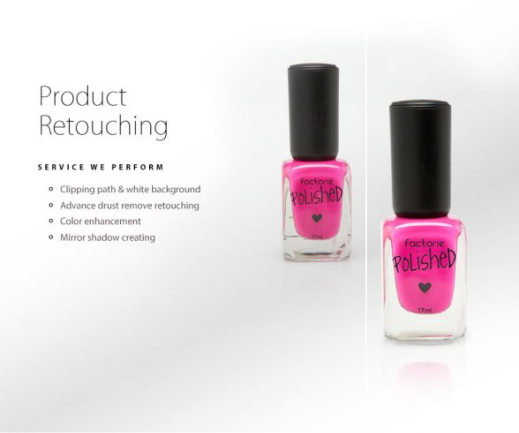
Apparel Retouching
Clean, consistent fashion images that sell
Apparel retouching refines garments to look polished, natural, and production-ready. Our human retouchers perfect fabric texture, folds, fit, and symmetry while maintaining true-to-life colors for consistent brand presentation at scale.
Get Started Today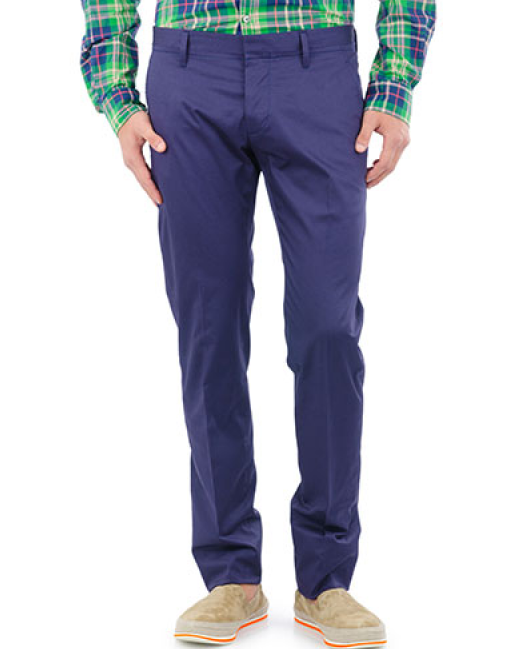
- Human fashion retouchers
- BHuman fashion retouchers
- Fast production turnaround
- Scale-ready workflows
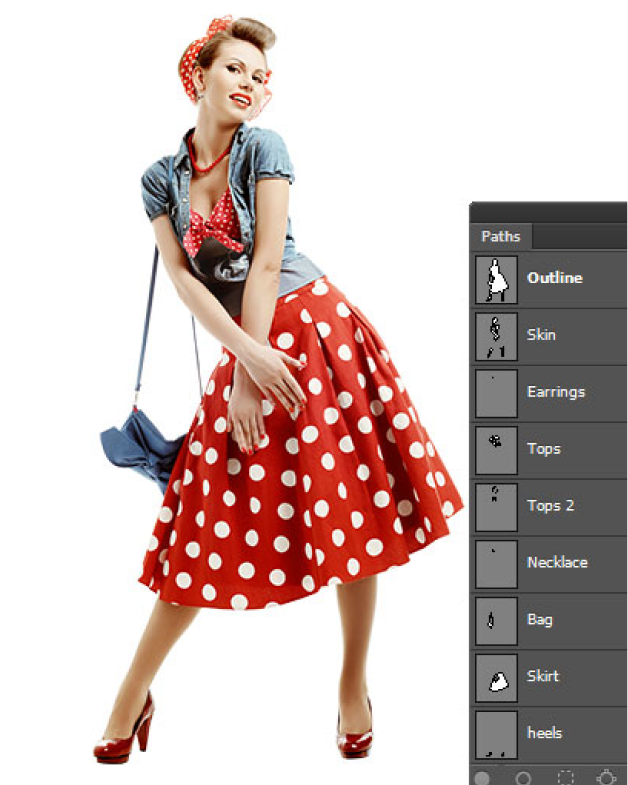
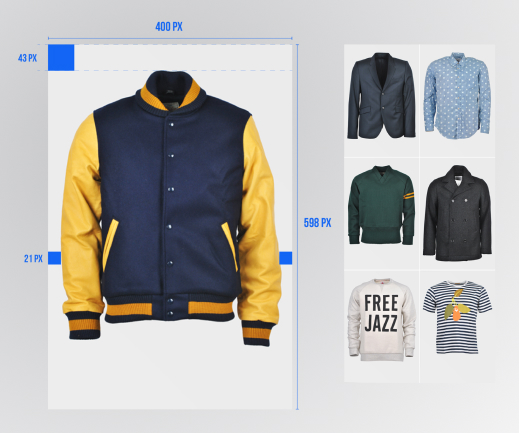
Multiple Clipping
Hand-drawn paths for flexible editing
Multiple clipping separates different parts of a product into individual paths from a single image. Our human editors create precise, editable paths so retouchers, designers, and retailers can work faster with full control.
Try This Service Free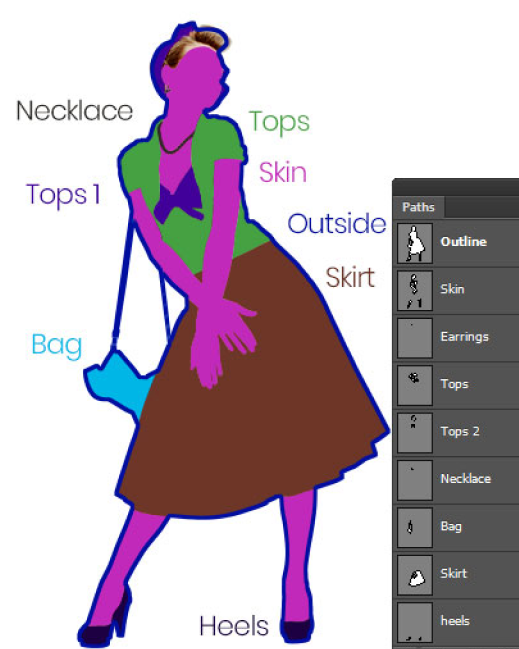
- Editable alpha channels
- Layer-ready clipping paths
- Human precision only
- Workflow time saving
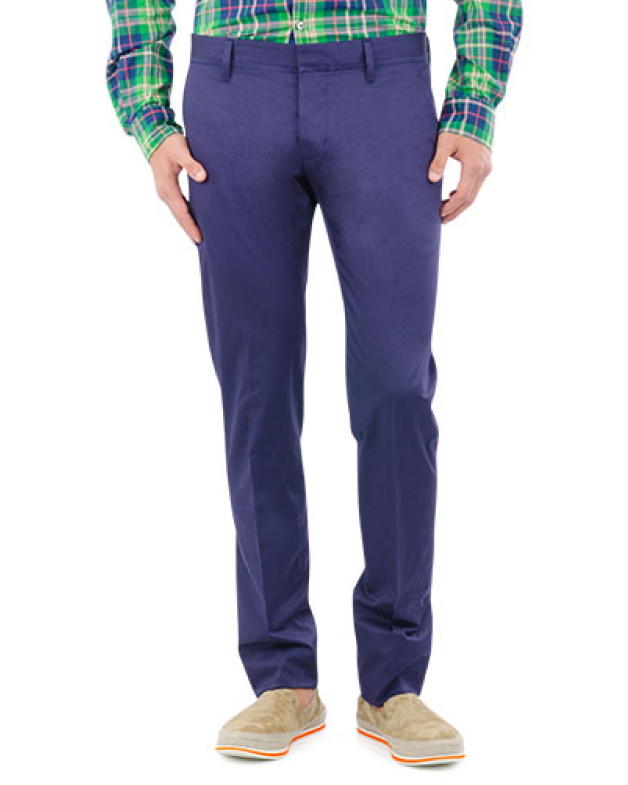
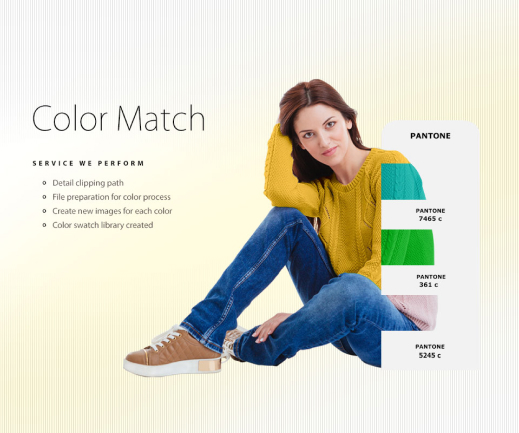
Color Matching
Create multiple colors from one image
Color matching allows you to generate multiple color variations from a single product image. Our human editors apply accurate, brand-safe colors while preserving texture, lighting, and realism—saving time and reshoot costs.
Request Color Variations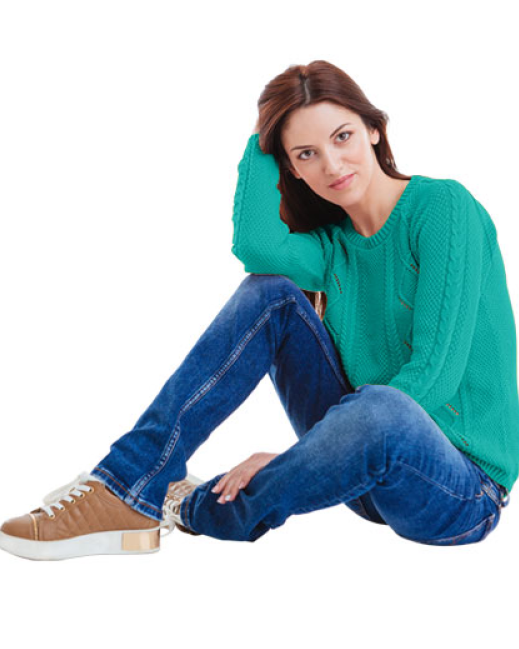
- True-to-life colors
- Texture preserved
- Layer-based delivery
- No reshoot needed
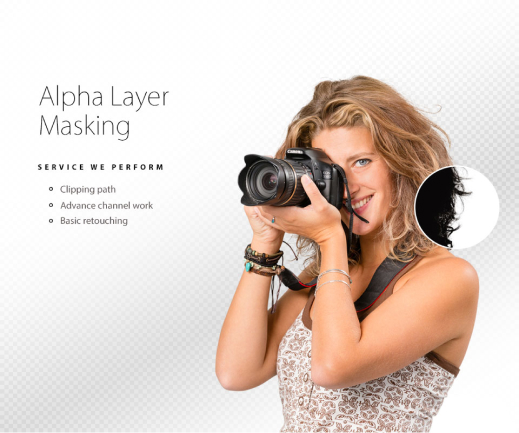
Photoshop Masking
Perfectly separate fine details and edges.
Photoshop masking is used to isolate complex edges like hair, fur, and transparency. Our human masking specialists preserve natural strands and soft transitions, delivering clean, realistic results that automated tools cannot achieve.
Try Masking Free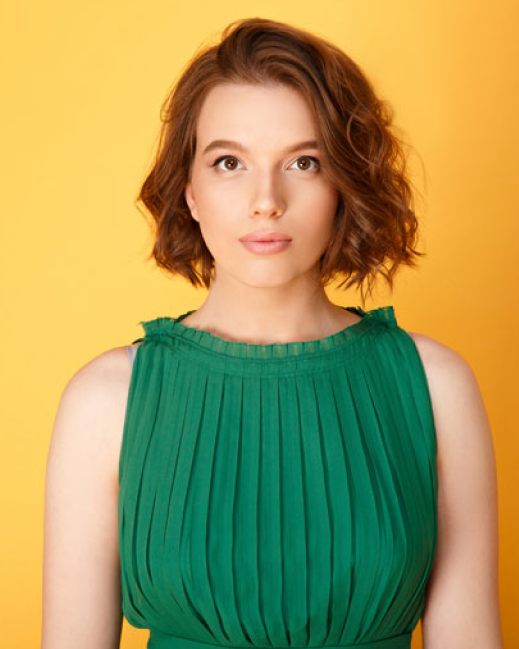
- Hair and fur accuracy
- Soft edge realism
- Layer mask delivery
- Human-crafted precision
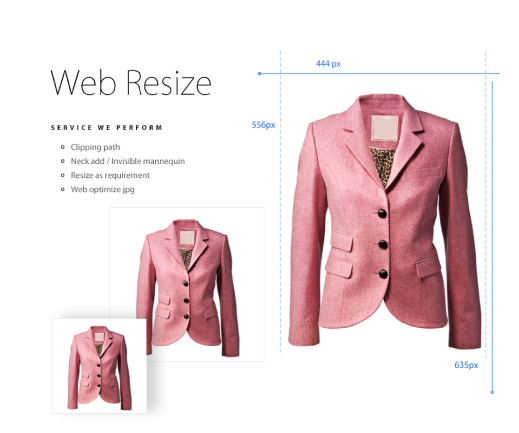
Invisible Mannequin
Show apparel shape without distractions.
Invisible mannequin editing removes mannequins while preserving the natural structure of garments. Our human editors combine front, back, and inner parts to create clean, realistic apparel images ready for eCommerce and catalogs.
Request Ghost Mannequin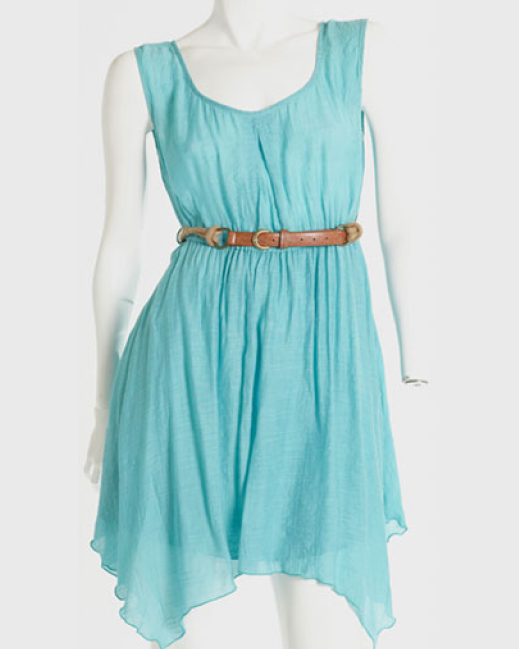
- Natural garment shape
- Neck and joint editing
- Clean interior views
- Catalog-ready output
One Hour Express Service, When Deadlines Can’t Wait. Need edits now, not tomorrow?
Our One Hour Express Service is built for:
- ✓ Same-day product launches
- ✓ Missed in-house deadlines
- ✓ Last-minute campaign changes
- ✓ Emergency fixes before publishing
85%
Improved the productivity
Clients report smoother workflows and faster delivery cycles.
86%
Perform better under deadlines
Less bottleneck stress during campaigns and launches.
88%
Take on more work
More output capacity without expanding internal headcount.
Turnaround Options Built for Production Workflows
Professional photo editing needs vary from daily production batches to urgent campaign deadlines. Choose the turnaround option that best matches your workflow and delivery timeline.
1 Hour
Our fastest turnaround for critical deadlines where every minute matters.
Try This Service- Highest priority editing queue
- Senior Photoshop retoucher assigned
- Multiple quality control checks
- Guaranteed 1-hour delivery
- Real-time Support for Urgent Projects
- +300% Express Charge
4 Hours
Designed for urgent editing needs when deadlines are tight and delivery must happen the same day.
Try This Service- Priority editing workflow
- Dedicated retouching specialists
- Multiple quality assurance checks
- Guaranteed 4-hour delivery
- Batch Processing Ready
- +200% Rush Charge
10 Hours
Ideal for teams that need faster delivery without compromising consistency.
Try This Service- Fast-track editing workflow
- Consistent editing across batches
- Batch Processing Ready
- Multiple quality control checks
- Guaranteed 10-hour turnaround
- Smooth upload & delivery system
- Dedicated client support
- +70% Priority Charge
24-48 Hours
Daily production workflows used by fashion brands, product photographers, and e-commerce teams.
Try This Service- Professional hand-edited results
- Consistent editing across batches
- Multiple quality control checkpoints
- Guaranteed 24-hour delivery
- Smooth upload & delivery system
- Dedicated client support
- Starting from $1 per image
Order Photo Editing in 4 Simple Steps
Upload your images, choose the editing options, and receive pixel-perfect results from expert Photoshop designers. Our workflow is built for photographers, fashion brands, and e-commerce teams. ✔ 100% Hand-Drawn Clipping Paths ✔ 3-Step Quality Control ✔ Unlimited Revisions
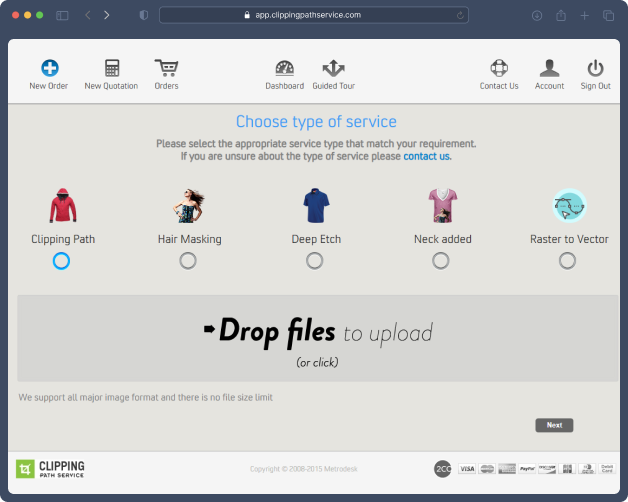
Step 1: Upload files
Step 2: Select complexity
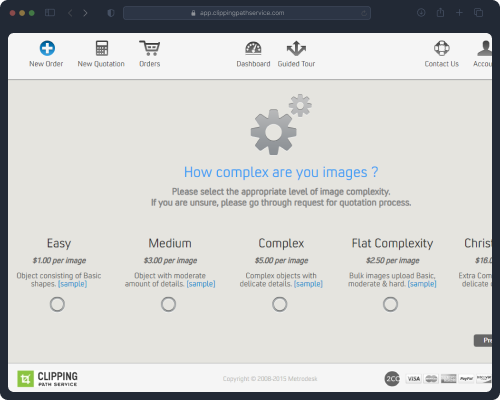
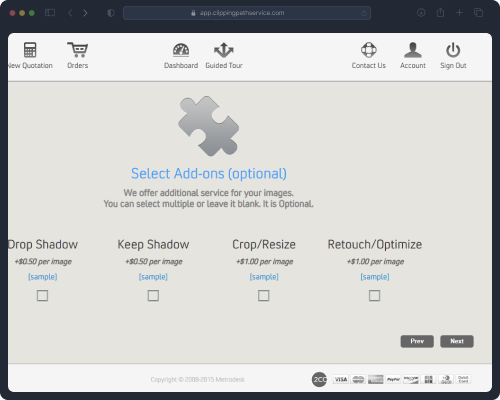
Step 3: Choose add-ons
Step 4: Pick delivery time
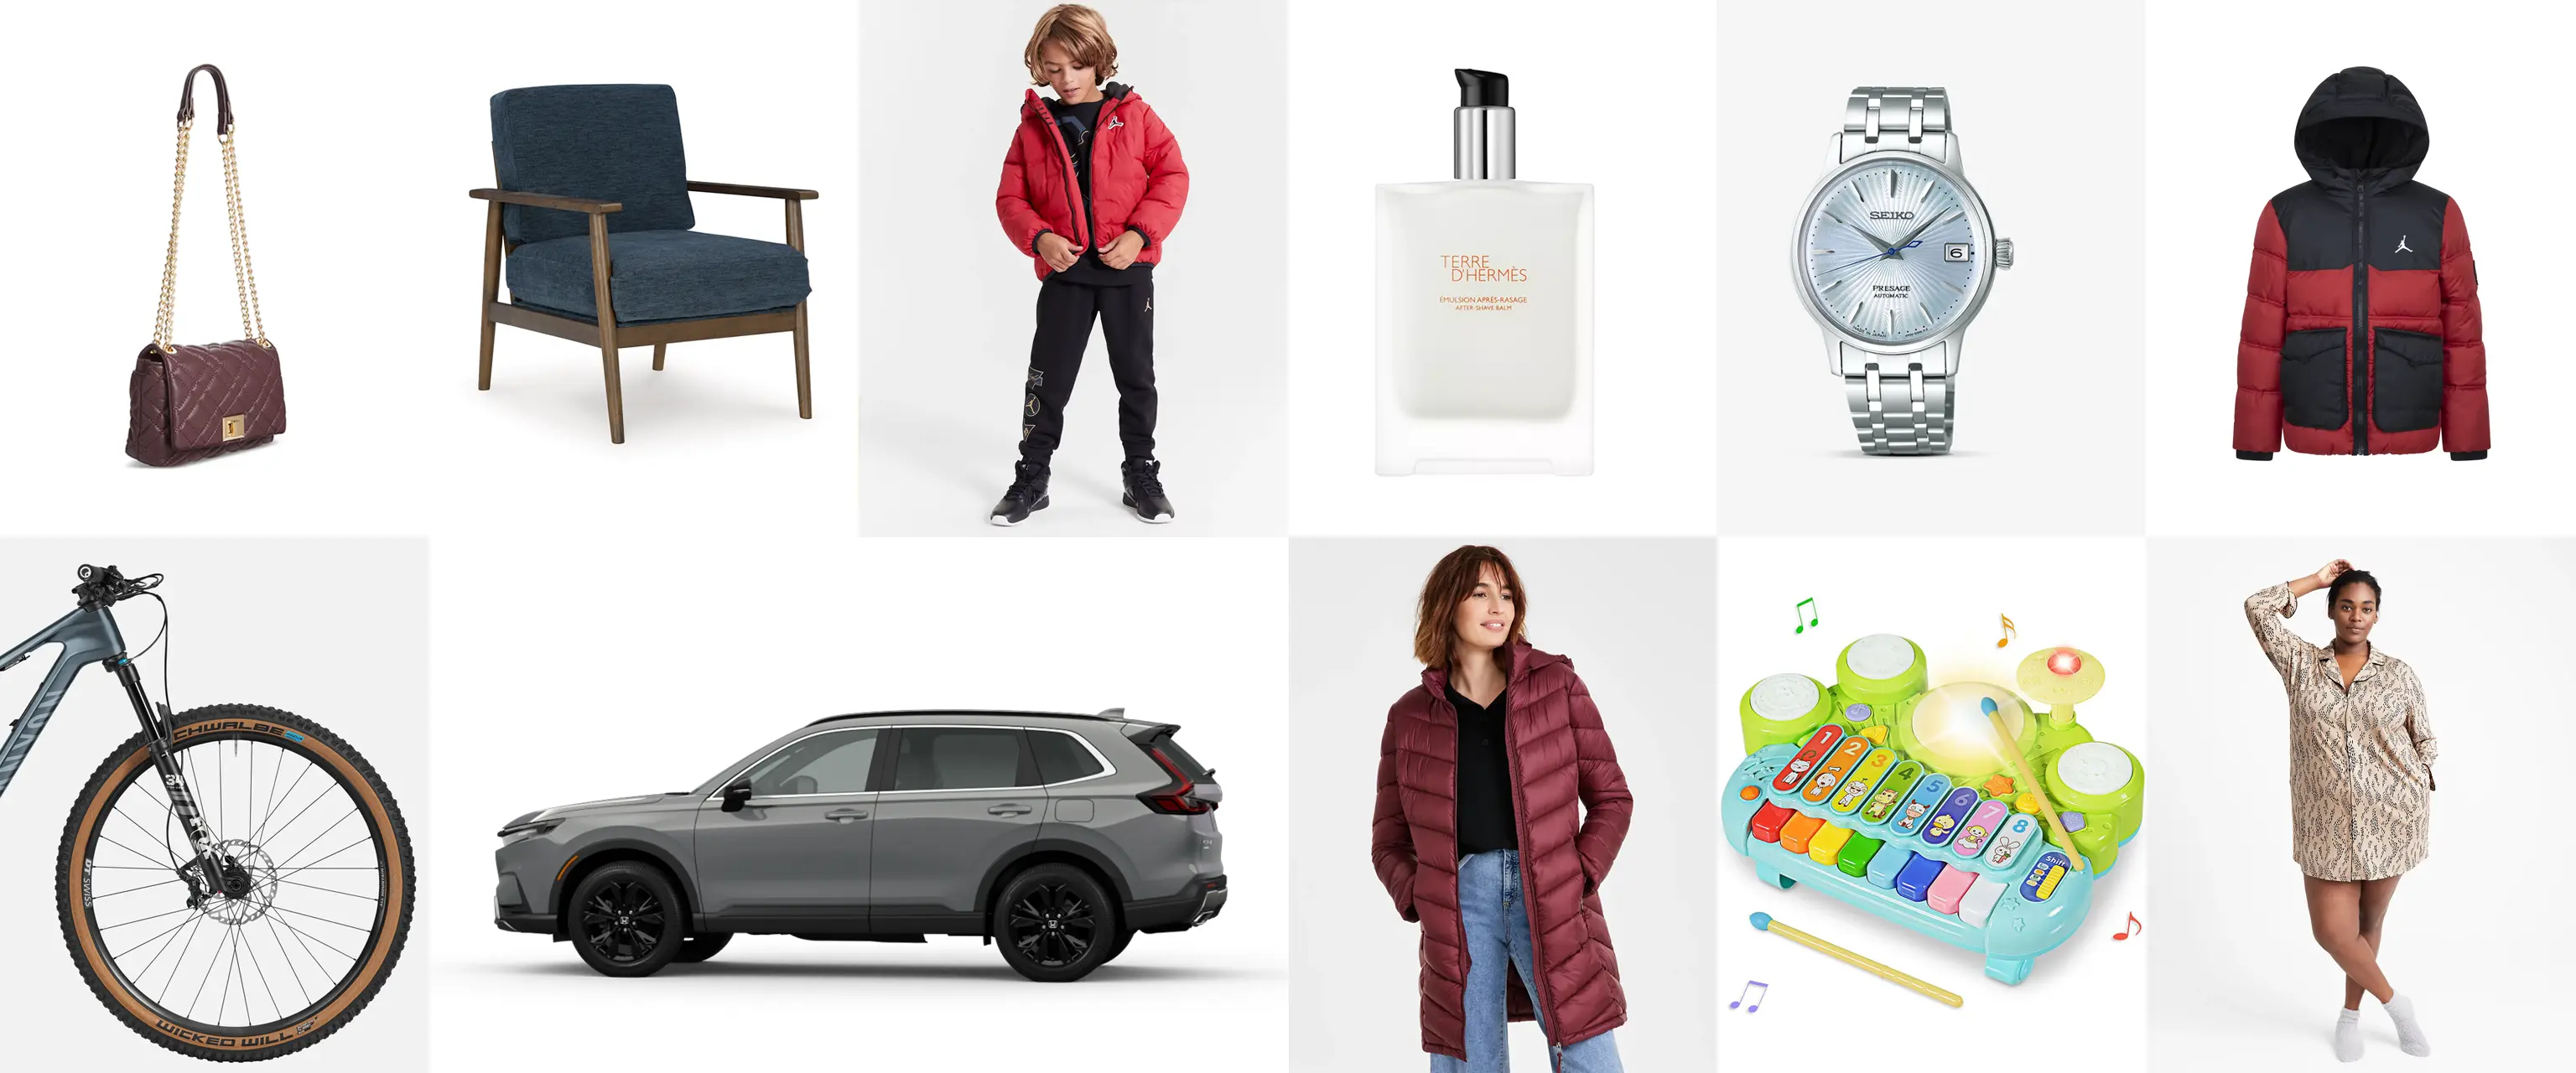
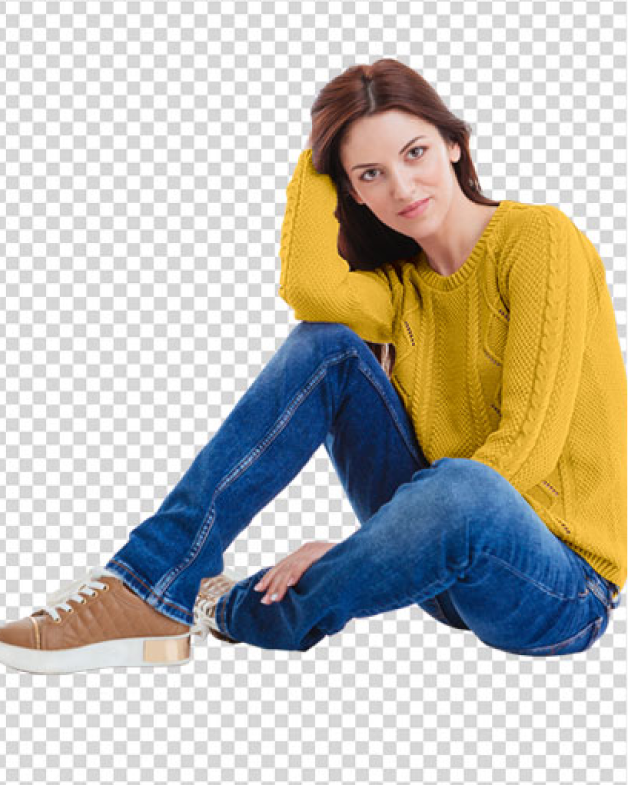
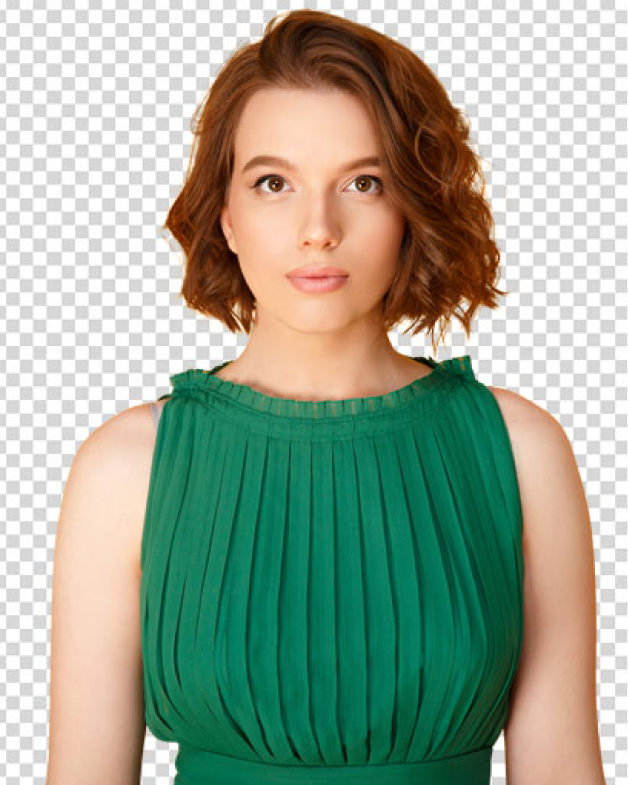
Our works
Explore real production samples across clipping path, masking, shadow creation, color matching, retouching, and web resize services. Every image is refined by skilled human editors to deliver the clean, consistent results professional photographers, e-commerce brands, and creative teams depend on.
What they say
Real feedback from photographers, eCommerce teams, and creative professionals who rely on our clipping path and retouching services.
Consistent from batch to batch
“They remember our preferences project to project. I do not have to repeat instructions every time, and the quality stays consistent across large image sets.”
Reliable under pressure
“When launch deadlines get tight, their team responds fast and delivers clean files without compromising the details. That reliability matters to us.”
Strong edge quality
“The edge work is clean, natural, and production-ready. We use their clipping paths for product pages, marketplaces, and campaign assets.”
A dependable production partner
“We needed more than a vendor. We needed a team that could fit into our workflow and keep pace with daily production. They have done exactly that.”
Easy to scale with
“We started with a test batch and quickly moved into regular orders. Their communication is clear, and their output stays stable as volume grows.”
Helpful human support
“It is refreshing to work with a real team that answers quickly, understands the brief, and solves issues without making the process difficult.”
Professional and predictable
“Their process feels organized and predictable, which makes our internal planning easier. Files arrive ready for use, not for extra cleanup.”
Made our workflow faster
“Outsourcing clipping paths to their team gave our editors more time for creative work. That alone improved the way our studio operates.”
Quality we can trust
“We trust them with ongoing production because they understand detail, consistency, and delivery discipline. That is what keeps us coming back.”
Enterprise-Ready from Day One
We integrate seamlessly with your procurement, billing, and vendor registration systems ensuring a smooth onboarding process and zero operational friction.
Whether you require structured SLAs, custom workflows, or enterprise documentation, our team aligns with your internal procedures before production begins.
We work with:
- Procurement & sourcing teams
- Vendor onboarding systems
- Agency billing cycles
- Custom SLAs & approval workflows
No friction. No learning curve. Just alignment.
Frequently asked questions
A clipping path is a hand-drawn outline created using the Photoshop Pen Tool to remove or isolate backgrounds, ensuring clean and precise edges.
No. All our clipping paths and retouching work is done by skilled human professionals to ensure consistent quality and accuracy.
Our services are ideal for eCommerce brands, professional photographers, agencies, and enterprise teams handling small to 10,000+ images monthly.
Standard delivery is 6–24 hours depending on complexity. We also offer a One-Hour Express Service for urgent needs.
Yes. We offer free sample work so you can test quality and turnaround before committing.
Pricing depends on image complexity, volume, and delivery time. Instant pricing and custom quotes are available.
Absolutely. Files are protected under our CND data security guarantee and used only for your project.
Yes. Our workflow is built to handle large-scale and recurring projects with consistent quality.
We support JPG, PNG, PSD, TIFF, and RAW formats. Delivery is available in layered PSD, PNG, or JPG.
Use our platform to upload files, track orders, download invoices, and chat with our team. 24/7 human support is available.
Your images deserve human judgment, not algorithms.
Let’s build a reliable, production-ready workflow that scales with confidence.
Start Free Trial