How to Create Star Diffusion Effect in Photoshop
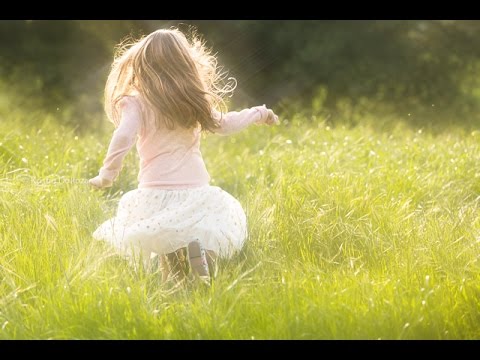
Here, you will learn on how to make star diffusion effect in Photoshop. I hope it will help you both the beginner and advanced level of students in a great deal.
Open the image on a background layer and duplicate it twice by clicking Ctrl + J. Select Layer 1 copy. Then go to Filter>Blur>Motion Blur. Angle should be 45 and distance is about 150 pixels. Select Layer 1. Then just like before, go to Filter>Blur>Motion Blur. Angle should be 45 and distance is about 150 pixels. Select Layer 1 copy and change the blending mode to Screen. Merge the two layers by clicking Ctrl and select two layers. Then right click and select merge layers. change the blending mode to Screen. Select Add Layer Mask. Select brush with soft edges and change the opacity level to 10 percent. Make sure you are on mask layer and your foreground color is black. That sums up the whole process.
I hope that it will help you and from now on hopefully, you will follow this procedure more often in Photoshop and be an expert in this field in the future.

