How to ‘Create a Vector Effect’ in Photoshop
In this tutorial, you will learn on ‘How to create a Vector Effect in Photoshop.’ I believe that it would be very helpful for both beginner and advanced level of students in Photoshop.
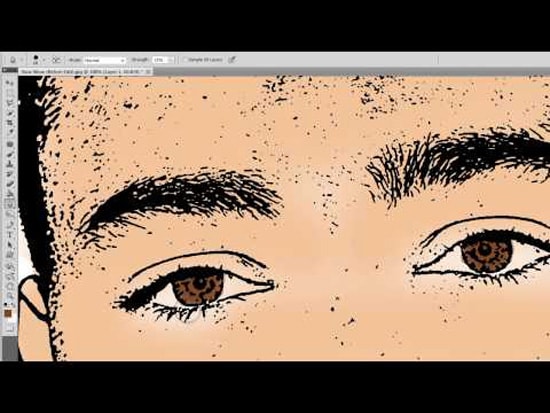
At first, open your desired image. Make a layer. You need to make a copy of background layer. Name it as sketch layer. Then, go to filter, sketch and stamp gradually. Zoom it well so that it suits your job. Balance the light or dark balance and smoothness as of your choice. Click OK. Select the original layer and lock it. Select eyedropper tool and select the sketch layer again. Now, select the brush tool and choose the desired size of the brush. Select the portion that you want to select. Choose the layer to normal to multiply. Then, select the eraser tool and select the size of the eraser to your own choice. Create another layer naming layer 1. On that layer, click right button and select merge layer.

Photo Courtesy – http://tkj-tarakan.blogspot.com/
Now, among these three layers, lock only original layer and unlock the rest two layers. Select eyedropper tool and use it where it requires. Now, unlock only original layer and lock the rest two layers. Select layer 1 and select brush tool. Use it and if any part is going beyond the desired section that you want then select eraser tool and erase it. Change the layer name from normal to multiply. Select blur tool now. Use it where you think is needed. On layer 1, select merge layer. Unlock the sketch layer and lock the original layer. Use eyedropper tool once again where it requires by selecting the eyedropper tool. Unlock the original layer now and select and lock the sketch layer. Select blur tool and use it where you feel it requires. Change the layer name from normal to multiply again. Select eraser tool now. Erase the portion if you think is required. Select blur tool and use it where it requires according to you. This sums up the process right here eventually.
