Use of Free Transform Tool in Photoshop
Typically when you use the crop tool or use image size or canvas size you’re working with the entire image. But what if you want to work on multiple images in the same canvas area or if you want to work on either just a part of the image? Well that’s when the use of free transform tool comes handy.
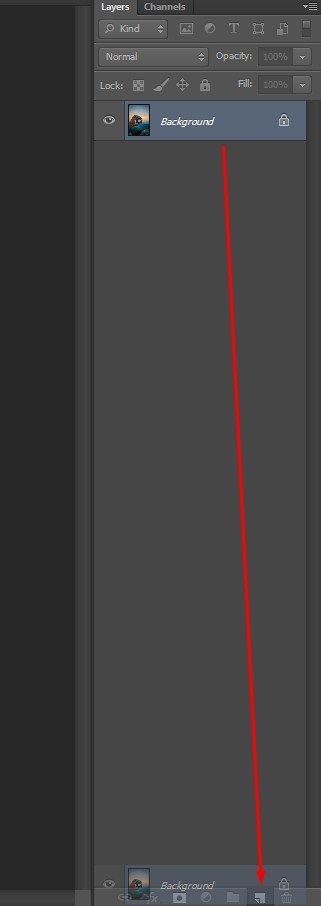
The first thing that you want to do is duplicate the background layer. Probably the easiest way to do that is just a select the background and then drag it down to the new layer icon at the bottom of the layers panel. Or simply press CTRL+J to duplicate the layer.
So now you have two identical copies of the same photograph. It’s the top layer that we are going to be working on with. Now rename the layer name, so just double-click where it says background copy and rename it with a new name. In this case we will call it New Image.
What we are planning to do is we will kind of a little bit of a distortion on a copy of the background and just make it a little bit smaller kind of like to get a little picture in picture affect. So with this top layer selected in your layers panel choose Edit and then Free Transform.
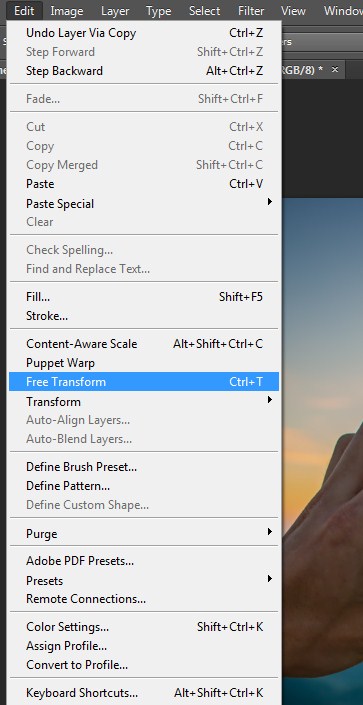
You can also go down to Transform instead of Free Transform if you want to and pick specific transformations like rotates or skews but for now let’s just select free transform. With the transformation bounding box you can simply click and drag to transform the image. But you will notice that you are not maintaining the perspective or the aspect ratio of the original image.
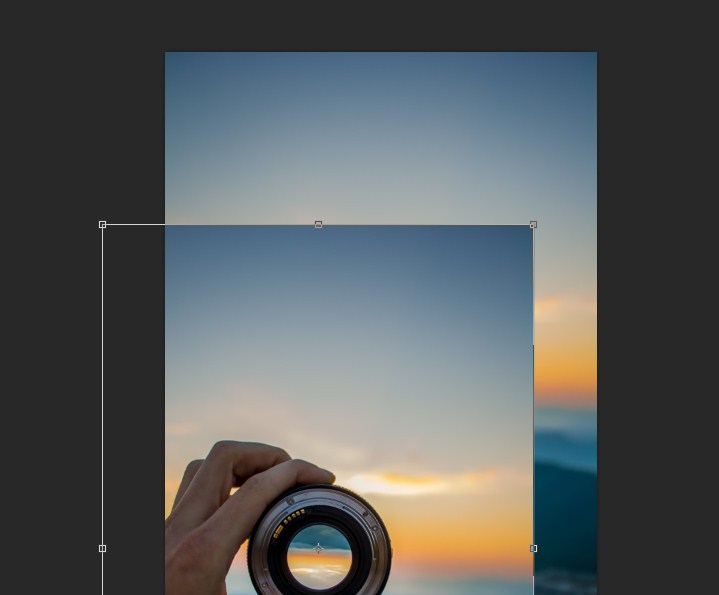
So to do a quick undo press Command + Z for Mac or Ctrl +Z for Windows. This time as you start dragging from the corner hold down the Shift key in order to constrain the proportions. You can also hold down the Opt + Shift or Alt + Shift key and drag and in this case you would be dragging from the center of the image. So we just want our image a little bit smaller so go ahead and scale it to the middle. Then if you position your cursor inside the transformation handles you can re-position this layer.
You could move your cursor outside of the transformation handles and you’ll notice you get the double-headed arrow.
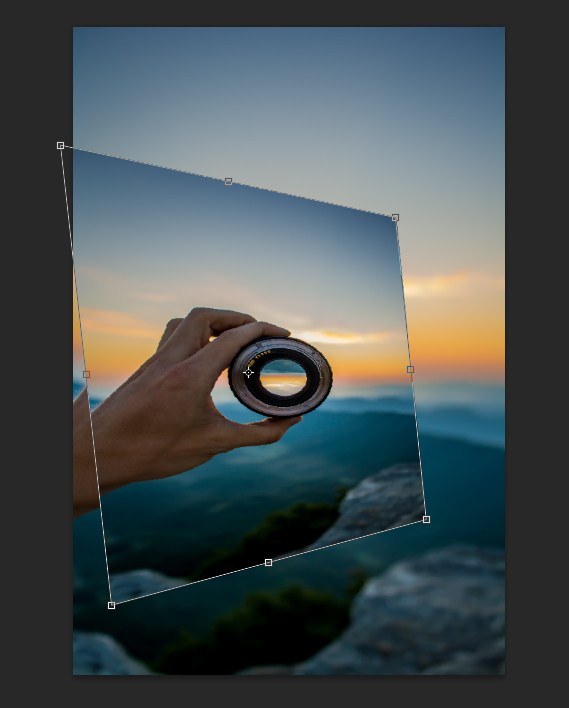
Now if you click and drag, you can rotate in either direction. You will see that it’s rotating around the center there it’s rotating around the anchor point.
You go ahead and undo that as well using Command + Z for Mac or Ctrl + Z for Windows. Now if you want to access maybe the Perspective Transformation option certainly you can go back to the edit menu and then selected from the list.
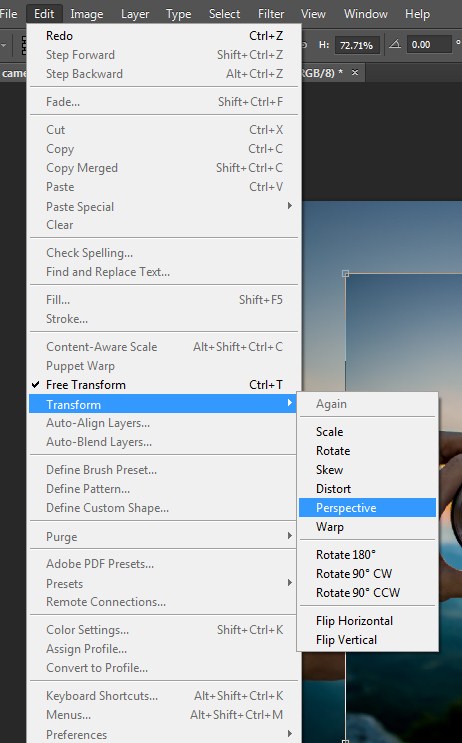
But a much quicker way would be to use the Context-Sensitive menus. So click on the right side of the mouse and click within the transformation, and then choose Perspective from the list.
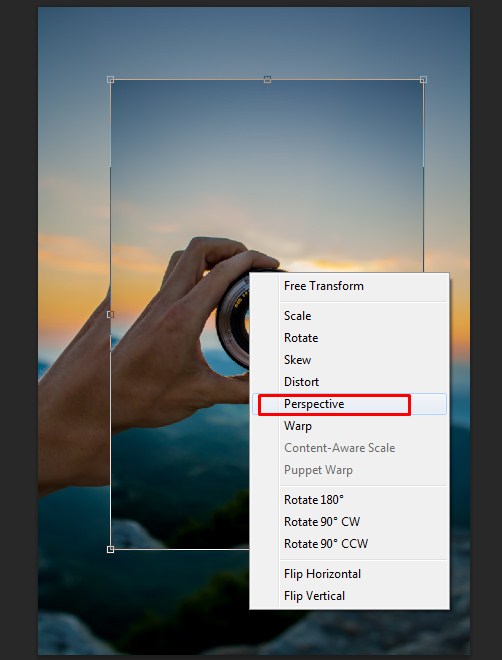
The nice thing about the using the Context Sensitive menu is that it also gives me access to flip your image either horizontally or vertically. But for now we will use perspective and then we will click on the upper right anchor point. Just drag down a little bit to give the image a little bit of a perspective. Then click on the right mouse click again and choose free transform and then just pull in from the left side a little bit.
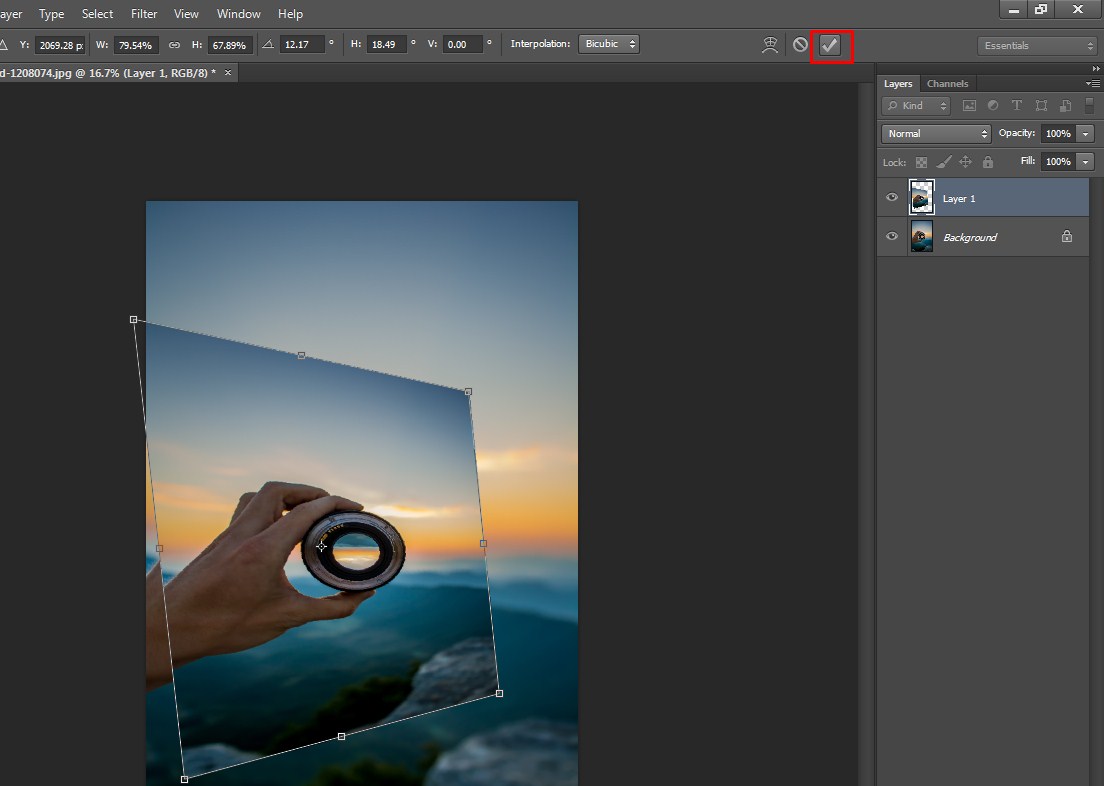
Re-position it so that it’s back in the center of the image. To apply that transformation go ahead and click the check marked up in the upper right hand corner.
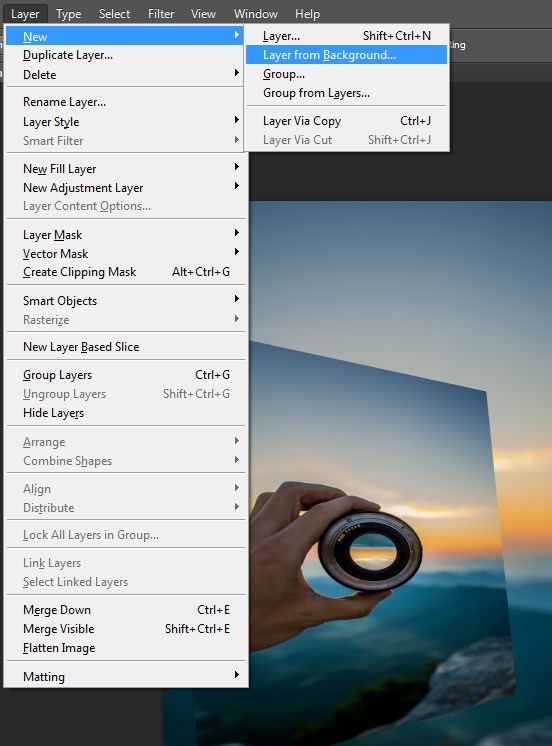
If you have noticed, so far it’s really hard to see any difference between the foreground and the background. It’s just very confusing with the two layers. So you want to take the opacity of the background layer down. But when you click on the background layer you’ll notice that the opacity is not available. So what you need to do is go to Layer > New and then Layer from Background.
With the dialogue box appears you will rename it with “Back end Image” or you can rename it with any other words. Click OK and then lower the opacity of that background image.
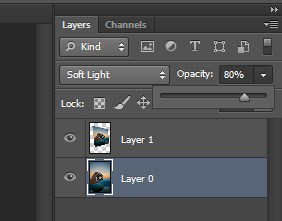
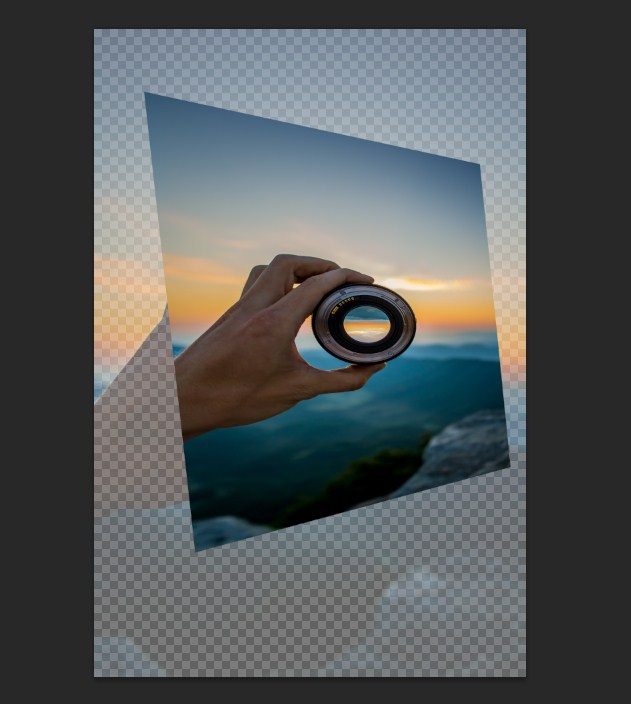
Now when you lower the opacity you start to see the transparent checkerboard.
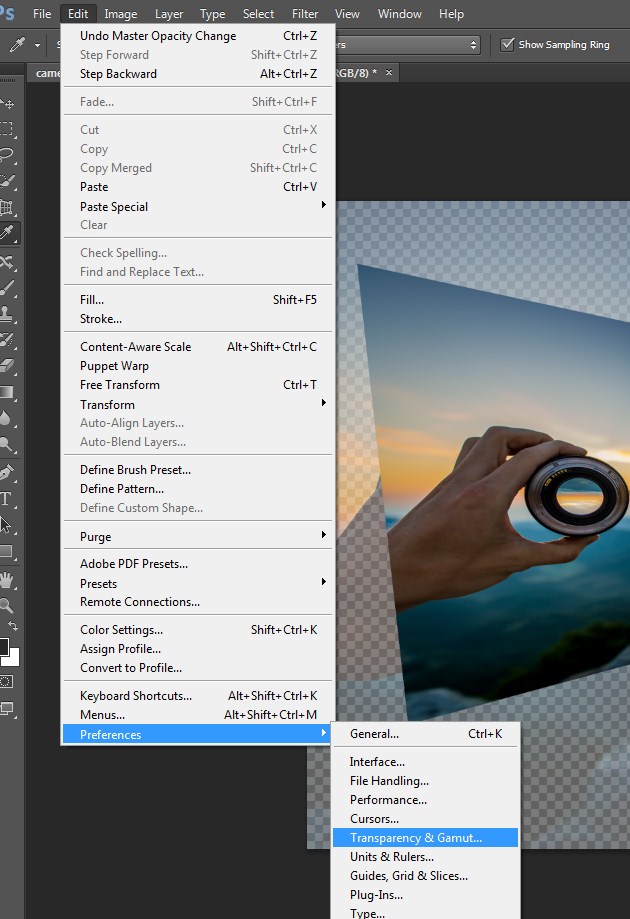
You can also turn that off by going to the Edit menu and then choose Preferences > Transparency and Gamut on Windows. For Mac use Preferences underneath the Transparency and Gamut.
For your Grid size, turn that to None.

When you click OK now we can see what this would look like when it’s printed. As the Check box is being replaced. This happens because Photoshop is displaying it as if it’s a flattened image, flattening all of your layers to white.
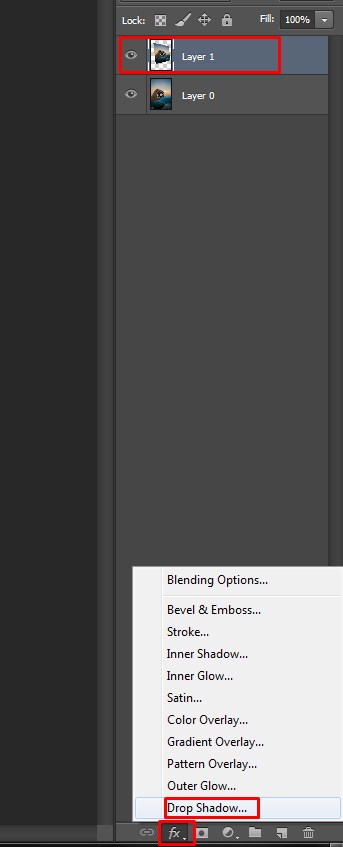
In order to create some separation between this front image in the back image, one last thing that you might want to add is a simple drop shadow. You need to make sure that on the Layers panel you selected the New Image and then choose the Drop Shadow from the effects menu.
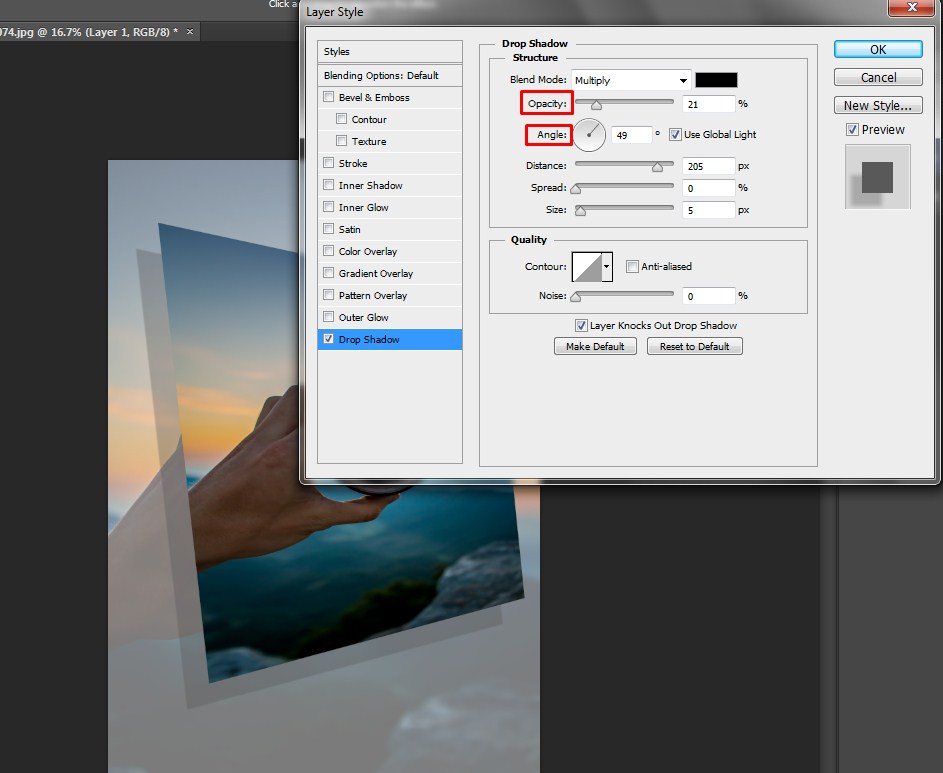
One of the nice things about the Drop Shadow is instead of changing the Distance and the Angle numerically you can simply position your cursor in the image area and click and drag to move this Drop Shadow around.
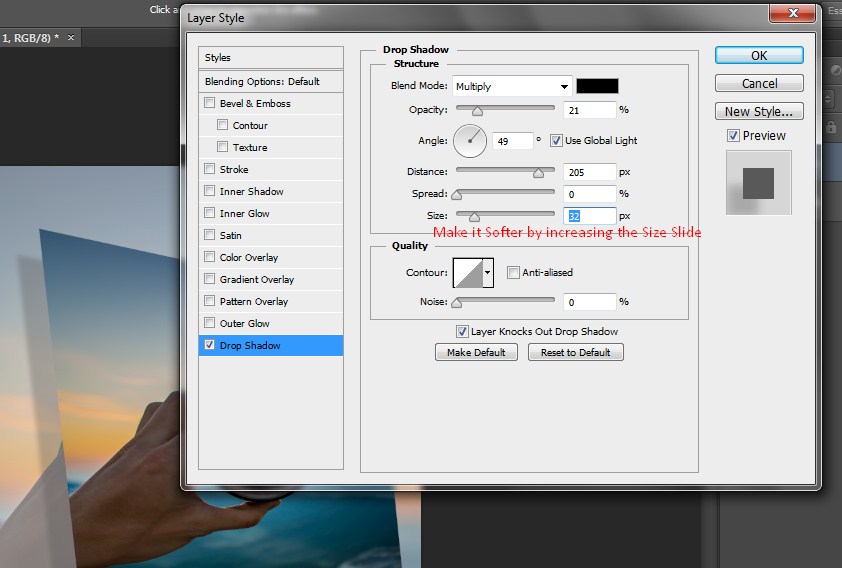
Move the Drop Shadow a little further away from your image and you may make the drop shadow little softer by increasing its value.
Now when you click OK you can see that the drop shadow really helps separate the front image, which is been transformed from the flat original bits greenback copy in the background.
So this is one of the more basic examples of Free Transform but you can imagine if you’re actually trying to lay out a design or using multiple images or you’re trying to create a composite image that looks realistic using images from more than one photograph, Free Transformation really plays a critical role in getting your images to be the right size and look like they belong in the same scene.
Related Articles:
Free Transform: Photoshop CC 2019
Free Transform Tool in Photoshop
Free Transform Essential Skills And Shortcuts
How to Use the Free Transform Tool in Adobe Photoshop
Free Transform in Photoshop CC 2019 – New Features and Changes

As much as we all want to feel beautiful in photographs, for most photographers, the goal is to make a subject look as she would on her very best day, which is not recognizable. It … Continue reading About “Lightroom Photo Retouching”
Read More
In this tutorial, you will learn how to create a smoky text effect using Photoshop. I hope it will help you both the beginner and advanced level of students in a great deal. At first, create … Continue reading How to Create a Smoky Text Effect in Photoshop
Read More