Usage of ‘Dodge and Burn Tool’ in Photoshop
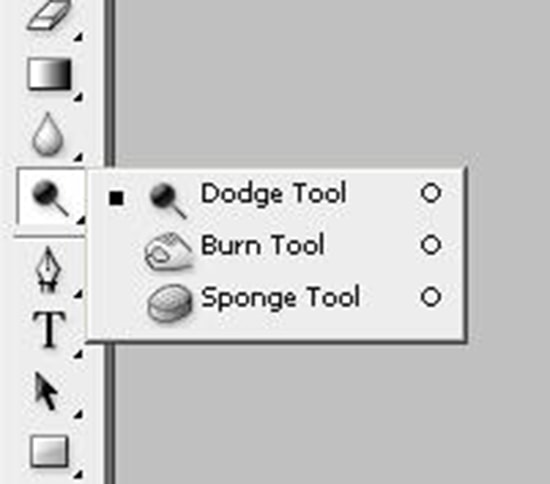
In this tutorial, you will get to know about the tool that is used for many purposes and one of the most important tools in Photoshop coined as the ‘dodge and burn tool.’ When you click on it, you will also see that ‘O’ is written beside the clone stamp tool which tells you that it is also a shortcut form of the dodge and burn tool. There is a tool named ‘Type tool’ in Photoshop. When you click on that type tool, if you click ‘O,’ it will automatically take you to dodge and burn tool. I hope that it will be very helpful for all and for the beginners especially.

You can use the dodge tool and burn tool to produce tonal adjustments in an image. You use the dodge tool to lighten an area in the image and you can use the burn tool to darken an image area. Therefore; in order to use this tool, at first select the tool that you want to use from the tool box. After you have selected, you can go up in the options bar and select your brush settings, range drop down tool which will help you to determine what you want to change, then you can set the exposure which is there in the slider and which sets the intensity of an effect. After that, just select and click and drag in your image to lighten it up. Now, to get an opposite effect, use the burn tool. Select it and go into the options bar and we will leave our brush size which is set as separated for this tool. With the range this time though, we want to select the highlights. We change our exposure too. We will go back to our image and click and drag it and you will see that we can make some changes to these tonal adjustments. If you want to protect it from some unwanted changes, you can use the protect tones tool to do that. So, you can make some subtle changes in an image as well as protect tones by using dodge and burn tool actually.

