How to Vanish Objects with Clone Tool in Photoshop
In this tutorial, you will learn how to vanish objects with clone tool through Photoshop. I hope it will help the beginner level students of Photoshop specially.
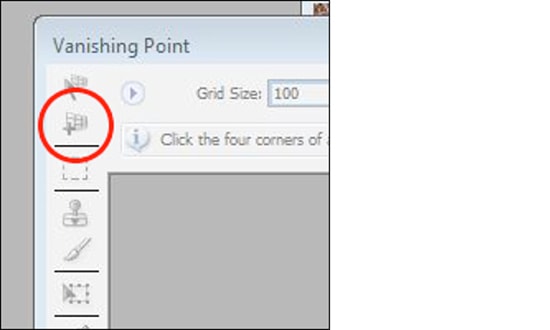
The way that vanishing objects with clone tool works is basically two steps process. You need to draw a grid that matches the perspective of your photograph and then you either paint or added inside of that grid. So, we start by drawing the grid. You need to use the ‘Create Paint Tool’ to do this and that is selected by default. Next, you need to clone tool to clone away the objects that are there in the picture there. It is a bit like standard stamp tool with a little difference which is that – it clones in perspective. Now, you need to drag that clone tool by pressing the ALT key and click on some point to set the source of your desired clone. You can also increase the brush size of yours by pressing the right bracket key in the keyboard. Once the desired cursor is visible and it is in position, you can use that to remove or vanish the objects from the image of your own choice by clicking and dragging to cover up that brush. After that, you can release. It is very useful for anyone to turn on the healing function in the toolbar because it works very nicely. In that way, you can vanish the objects from an image by using the clone tool in Photoshop.