How to ‘Lengthen the Neck’ in Photoshop
Most magazines and newspapers are trying to use the female models across the globe whose neck is lengthy. If they do not find those models, they are trying to use artificial way of extending the neck of those models for their newspapers or magazines. And here comes the use of Photoshop.
It is basically a 3 steps process which is very simple. First of all, open the picture of a model in a Photoshop. Then use the rectangular marquee tool and make couple of selections. Firstly, it is related to the top portion of the picture and coming down just below the model’s chin. Then go to layer>new>layer via copy chronologically from the top of the menu bar. Name the layer as ‘Head’ layer for your own good. Re-select the background layer after that. Use the rectangular marquee tool once again but this time only the chin and not below the shoulder line to make it work. Again go to layer>new>layer via copy chronologically from the top of the menu bar. Name the layer as ‘Neck’ layer.
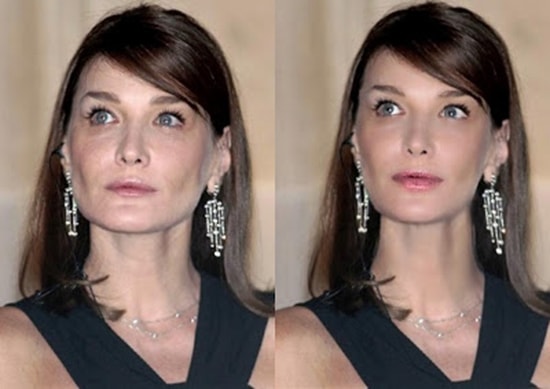
Photo Courtesy – http://galleryhip.com/
In the second step, select the head layer. Select the move tool and press 4-5 times on the face which tells us that it helps us to move the head layer a little bit higher than the original. Lastly, select the neck layer and select edit>free transform from the top of the menu bar to bring up the handles. Now, select the top handle and move it upwards until the bottom portion of the pictures joins the top. When you press enter, you will see the change in head and neck layer. It does not necessarily related with the hair. Whether the model has long hair or short, the process is still the same. That brings us to an end of this whole process. Hopefully, it helps you in a great deal.

Here, you will learn on how to create splatter effects from an image in Photoshop. I hope it will help you both the beginner level of students in a great deal. Photo Courtesy – https://designquickpoint.wordpress.com/ At … Continue reading How to Create Abstract Lighting and Shapes in Photoshop
Read More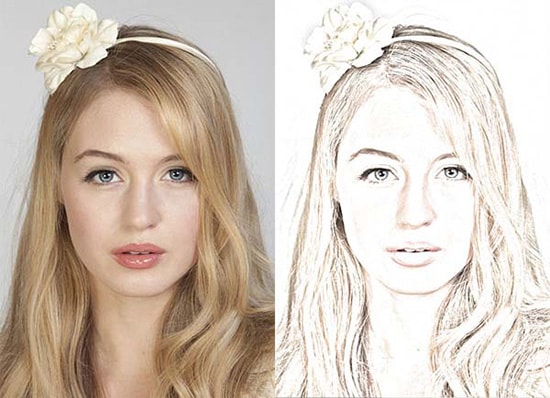
Here, you will learn on how to create flare effects in Photoshop. I hope it will help you both the beginner and advanced level of students in a great deal. Photo Courtesy – http://www.instantshift.com/ At first, … Continue reading How to Create Drawing Effects in Photoshop
Read More