How to Create Alpha Channel Masks in Photoshop
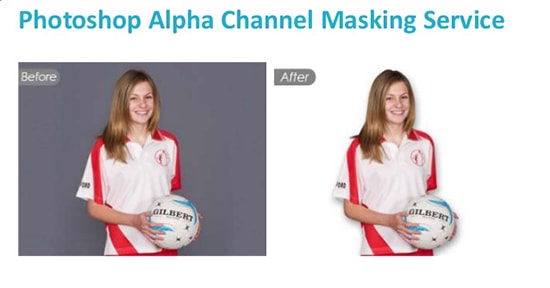
Here, you will learn on how to photo edit by creating Alpha Channel Masks effect in Photoshop. Therefore, we are going to work in the Alpha Channel. We are going to make use of Alpha Channel for masking.
Courtesy – Fotografer.com
Open any image in Photoshop which will be used for Alpha Channel Mask. Draw in a selection using the Elliptical Marquee Tool. Go to Select> Modify> Feather Selection and set the Radius to 35 pixels. Open the Channels Panel and click on Save Selection as Channel. Photoshop adds a new channel below the other channels and names it as Alpha 1. Now, switch on the Alpha channel. While working on the Alpha channel, you will see how all other channels automatically switch off. Deselect the selection. Go to Filter> Noise> Add Noise. Set an amount that suits your image. Now, again go to Filter> Brush Strokes> Crosshatch. Make some adjustments afterwards. Press CTRL and click the channel thumbnail of Alpha channel.
Press CTRL + Shift + I to select inverse. Set the Foreground and Background colors to White and Black respectively. Select Gradient tool and modify its settings. Go back to the Layers Panel. Create a new layer. Apply the gradient tool onto your image. That should be it.
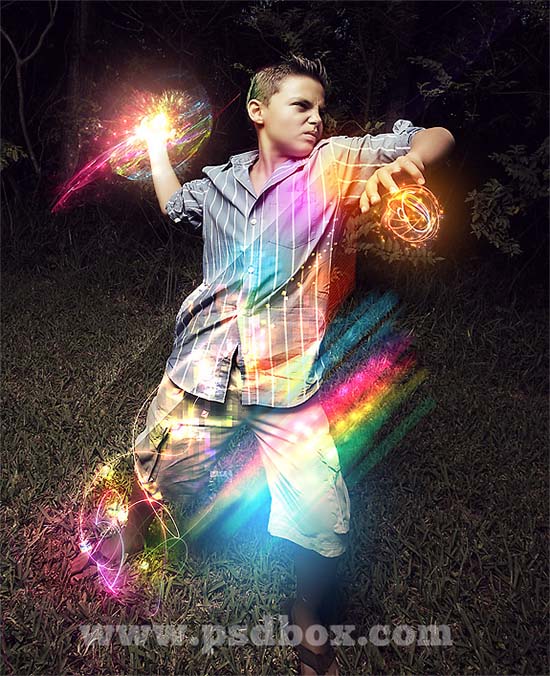
Here, you will learn on how to create light effects in Photoshop easily. Here, we will play with blending modes, adjustment layers and brushes. You will get the best result when you create a dark … Continue reading How to Create Amazing Light Effects in Photoshop
Read More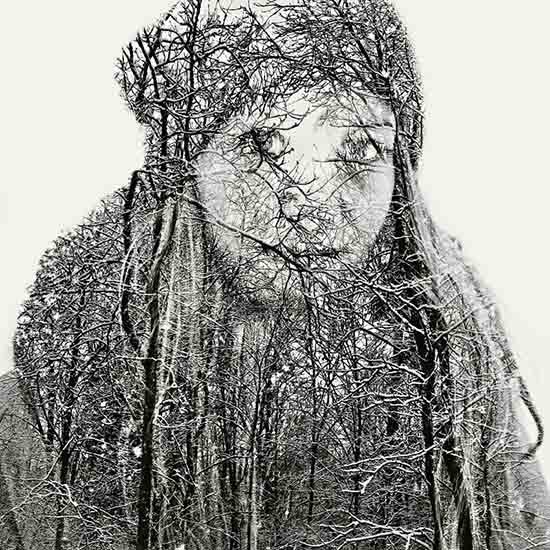
Here, you will learn on how to create a double exposure effects with photo edit in Photoshop. I hope it will help you both the beginner and advanced level of students in a great deal. … Continue reading How to Create a Double Exposure Effect in Photoshop
Read More