
How to Create a Rose of Fire in Photoshop
Today you will learn how to create beautiful flaming rose using Adobe Photoshop. You will need an image of a rose for this. At first, open a new 800 x 800 pixel document in Adobe Photoshop. Use the ‘Marquee Tool’ to select the rose you would like to impersonate. Copy and paste to place your rose reference in the new document and resize it with the Free Transform Tool by pressing control T. Select your Brush Tool. Set the Size to 5 pixels, the Opacity to 100% and check the Pen Pressure option under Shape Dynamics. Now use the Pen Tool to begin tracing the petals of your rose. Then right-click to Stroke Path and make sure that the brush and pen pressure options are selected. Fill the background with black. Go to Image> Adjustment Layer> Hue/Saturation and bring the Brightness up to turn the line art white. Quickly add a bit of depth to your line art by burning the edges with the ‘Burn Tool.’
Select your line art again and right-click to go to Blending Options and make some adjustments. Add a new layer above your line art and fill it with mustard yellow. Set the layer to ‘Color Burn.’ Add a second new layer above that one and set it to ‘Overlay’ with a fill of orange. Use the ‘Radial Gradient Tool’ to create a white gradient in the center. On a new layer underneath the line art, use the ‘Brush Tool’ to add some volume to the inner parts of the rose. Because of all the adjustment layers on top, the colors will automatically apply. Merge these layers together. Copy and paste your fire reference onto your document. Set the layer to Lighten and use the Free Transform Tool to warp the fire so that it adheres to the petal well. Continue adding more fire until your entire rose is full. On a new layer set to ‘Overlay’ use the Brush Tool set to the color black to paint in depth between the petals. You can keep your flaming rose as it is or finish it with a little play on depth of perception. Simply copy and paste another fire reference onto the document. Resize it, and erase any parts that are overlapping the rose. And that’s it. I hope you will apply this technique to different things.
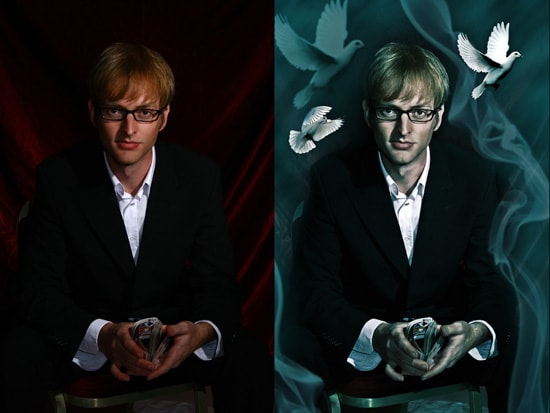
Here you will learn on how to achieve a cinematic effect on your image in Photoshop. It can be done using color curve layers with some shortcuts using color adjustment layers and color lookup adjustment … Continue reading How to Create a Cinematic Effect Using Photoshop
Read More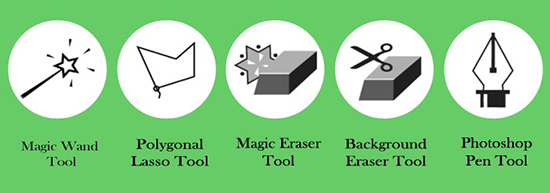
The most annoying part while designing a picture image is the unwanted background you have to try to remove. Fortunately, Photoshop has a number of helpful tips to remove background from image. This includes – pen … Continue reading 5 Photoshop tools to Remove Background from Images
Read More