How to Create a Pencil Photo Sketch in Photoshop
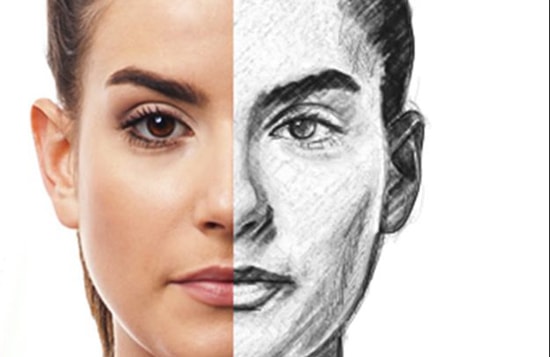
Here, you will learn on how to create a realistic photo sketch using pencil in Photoshop using some simple filters. You can create your own digital sketch drawing in just a few minutes.
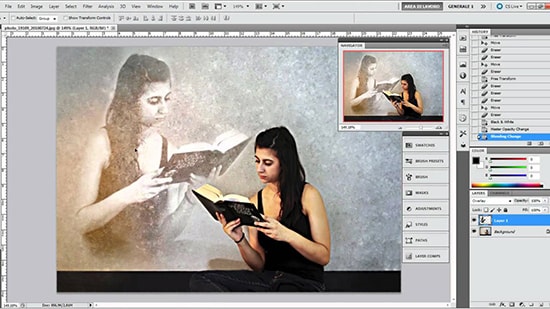
Let’s start by choosing a background image texture. You have to de-saturate the paper texture. Add the photo of your choosing. Set the Foreground color black and Background Color white. Duplicate the Person Layer three times. Select the layer 2 of a person and go to Filter> Sketch and choose Stamp. Select the Person 3 Layer and use the same Stamp filter but with different settings. Return to the layer 2 of a person, open the layer style window and hide the white color. Right click on the Person 2 Layer and choose ‘Convert to Smart Object.’ Repeat this process with the layer 3 of a person. You can use a simple pencil sketch pattern that you have made and add it as ‘Pattern Overlay’ for the layer 2 of a person. Create the sketch pattern for yourself.

Photo Courtesy – https://photoshoptrainingchannel.com/
Do the same thing for the layer 3 of a person but resize the pattern a little bit and also drag the pattern to obtain a non repetitive result. Select the layer 4 of a person and go to Filter> Sketch and choose Photocopy. Change the blend mode of the layer 4 of a person to ‘Multiply.’ Place the Person 1 Layer above all the other layers and change its blend mode to ‘Screen.’ In addition, add a Hue/Saturation and Brightness/Contrast adjustment layers only to this layer. Next, use a copy of the Rough Paper Texture and place it above all the other layers. De-saturate the texture and change its blend mode to ‘Multiply.’ You can adjust the pencil pressure and color intensity by adding a Brightness/Contrast adjustment for all the layers. That sums up the whole process. If you want you can use some pencil brushes instead of the sketch pattern or you can use both for a better result.
