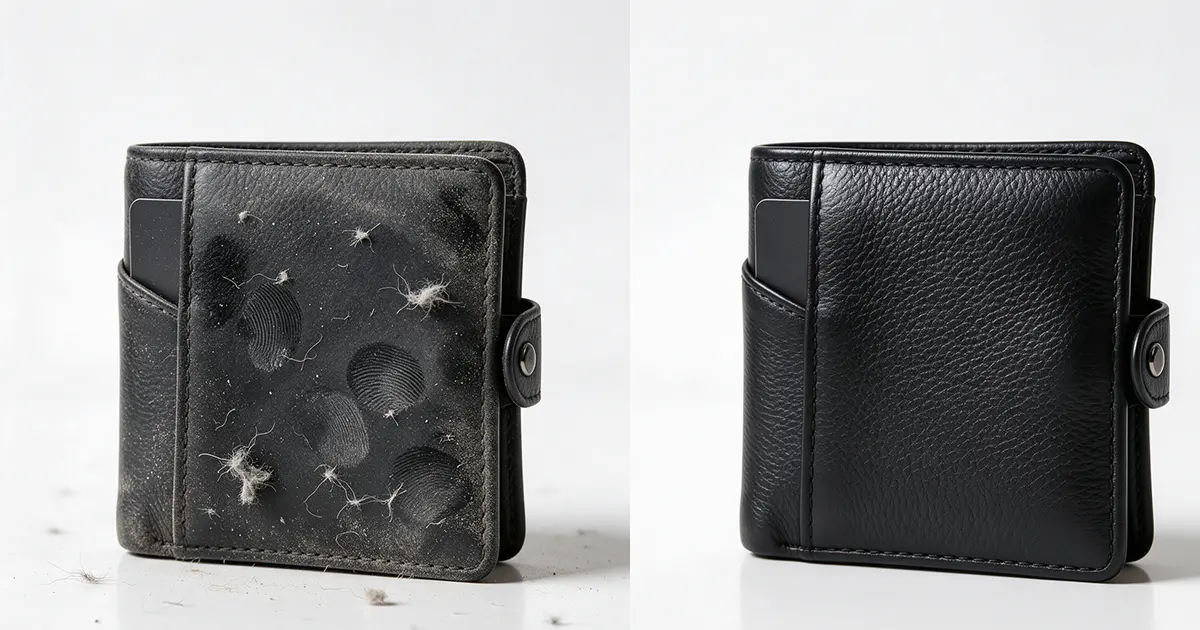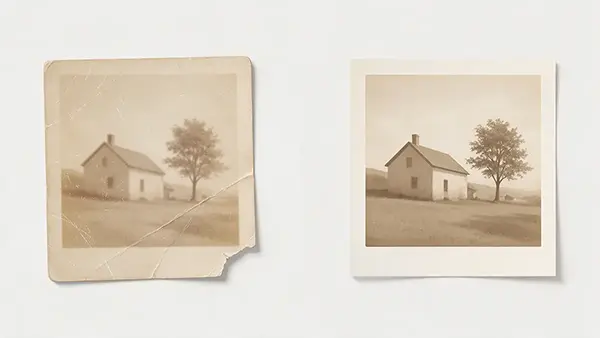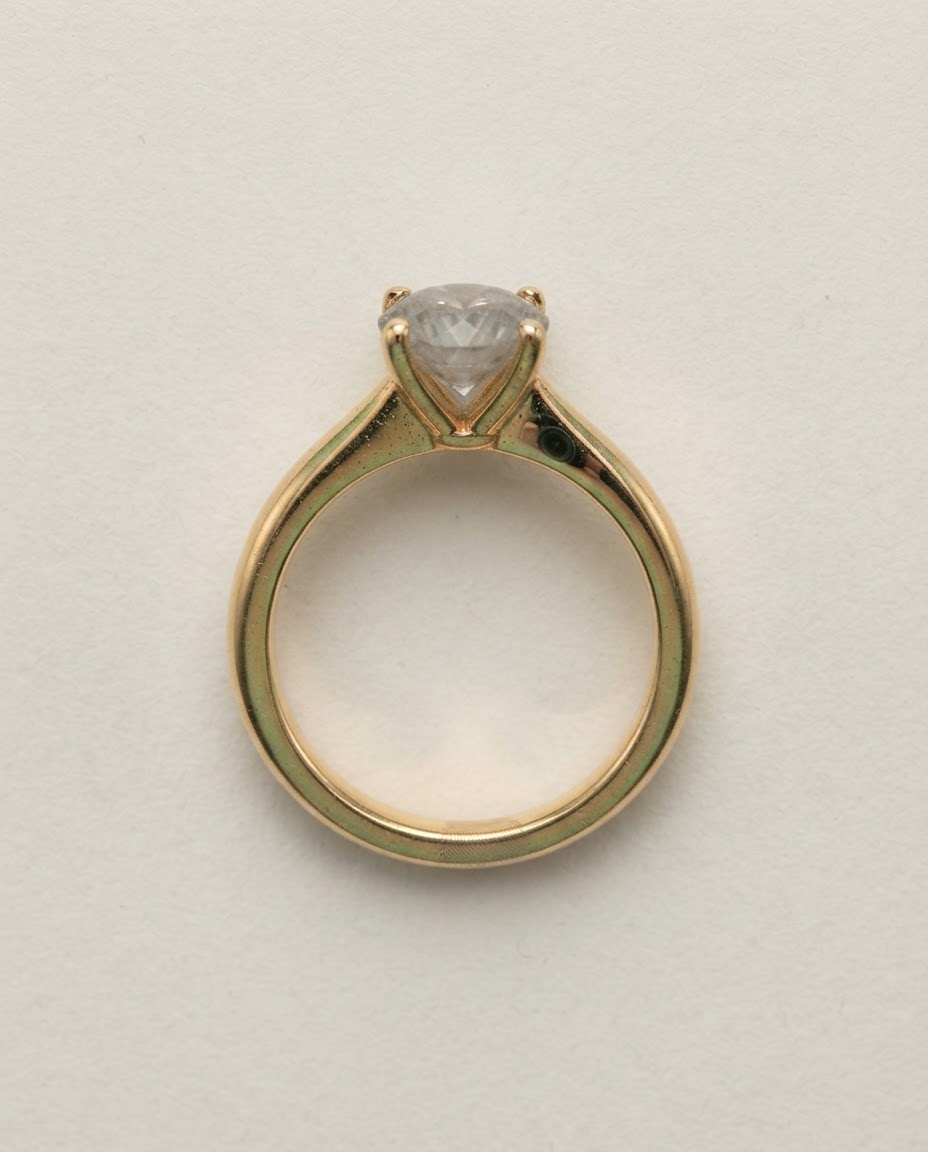
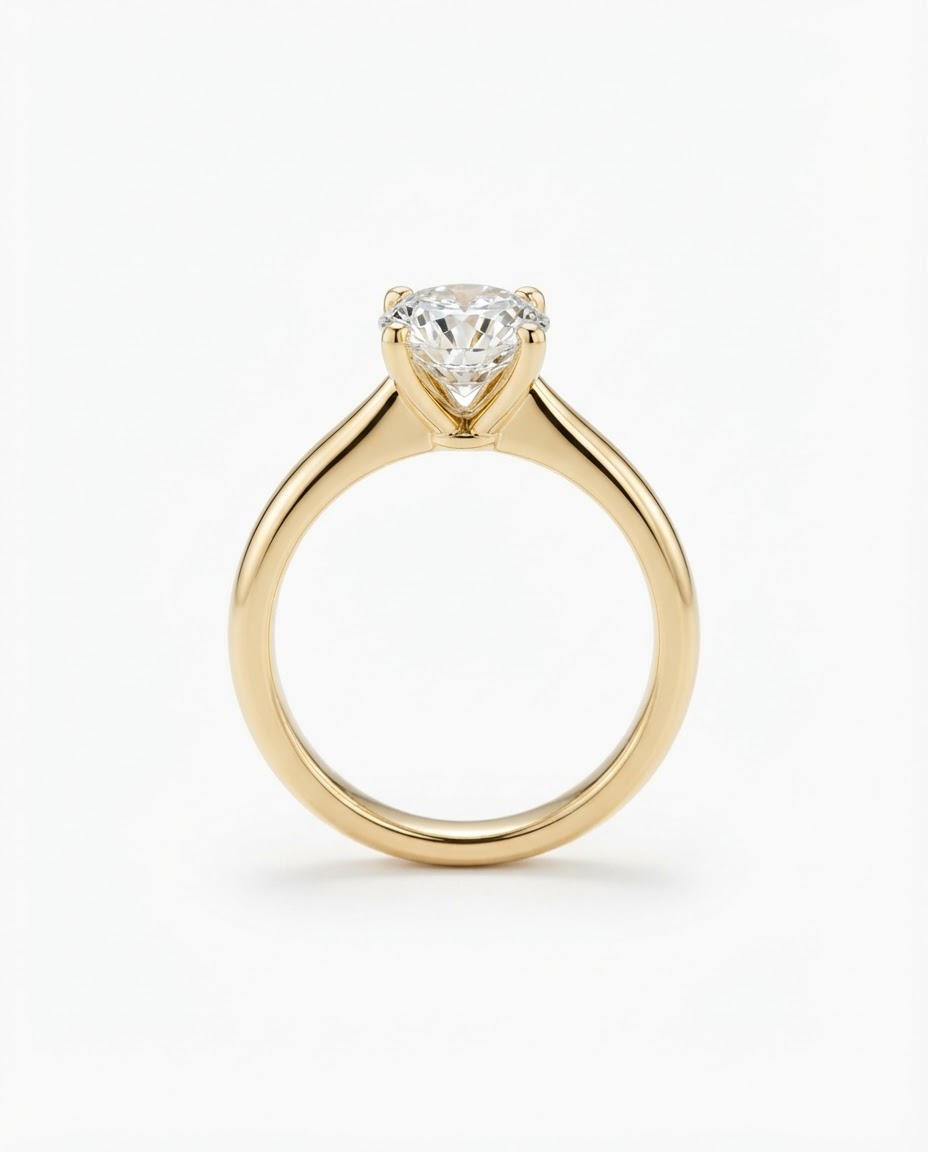
Illustrative example images showing the kind of difference jewelry retouching makes. Not client work.
A jewelry photo has one job: let a shopper judge a piece they cannot hold. That is harder than it sounds. Polished metal mirrors the studio, gemstones lose their cut under flat light, and a single fingerprint looks huge at product-page zoom.
Jewelry retouching is the post-production work that fixes those problems while keeping the piece recognizable. It covers metal color and finish, gemstone clarity, dust and fingerprint removal, and reflection control. It also covers matching a whole collection so every image looks like it belongs to the same brand.
This guide explains how each problem is commonly handled in Photoshop, which problems belong on set instead, and how to evaluate a jewelry retouching provider. It also uses a real 1,200-image jewelry batch from ClippingPathService.com to show what precision and quality control look like at volume.
What Jewelry Retouching Includes (and What It Does Not)
Jewelry photo editing is often lumped together with background removal. They are different jobs.
| Service | What it does | Where it fits |
|---|---|---|
| Clipping path | Hand-drawn vector outline that isolates the piece from its background | Marketplace-ready white or transparent backgrounds |
| Background removal | Removes or replaces the background, by path, mask or automated tool | Catalogs, cutouts, composites |
| Jewelry retouching | Corrects metal color, stones, dust, reflections and tonal balance inside the piece | Making the product itself look accurate and clean |
Many jewelry images need both. The path defines the edge. The retouching decides how the metal, stones and highlights inside that edge look. A job that only needs a clean white background does not require full retouching, and a job that needs accurate gold and clear stones is not solved by a cutout.
The guiding rule for all of it:
Enhance what the camera lost. Never add what the piece does not have.
Over-retouching can make an image look better and the product less believable. If a buyer opens the box and the diamond looks different from the listing, the image has done its job badly, however good it looked on screen.
Why Metal, Gemstones and Reflections Need Different Edits
Each surface reacts to light differently, so each needs its own treatment.
- Metal reflects its surroundings and shifts color with them. The main risks are color casts and lost finish.
- Gemstones refract and reflect light through facets. The main risks are flat contrast and lost facet definition.
- Reflections are part of what makes polished surfaces look polished. The main risk is removing too much, or leaving studio clutter in the band.
A single global adjustment, such as raising brightness, helps one of these and damages the others. Professional editing isolates each material and treats it separately.
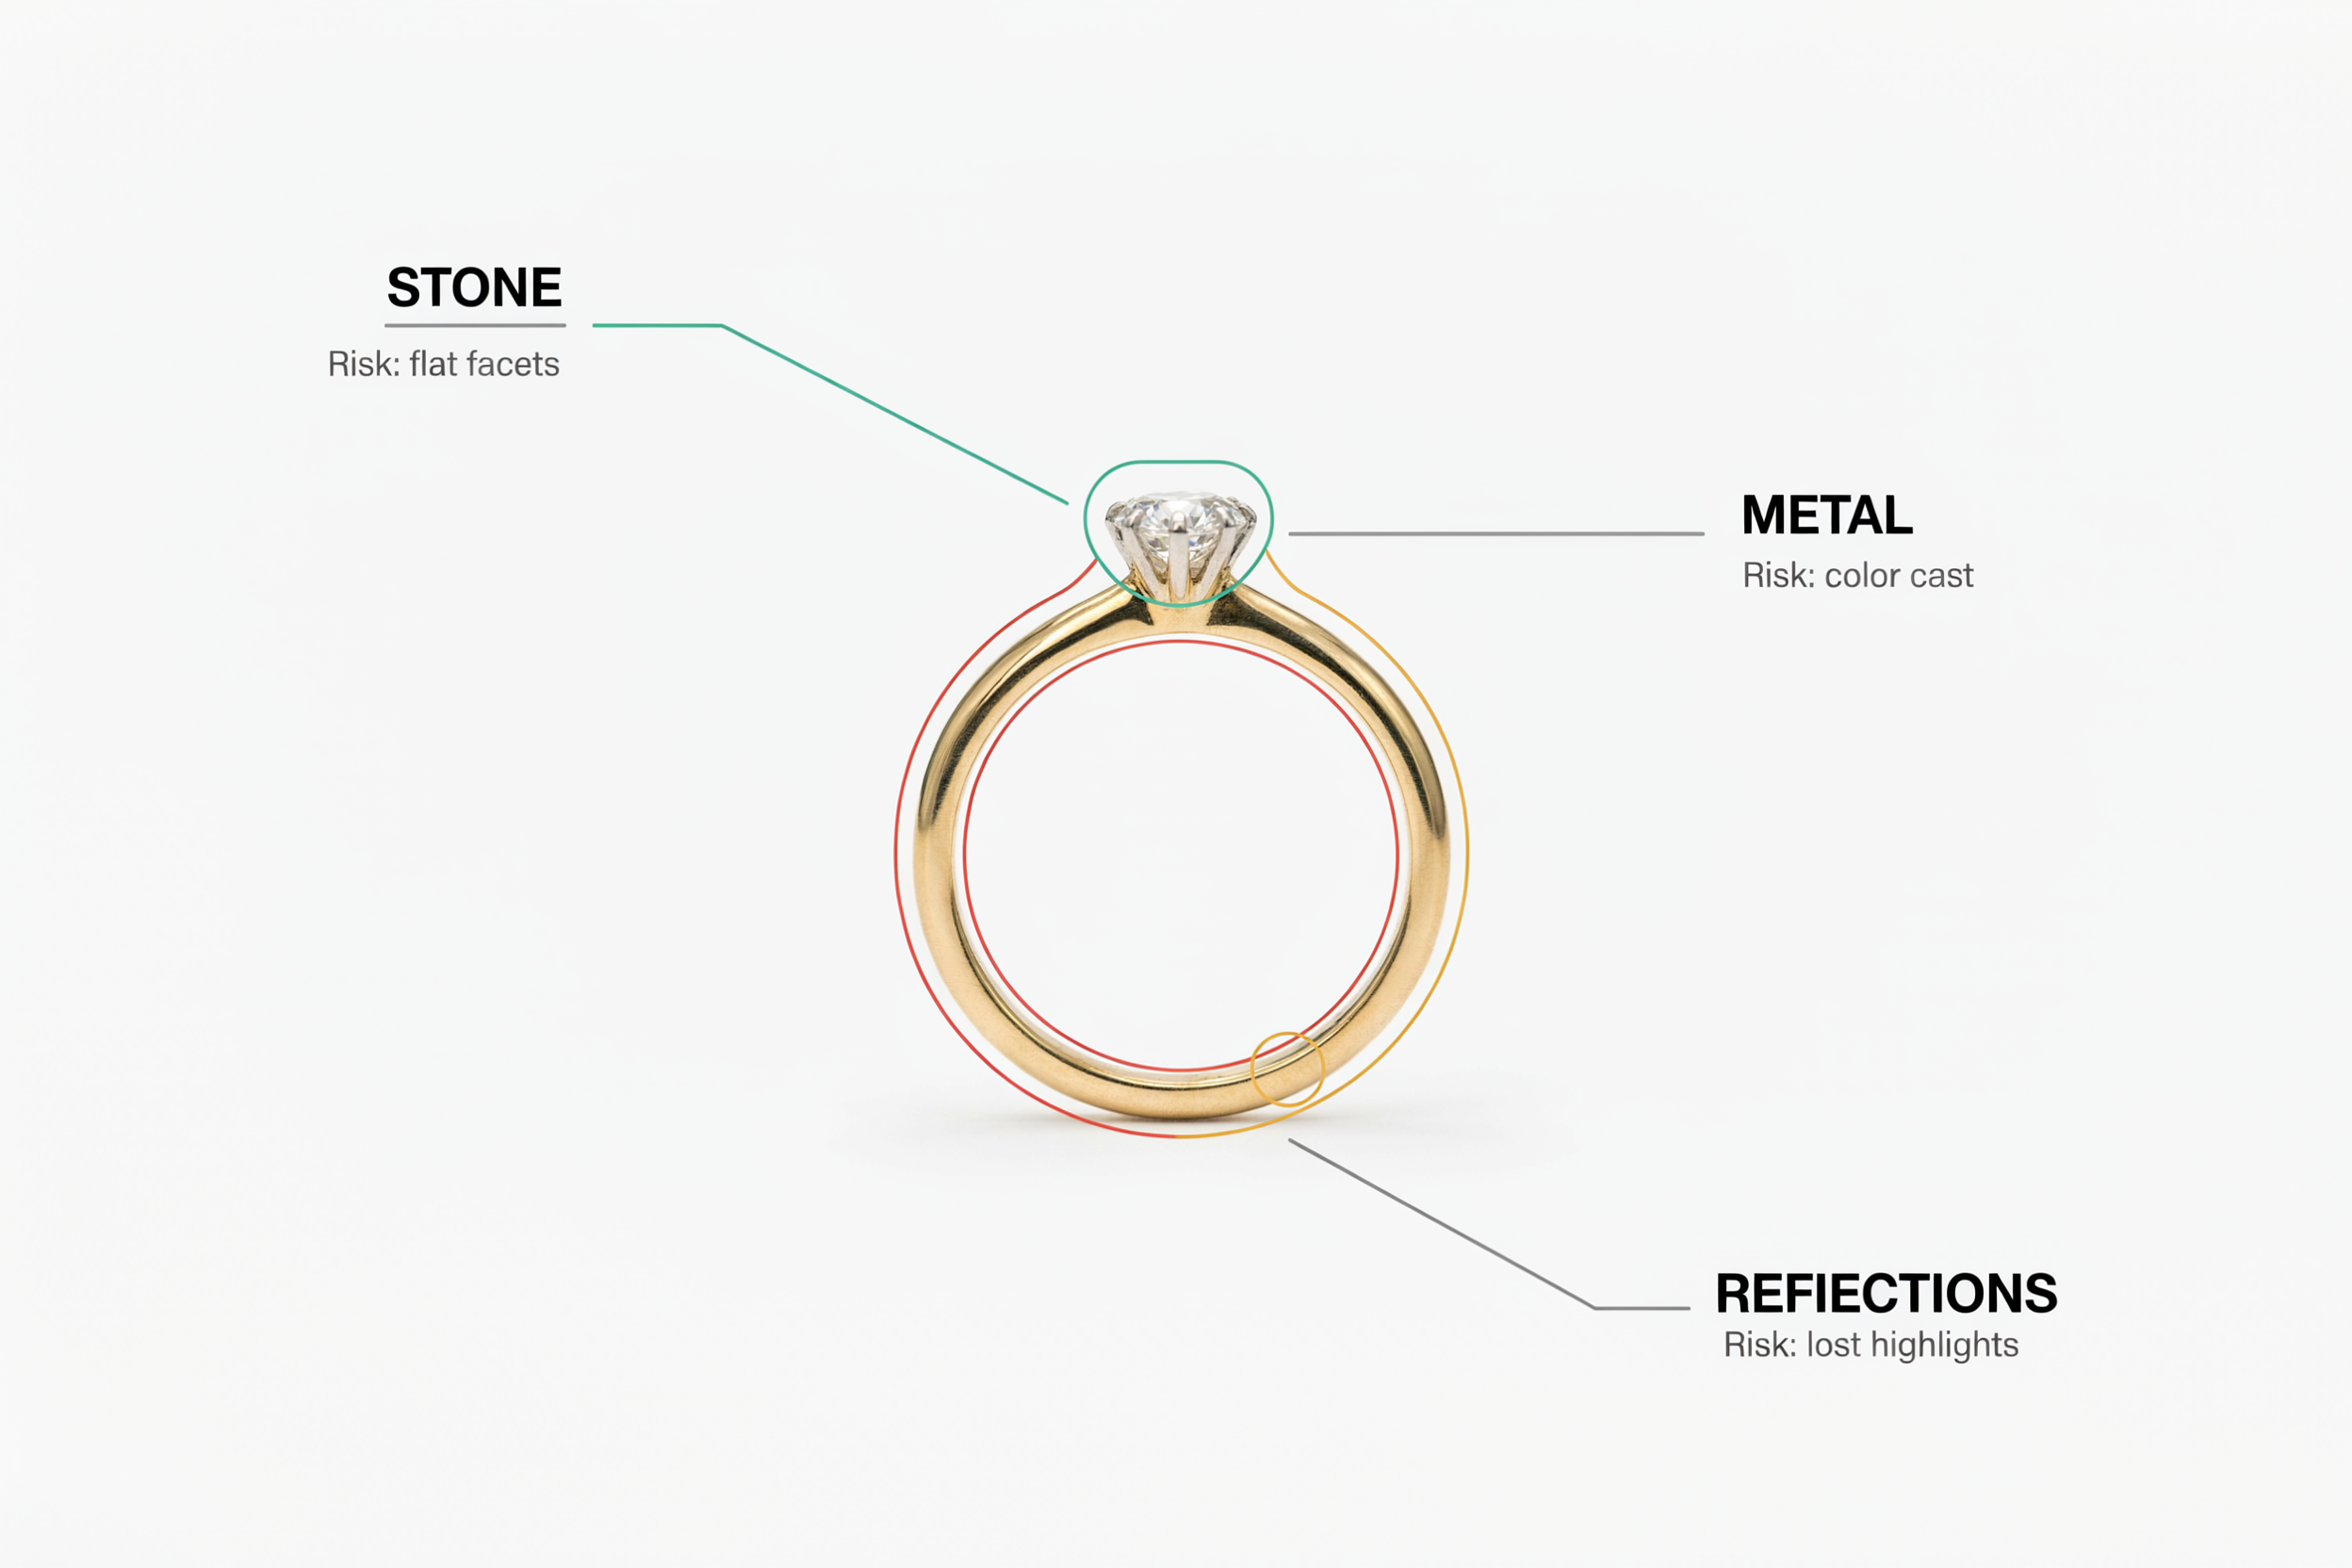
Illustrative example. Metal, stones and reflections are edited as separate zones.
A Note on the Photoshop Techniques in This Guide
The techniques below are common professional approaches, not fixed rules. The right adjustment depends on the source image, the lighting, the metal and stone involved, the output size and the brief. Curve strength, sharpening amounts and zoom levels are starting points that a retoucher adjusts for each image. Always judge the result against the original piece.
Metal: Correcting Color and Keeping the Finish
What goes wrong
Yellow gold drifts green or orange. White gold and platinum pick up a blue or warm cast. Rose gold looks pink in one image and brown in the next. Brushed metal turns glossy after heavy smoothing, and polished metal goes dull from flat light.
How it is corrected in Photoshop
- Set a neutral baseline first, when a reference exists. If the shot included a gray card or another neutral reference, the gray eyedropper in Curves or Camera Raw can correct white balance before the metal itself is touched. This removes a cast from the whole image instead of patching it later. Without a reference, color is judged against the real piece or an approved reference image.
- Isolate the metal. Make a selection of the metal with the Pen tool or a careful mask, then apply adjustments through that mask. This keeps stone and background colors from shifting.
- Correct color with adjustment layers. Use Selective Color, Hue/Saturation or a Curves layer in a single color channel, clipped to the metal mask. Small, targeted changes usually look more natural than strong global edits, and adjustment layers stay editable.
- Fix color without changing brightness. Sample a good area of the correct tone, paint softly on a new layer set to the Color blend mode, and lower the opacity. The Color blend mode changes hue and saturation while leaving tonal detail intact.
- Shape highlights with dodge and burn. Create a 50% gray layer set to Soft Light, then paint with a soft brush at very low flow. This rebuilds smooth gradients across a band or bangle without flattening it. For tighter control, use two Curves layers, one to lighten and one to darken, and paint on their masks.
- Protect texture. On brushed, hammered or matte metal, blur-based smoothing such as Gaussian Blur or Surface Blur usually erases the grain that identifies the finish, so it is generally avoided. Dust is typically cleaned by hand with a healing or clone tool instead, and the result is checked at 100% zoom.
How to check it
Compare the edit with the original at the same zoom, and with a reference photo of the same piece if you have one. Toggle the original layer on and off. If the metal looks like a different alloy, the edit went too far.
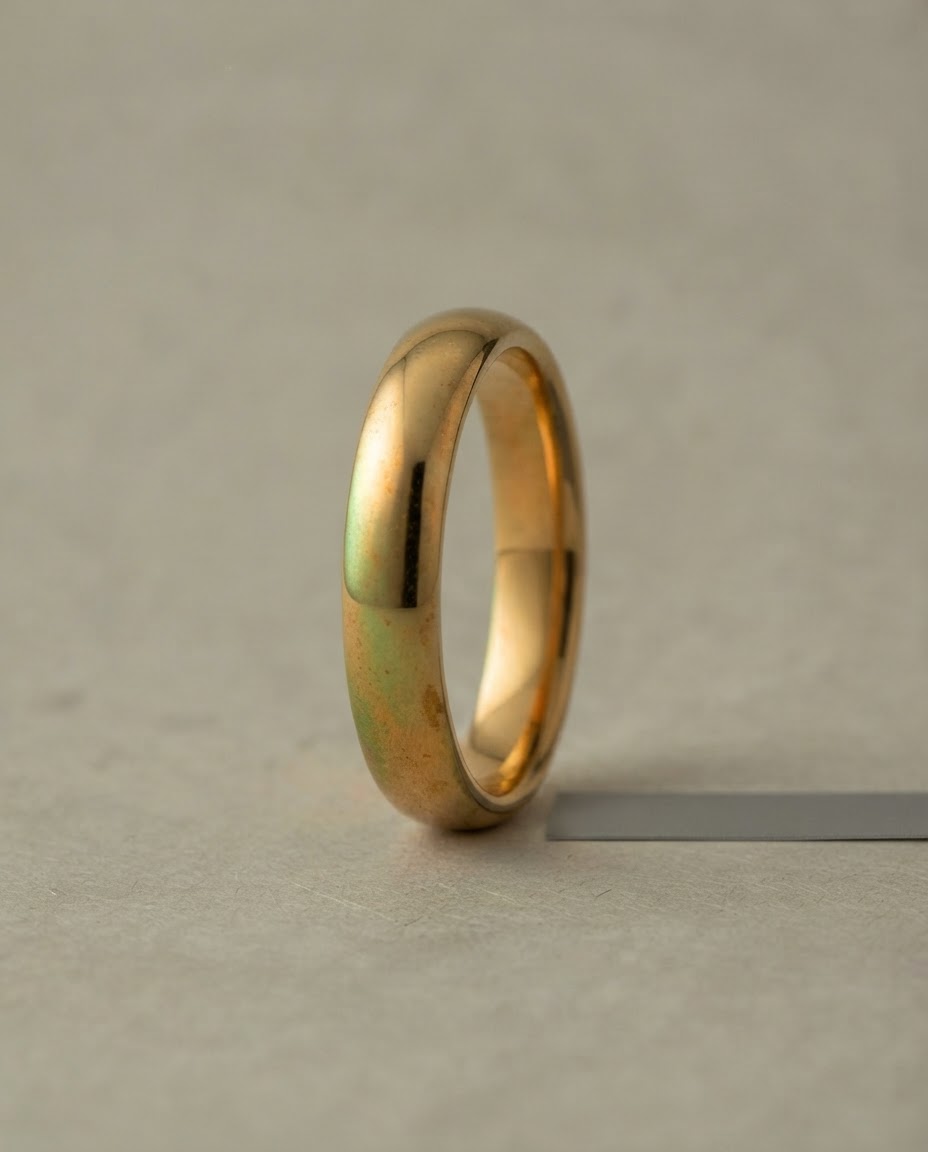
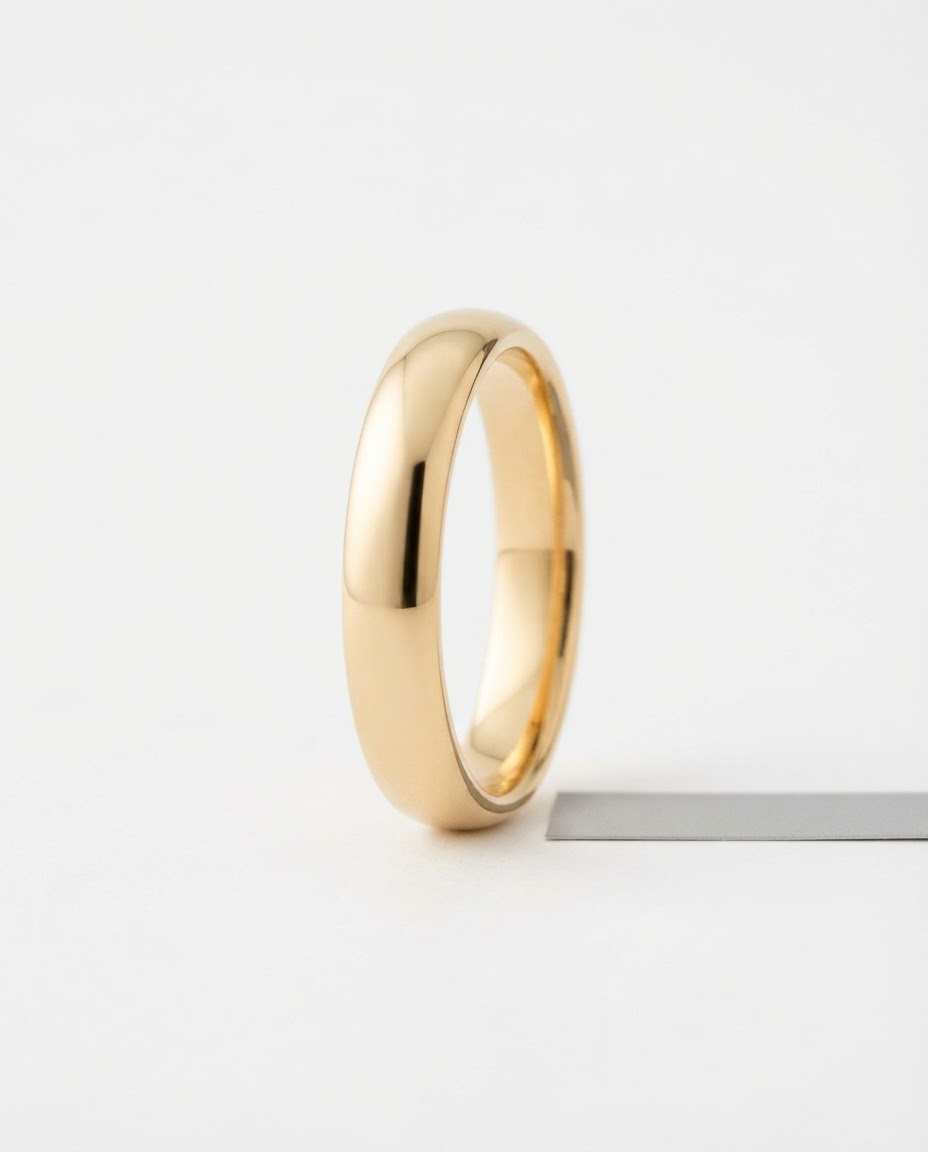
Metal color corrected without changing the finish. Illustrative example, AI-generated, not client work.
Gemstones: Preserving Facets and Clarity
What goes wrong
Diamonds look milky or gray. Colored stones go dull or over-saturated. Facets blur together, and dust or a stray reflection lands on the table of the stone.
The common mistake is brightening the whole stone. Brightness alone flattens it. A stone looks three-dimensional because it holds both bright flashes and dark areas, so retouching has to protect contrast.
How it is corrected in Photoshop
- Work on the stone separately. Select each stone and apply edits through a mask so the metal around it is not affected.
- Prefer controlled contrast over a global brightness boost. A gentle S-curve in Curves often separates facets well, and it gives more control than Brightness/Contrast. Brightness/Contrast can still work for small changes on some images. Heavy exposure boosts tend to wash out the darker facets, so the amount depends on the source image.
- Use luminosity masks for precision. A luminosity-based selection lets you adjust only the highlights or only the shadows of a stone, which keeps both ends of the tonal range intact.
- Adjust color with restraint. Use Hue/Saturation or Vibrance on the stone layer, and compare against the real stone or a color-accurate reference. A sapphire should look like the sapphire that ships.
- Remove dust, not character. Use the Spot Healing Brush or Clone Stamp on a separate empty layer, with sampling set to current and below. Zoom in far enough to see the specks, often 100% to 200% or more depending on the image resolution. Inside a stone, cloning from a neighboring facet with the same orientation helps keep the facet angles intact. Natural inclusions stay.
- Sharpen last, and only if needed. Some images benefit from light sharpening, using Smart Sharpen or a High Pass layer through a mask on edges and facets. The right amount depends on resolution and output size. Heavy sharpening creates halos and fake glitter.
What retouching cannot fix
If a stone was shot out of focus, or only part of a ring was in the plane of focus, retouching can only improve it so far. Focus stacking on set is the better answer, covered below.
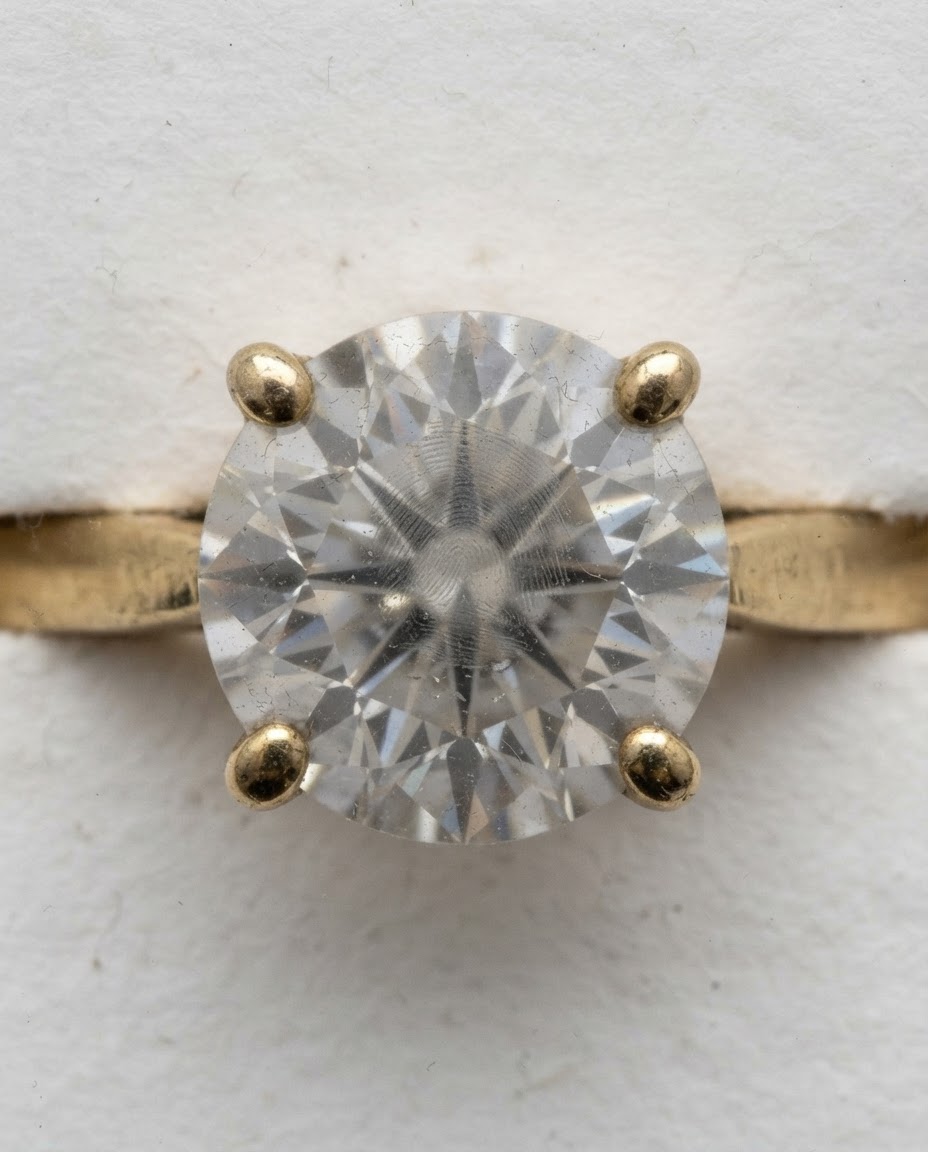
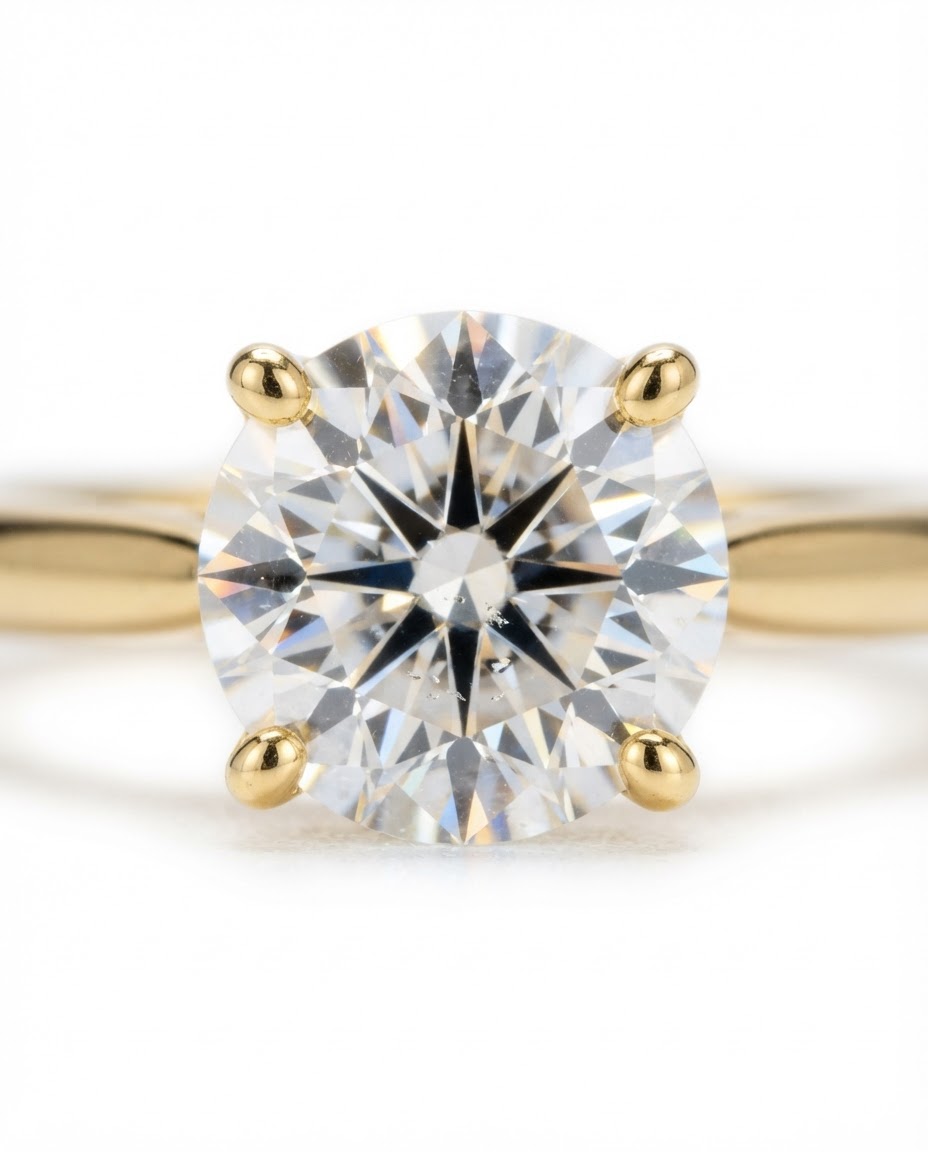
Dust removed and facet contrast refined. Natural inclusions kept. Illustrative example, AI-generated, not client work.
Reflections: Control Them, Do Not Erase Them
What goes wrong
Polished surfaces show the camera, the photographer, the edge of a light box or the seam of the backdrop. Some of that is clutter. The rest is what tells the eye the metal is polished and curved.
How it is handled in Photoshop
- Decide what stays. Keep smooth reflection gradients that follow the shape of the piece. Remove distinct objects such as a camera outline, a window shape or a person.
- Remove small reflections with healing and cloning. For small spots on flat or evenly toned areas, a healing brush on a separate layer is enough.
- Rebuild large reflections rather than cloning them, in many cases. Cloning a big reflection can copy texture and tone that do not match the curve underneath. Repainting the gradient with the Gradient tool or a soft brush on a masked layer, following the direction of the surface, and finishing with dodge and burn, often gives a more natural result.
- Blend from other exposures. If the photographer shot the same piece with different card positions, the cleanest regions of each frame can be combined with layer masks. This is often the most natural way to remove a reflection.
- Keep edges sharp. Prongs, clasps, links and engraved lines need crisp edges after the cleanup. Check them at 100%.
What belongs on set
Reflection removal gets much easier when reflections are controlled during shooting. Large, soft light sources and white or black cards placed around the piece shape what the metal mirrors. A polarizing filter can reduce reflections on non-metal surfaces such as glass or some stones, but it does little on bare metal. Shooting reflections out entirely is rarely the goal. Shooting reflections you can live with is.
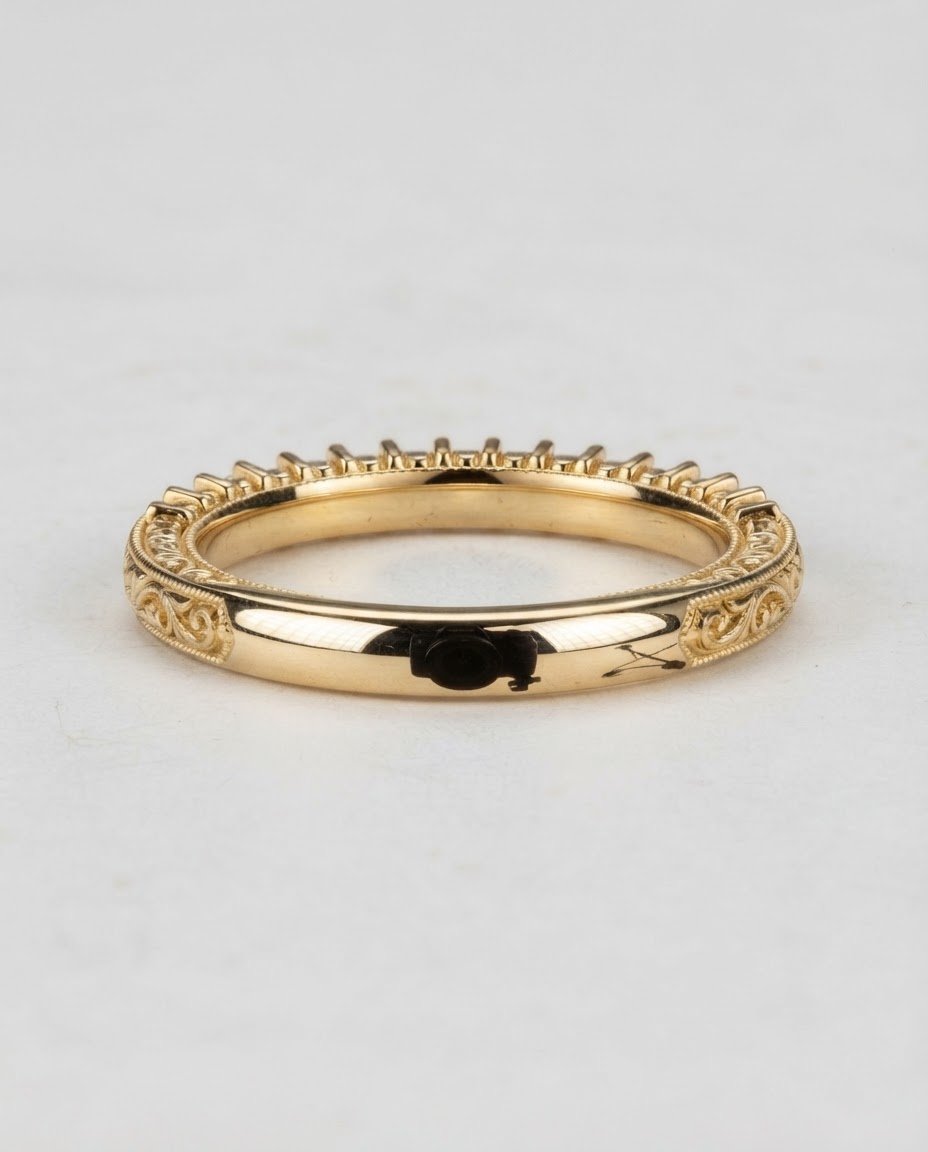
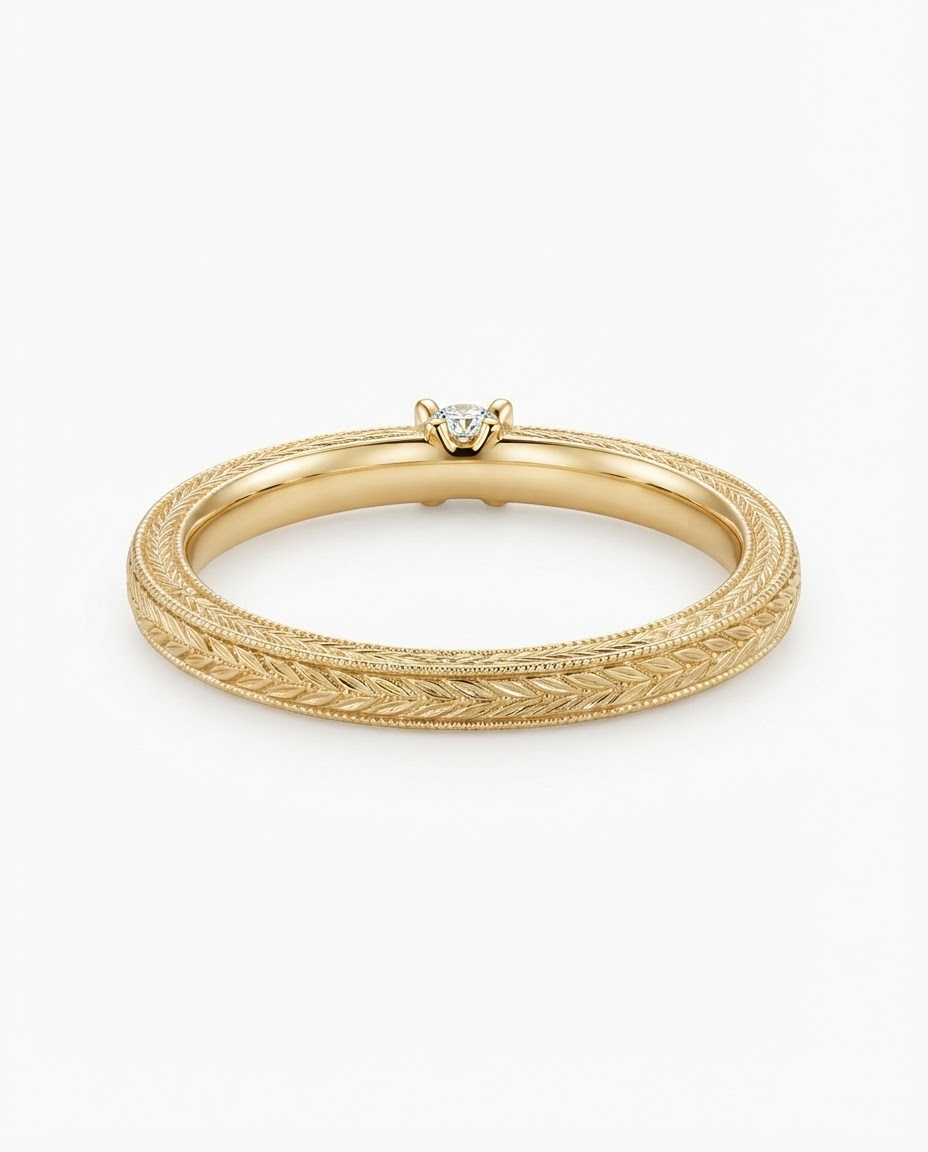
Studio reflection removed. The smooth highlight that shows the polished surface is kept. Illustrative example, AI-generated, not client work.
Dust, Fingerprints and Natural Texture
Dust and fingerprints are the most common reason jewelry images need cleanup, and the easiest to prevent. Clean the piece, use gloves or tweezers, and use an air blower before shooting. Whatever remains is removed in post.
A reliable cleanup routine:
- Work on a new empty layer so every fix can be undone.
- Zoom in to a level where specks are visible, often 100% to 200% depending on resolution, and move across the piece in sections.
- Use Spot Healing for isolated specks on even surfaces, and Clone Stamp at low opacity for edges, chains and stones.
- Leave hallmarks, engraving, hammer marks, brushed grain and natural stone inclusions alone. They are part of the product.
- Review the finished image at 100% and again at the size shoppers will see. Not every image needs every step.
What to Fix on Set, and What to Fix in Post
| Problem | Best handled | Why |
|---|---|---|
| Out-of-focus areas or shallow depth of field | On set, with focus stacking | Photoshop can combine sharp frames (Auto-Blend Layers) but cannot invent missing detail |
| Large camera or studio reflections | On set, then post | Better lighting and card placement reduces what needs rebuilding |
| Dust and fingerprints | Both | Clean the piece first, then spot-heal what remains |
| Color cast on metal | Post, with a gray card in the shot | A neutral reference makes correction fast and repeatable |
| Flat gemstone contrast | Post, after good lighting | Retouching adds contrast, but it cannot recover facets lost to bad lighting |
| Inconsistent tone across a collection | Process, both | A shared lighting setup plus a shared edit standard |
| Visible damage on the actual piece | Fix the piece, then reshoot | Retouching hides damage a buyer will find in person |
Retouching improves a good photo. It does not rescue a poor one, and it should not hide flaws the customer will see on delivery.
Keeping a Collection Consistent
Consistency is where retouching decisions add up. Three habits help:
- Approve one reference image per metal and stone type. Yellow gold, white gold, rose gold, diamond and colored stones each get a reference.
- Review the batch as a set. Place 20 to 40 thumbnails on one contact sheet. Outliers show up quickly.
- Keep one standard. Color work and edge work done to different standards across different weeks is the fastest way to create drift. See our guide to fixing inconsistent product photos for a full checklist.
Case Study: Precision and Quality Control on 1,200 Jewelry Images
This is a verified ClippingPathService.com project, and it is important to be clear about what it shows. The work was manual clipping paths and background isolation for a US-based jewelry ecommerce brand. It was not a metal recoloring or gemstone retouching project. It is included here because it shows how a team handles the hardest edge work in jewelry at volume, and the same discipline applies to retouching.
The brief: 1,200 jewelry product images, delivered in 4 business days for a Friday launch.
The challenge: fine chains, small gaps between links, mixed metals and reflective surfaces. On jewelry, one rough edge is visible immediately on a product page.
The approach: every cutout was hand-drawn, with the edge treated to suit each piece. Every image went through a first-pass review, and a second editor spot-checked the batch.
The results:
- 1,162 of 1,200 images (96.8%) were approved in the first round.
- 38 images were corrected and re-delivered the same evening.
- The batch was delivered 14 hours ahead of schedule.
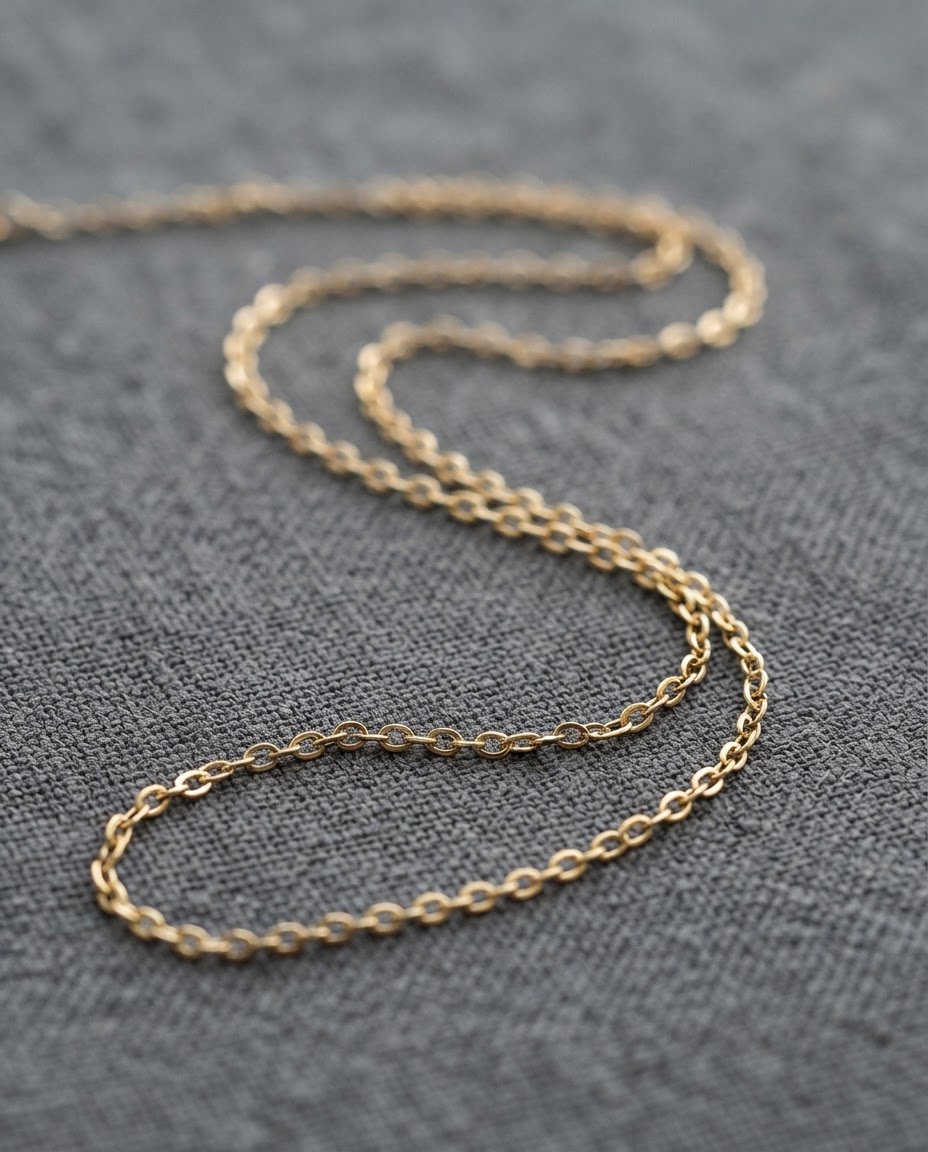
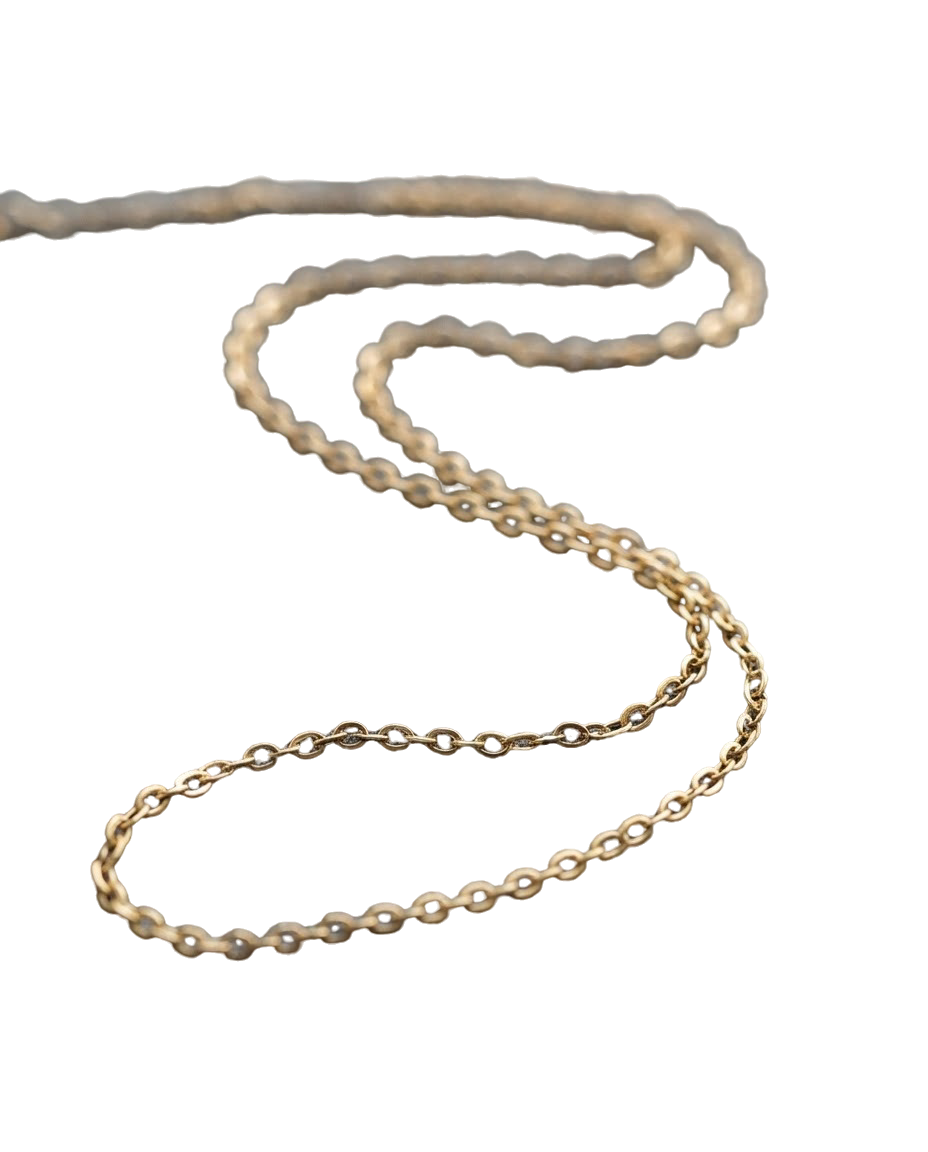
Edge work on fine chain links, not metal or stone retouching. Illustrative example, AI-generated, not client work. The cutout was made with an automated tool, not a hand-drawn path.
Read the full 1,200-image jewelry case study.
Why the first-round approval rate matters: at volume, the number of files that need rework decides how much time lands back on your team. When you compare providers, ask for it alongside price and speed.
How to Evaluate a Jewelry Retouching Provider
Ask for evidence, not adjectives.
- Jewelry-specific examples. Look for before and after images of metal, stones and reflections, shown at a size where you can zoom in. Beware of examples where every stone looks identical or unnaturally bright.
- A test edit on your own hard images. Send a chain, a polished band and a ring with a colored stone. Judge the result against your reference.
- Realism. Check whether engraving, brushed texture and stone inclusions survived.
- Consistency process. Ask how the team keeps color the same across batches and across editors.
- Quality control. Ask who reviews each image and what the check covers. ClippingPathService.com states that a dedicated QC team reviews each image against your brief.
- Revisions. Ask what is included. ClippingPathService.com states unlimited revisions on work based on your original instructions, with scope changes possibly quoted separately.
- File delivery. Ask for layered PSD, so edits can be adjusted later. ClippingPathService.com lists PNG, JPEG, layered PSD and TIFF.
- Turnaround and pricing. Ask how both change with complexity, and what exactly a quote covers. The pricing page lists per-image clipping path tiers by complexity, with jewelry in the Complex tier ($5.00) and chain-type items in the Super Complex tier ($16.00). Those tiers describe clipping path work. They are not fixed prices for full jewelry retouching, and advanced retouching of metal, stones and reflections may need a separate quotation based on your images.
- Data handling. Ask about confidentiality, NDAs and how long files are kept. ClippingPathService.com states files are typically retained for 30 days after delivery, and an NDA is available on request.
Where ClippingPathService.com Fits
ClippingPathService.com offers retouching services that include jewelry work such as correcting color casts and polishing metal reflections, alongside hand-drawn clipping paths. For many jewelry brands the two go together: a clean, accurate edge, and a piece that looks like itself inside that edge. Because retouching scope varies from image to image, send samples and ask for a quotation that states exactly what is included.
Start With a Test Edit
Before committing a collection, test a provider on your own hardest images. Pick a chain, a polished band and a ring with a colored stone. Send them with a reference image for each metal or stone, and note what must not change, such as engraving, hallmarks and stone color.
ClippingPathService.com advertises a free trial of 3 images with no credit card required. The trial page describes hand-cut paths, so confirm with the team whether full jewelry retouching of metal, stones and reflections is included before you rely on it, and ask what a paid test would cost if it is not.
When the test edit comes back, compare it with the checks in this guide: does the metal match the piece, are the facets still separate, are the reflections clean without looking flat, and do the images sit together as a set?
Ask the team about a jewelry test edit
Frequently Asked Questions
What is jewelry retouching? Jewelry retouching is post-production that makes a jewelry photo ready to publish. It covers metal color and finish, gemstone clarity, dust and fingerprint removal, reflection control and tonal balance.
What is the difference between jewelry retouching and clipping path? A clipping path outlines the piece so the background can be removed or replaced. Jewelry retouching corrects how the metal, stones and highlights look inside that outline. Many jewelry images need both.
How much retouching is too much? It is too much when a customer would notice a difference between the image and the real piece. Metal should match its true color, stones should keep their real cut and inclusions, and polished surfaces should still look polished.
Should I remove all reflections from jewelry? No. Remove distracting ones such as the camera, studio gear or backdrop seams. Keep smooth highlights that show the surface is polished and curved.
Can retouching fix a blurry jewelry photo? Only partly. Sharpening can improve slightly soft detail, but it cannot rebuild detail that was never captured. Use focus stacking on set for pieces with depth.
How do I keep gold looking the same across a catalog? Include a neutral reference in the shot, approve one reference image per metal, and review each batch against it. Use the same editing standard across every batch.
What file formats can I receive? ClippingPathService.com lists PNG with transparent background, JPEG on white, layered PSD and TIFF, and other formats can be requested when you place an order.