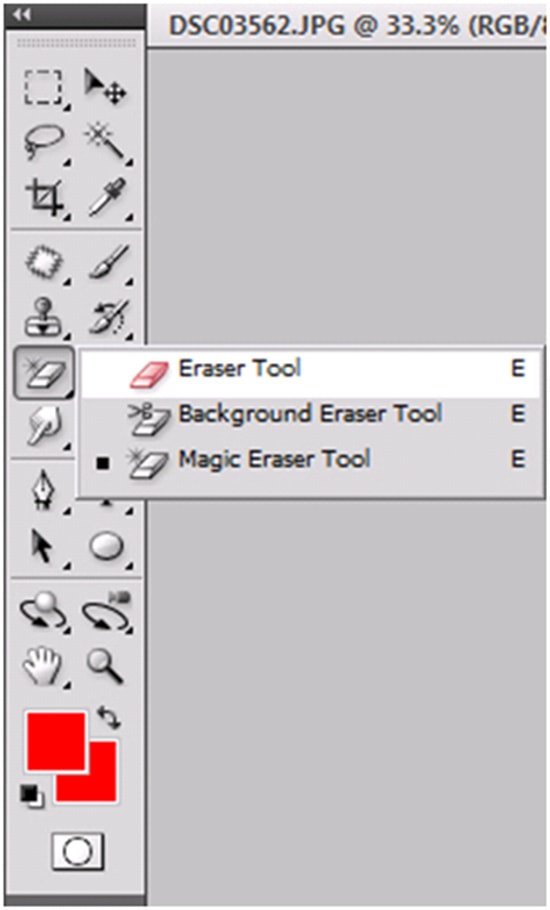
Usage of ‘Eraser Tool’ in Photoshop
In this tutorial, you will get to know about the tool that is used for many purposes and one of the most important tools in Photoshop coined as the ‘eraser tool.’ When you click on it, you will also see that ‘E’ is written beside the eraser tool which tells you that it is also a shortcut form of the eraser tool. There is a tool named ‘Type tool’ in Photoshop. When you click on that type tool, if you click ‘E,’ it will automatically take you to eraser tool. I hope that it will be very helpful for all and for the beginners especially.

Photo Courtesy – http://photoshopeducation.blogspot.com/
The eraser tool changes the pixels of your image into either by the background color or to transparency. The pixels change to the background color on layers with a locked transparency or a background layer. Otherwise, pixels are erased to transparency. In order to select the eraser, click the eraser tool button over in the tool box. Then what will you do is to click and just drag into your image to apply the background color that you have selected. Now, just like the brush tool and pencil tool, the eraser also has the options for its performance that you can set. In the options bar, you will see that you actually can set the size of the brush used as well as the mode of an eraser and the opacity of course for sure just like before. Moreover, you can make the eraser act like an airbrush just like the same way as you did previously the brush tool performed like an airbrush. You just located the airbrush tool in the Photoshop and then you just drag it into your image and it will work like an airbrush. You can obviously use the flow slider which is just the left side of airbrush tool to set the amount of color that you used in the airbrush. Otherwise, it does not matter really.
