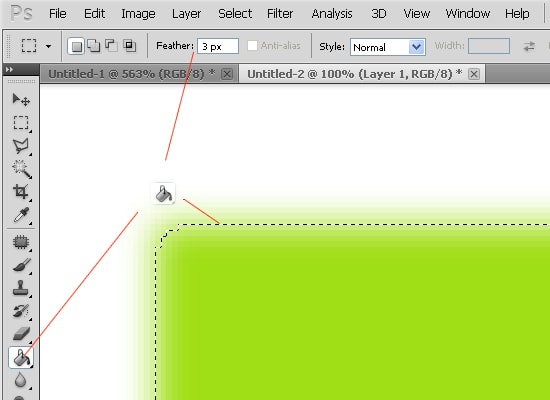
Usage of ‘Paint Bucket Tool’ in Photoshop
In this tutorial, you will get to know about the tool that is used for many purposes and one of the most important tools in Photoshop coined as the ‘paint bucket tool.’ When you click on it, you will also see that ‘G’ is written beside the paint bucket tool which tells you that it is also a shortcut form of the paint bucket tool. There is a tool named ‘Type tool’ in Photoshop. When you click on that type tool, if you click ‘G,’ it will automatically take you to paint bucket tool. I hope that it will be very helpful for all and for the beginners especially.

The paint bucket tool fills Jayson pixels that are similar in color value to the pixels that you select with either the fore gram color or with the pattern. In order to use this tool, click the paint bucket tool that is there in the toolbox. It shares a spot in the toolbox. But before everything, look into the options bar. At first, use the fill drop down to select either the foreground color or the pattern choice. If you select the pattern tool, then you also need to select what kind of pattern that you want to select. Then select which mode that you want to use for the fill. Linear light generally look good here. You can use the opacity tool as well as the tolerance toolbox where you can put the value by your choice which starts from 0 to 255. Entering a lower number will only fill colors in the image that are very similar in color to the pixels that you select in the image. A higher number will select a broader range of similarly colored pixels in the image. These are actually the settings that will help you to do the task easily and help you get the desired effect. Now, if you select the all layer text box, then the fill will affect the color selected all of the layers. To apply the fill, you just need to move your cursor over the pixels of a color that you want to fill with the selected foreground color or pattern and then just click to apply it. That is the way, it works actually.
