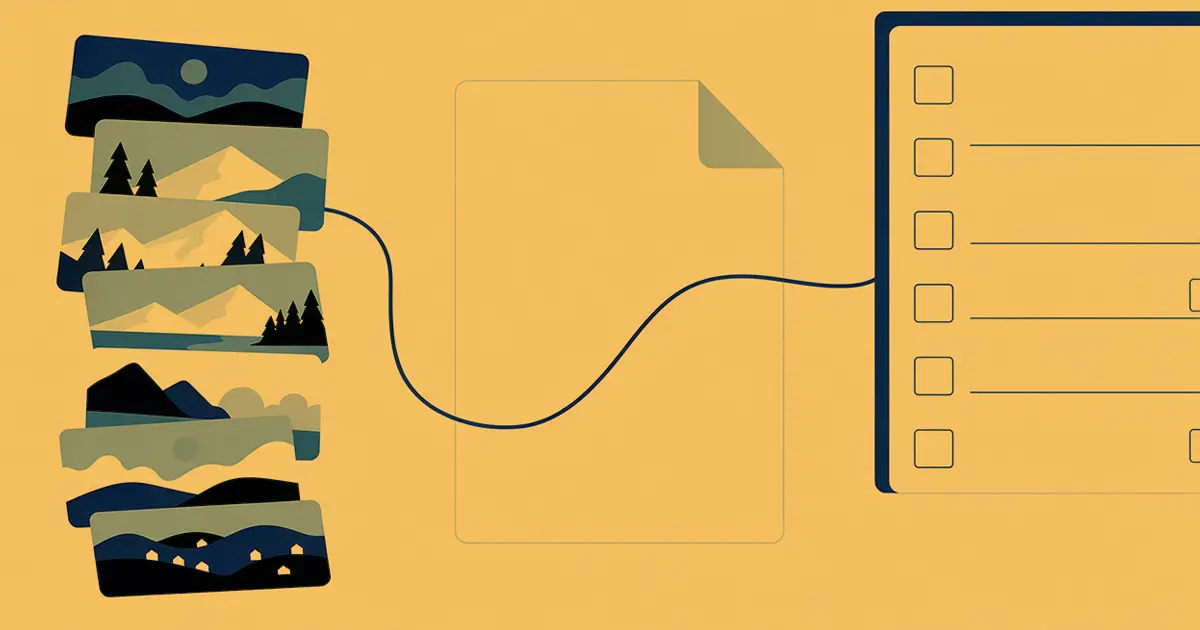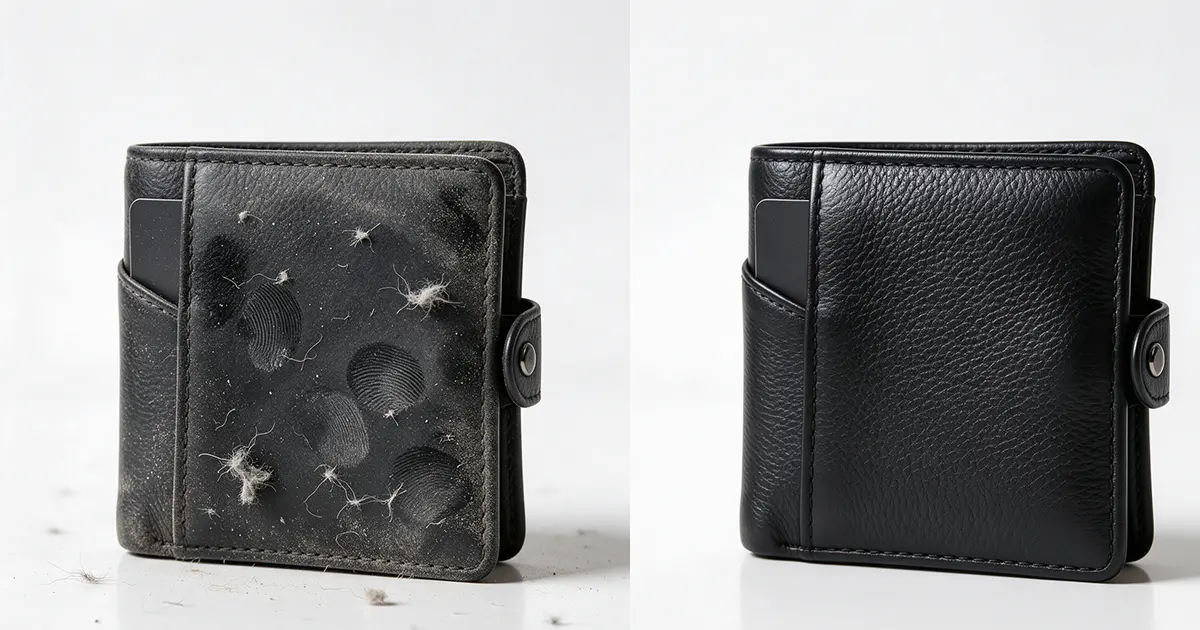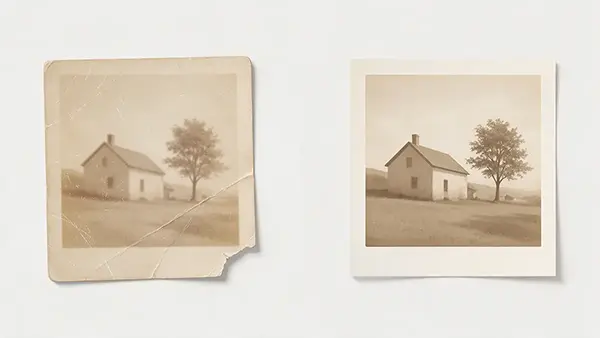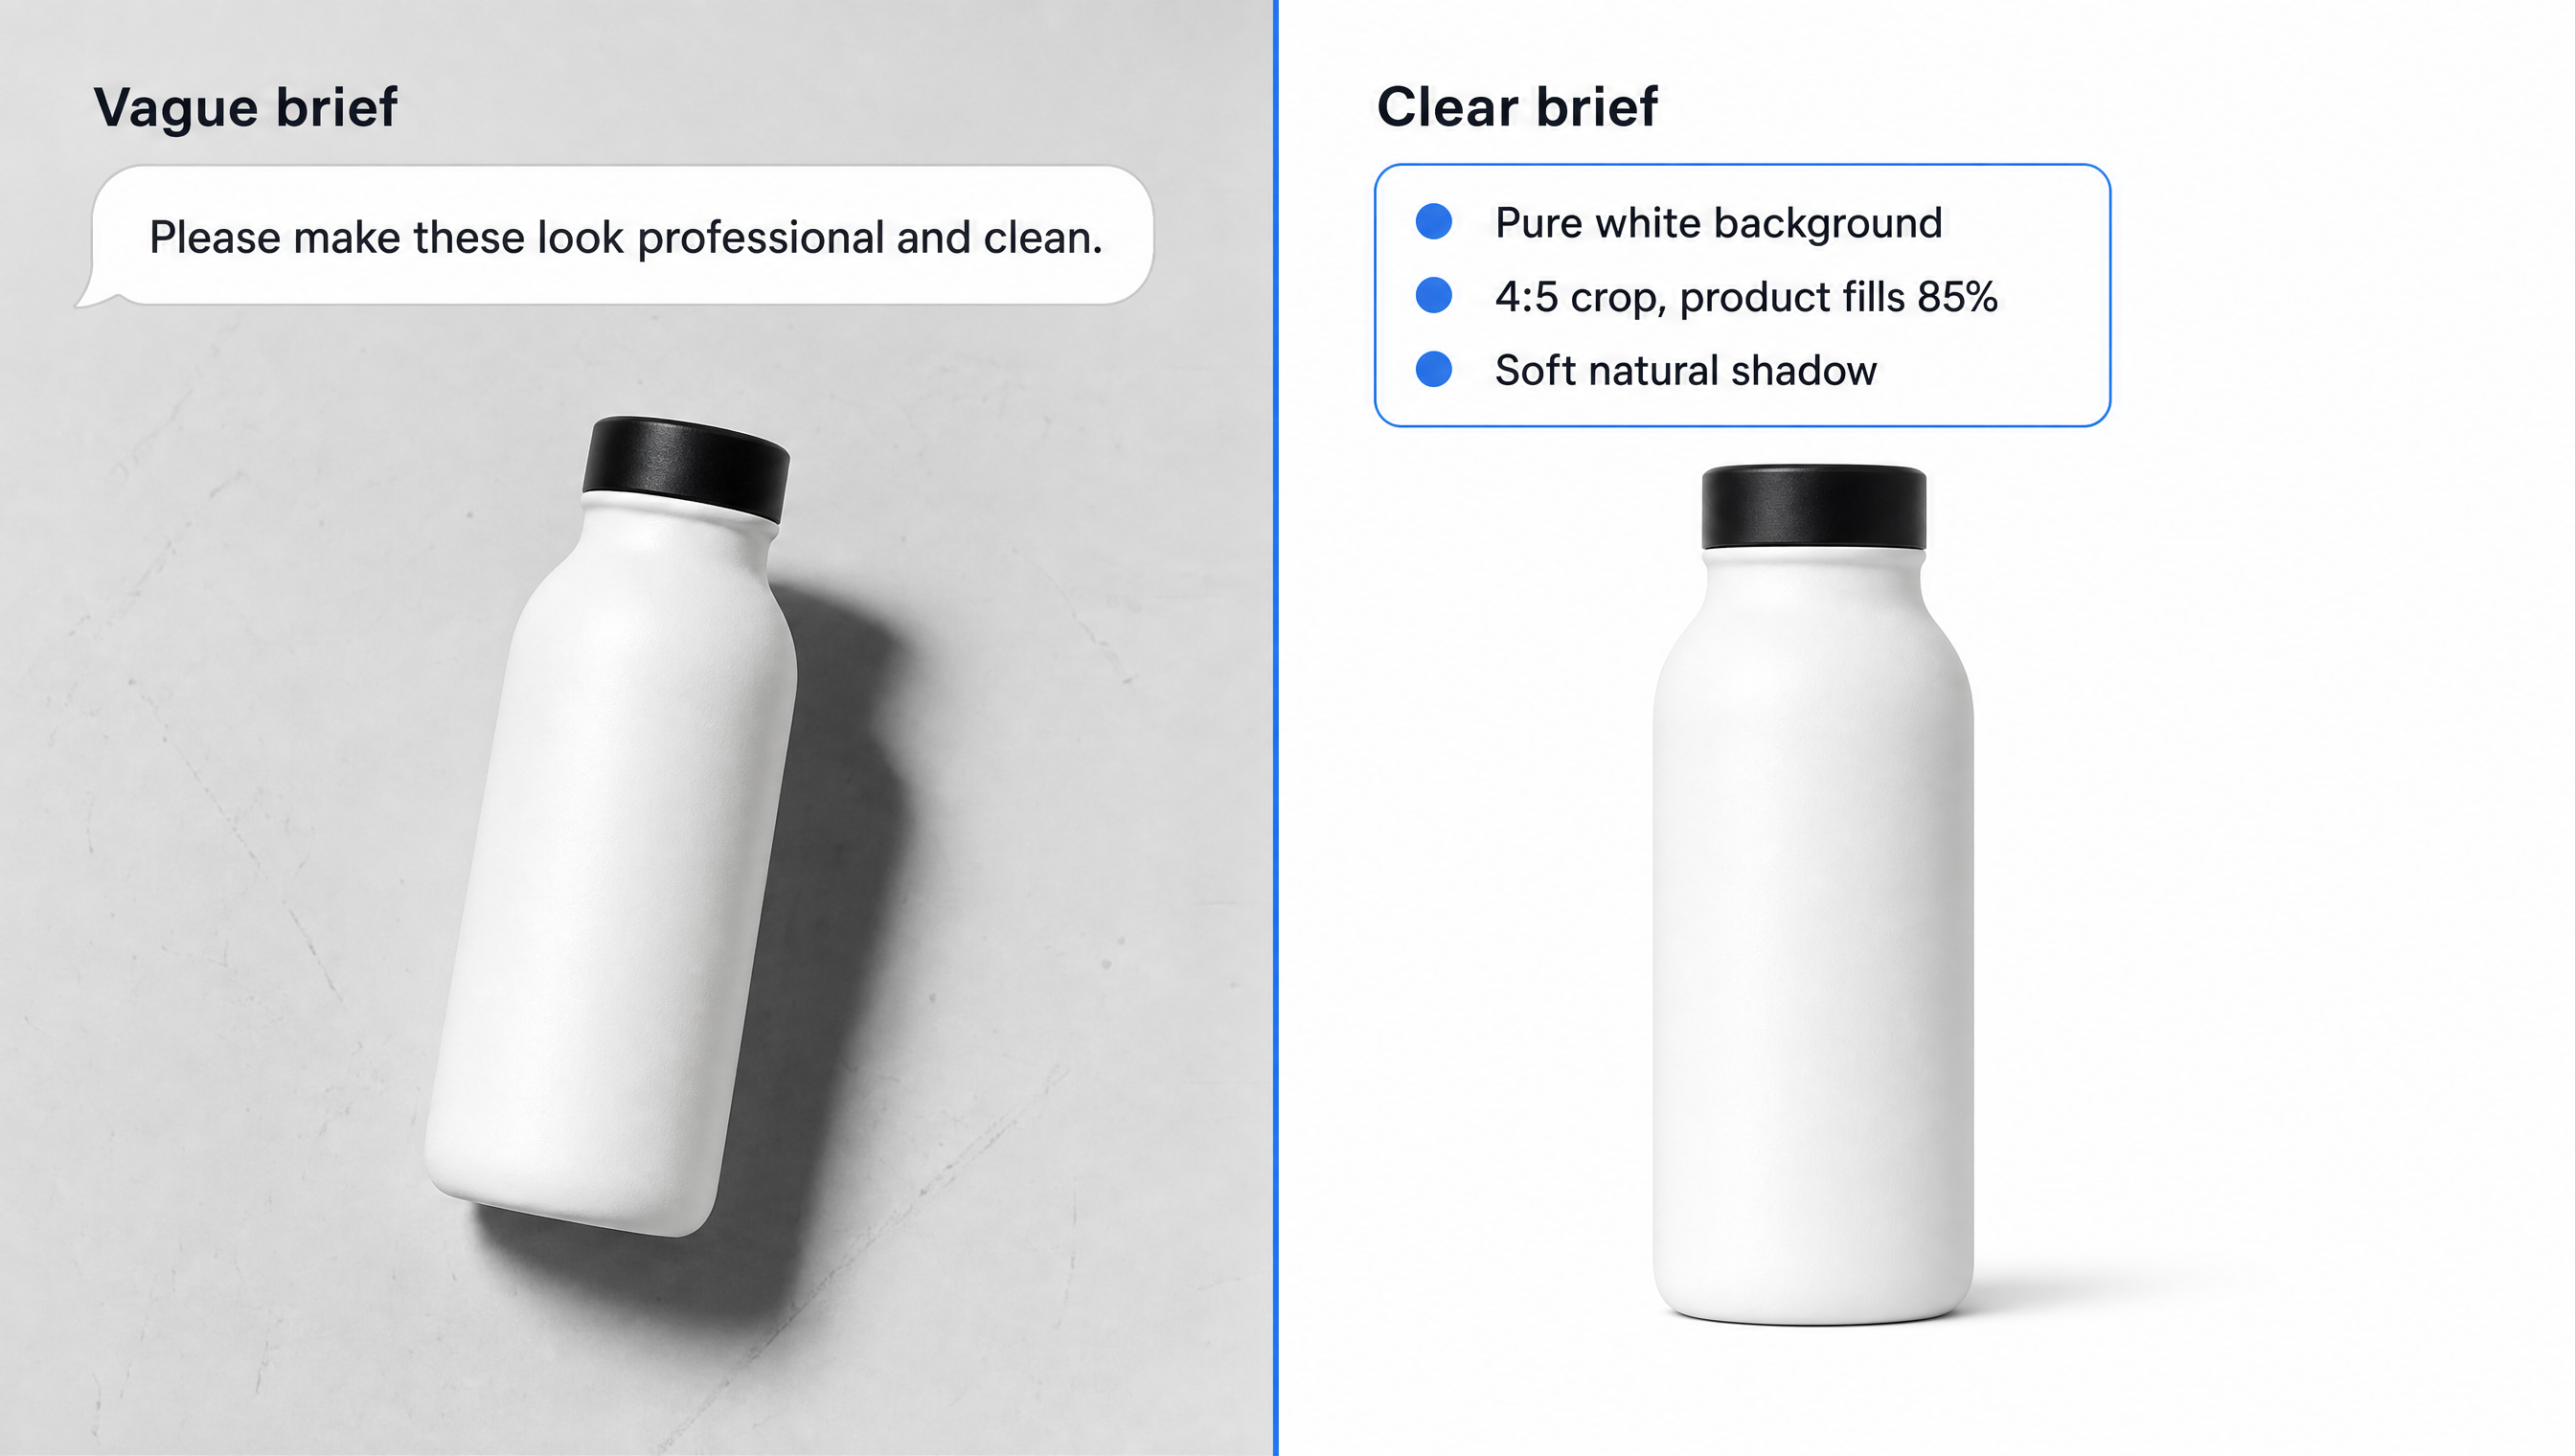
Illustrative example. Left: a vague request. Right: a clear brief and the result it produces.
Picture the message you sent your editor last week.
"Please make these look professional and clean."
You hit send and moved on. Two days later the files come back. The background is white, but you wanted light grey. The skin looks plastic. Half the images are cropped square, and you needed 4:5.
Now you are writing round two. The editor is guessing again. Your deadline is tomorrow.
Often, the editing is not the problem. The brief is.
This guide shows you how to write a photo editing brief that gets the edit right the first time. You get a 12-part template you can copy today, a weak vs strong brief side by side, and a look at how ClippingPathService.com works from briefs for photographers, ecommerce teams, agencies and real estate professionals.
What a Good Brief Does for You
A photo editing brief is not paperwork. It is how you remove guesswork before editing starts.
When your brief is clear, you get:
- A first delivery that is close to what you pictured
- Fewer revision rounds, because the editor is not interpreting vague words
- Consistent results across the whole batch
- Correct files, with the right size, format and naming
- A process you can reuse, so you stop re-explaining your style on every order
A good brief is not a long brief. It is a brief that removes the biggest uncertainties.
Why Photo Editing Instructions Get Misunderstood
Many revision rounds start before the first image is opened. Five common reasons photo editing instructions get misunderstood are:
1. You describe the feeling, not the action. "Make it look premium" tells the editor your goal. It does not tell them what to change. Which background? How much retouching? What color treatment?
2. You assume the editor knows your style. Your style lives in your head. An editor who has never seen your work has to invent one.
3. Technical specs are missing. Dimensions, color space, file format and naming rules are easy to forget. They are also the reason otherwise good files get rejected by a marketplace or a client.
4. There is no "do not change" list. Without limits, editors can go too far. Skin loses texture. Rooms look unreal. Product colors drift.
5. There are no reference images. Words are slow and loose. One example image can replace a paragraph.
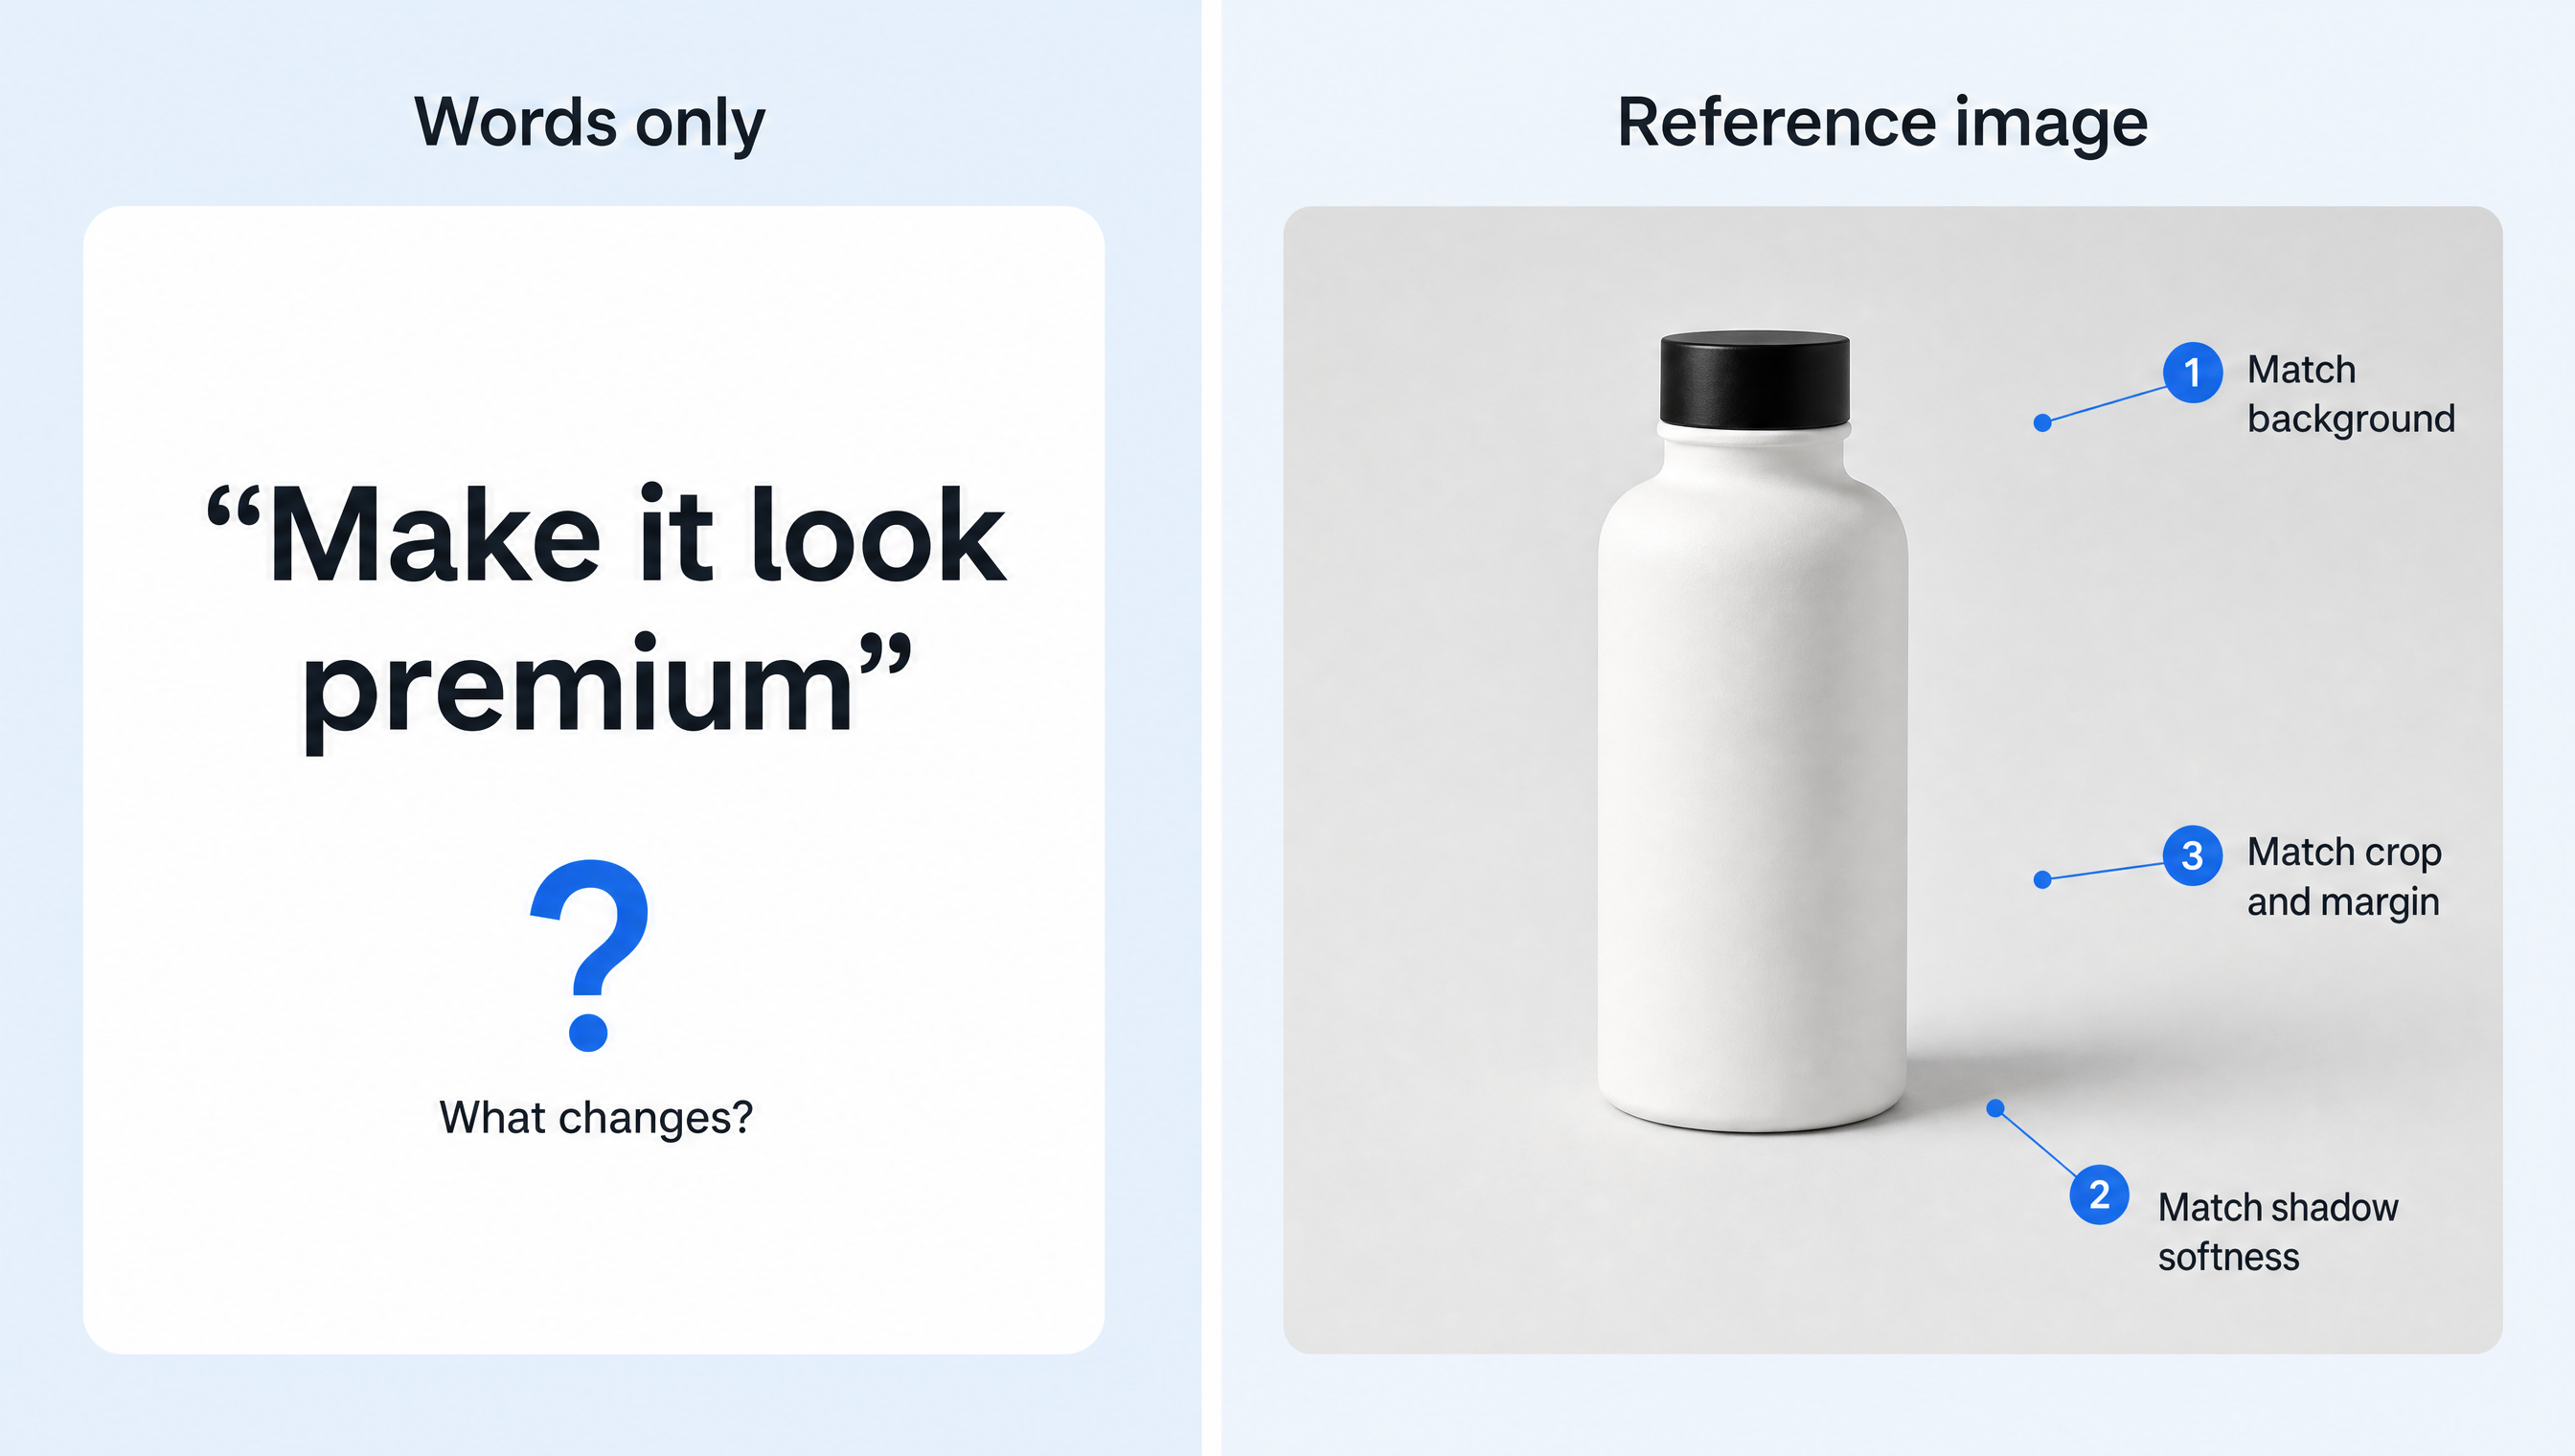
Illustrative example. A marked reference tells the editor what to match.
What Your Editor Actually Needs to Know
Before you write anything, answer five questions:
- What am I trying to accomplish? (Sell products, list a property, deliver a wedding gallery, hit a brand standard)
- What exactly should change?
- What must stay exactly as it is?
- What does "done" look like? (An example, a spec or both)
- What technical and delivery rules apply?
If your brief answers these five, your editor can start without a clarification email.
The 12-Part Photo Editing Brief Template
Copy this into a doc, a form or an email. Fill it in once, then save it for repeat orders.
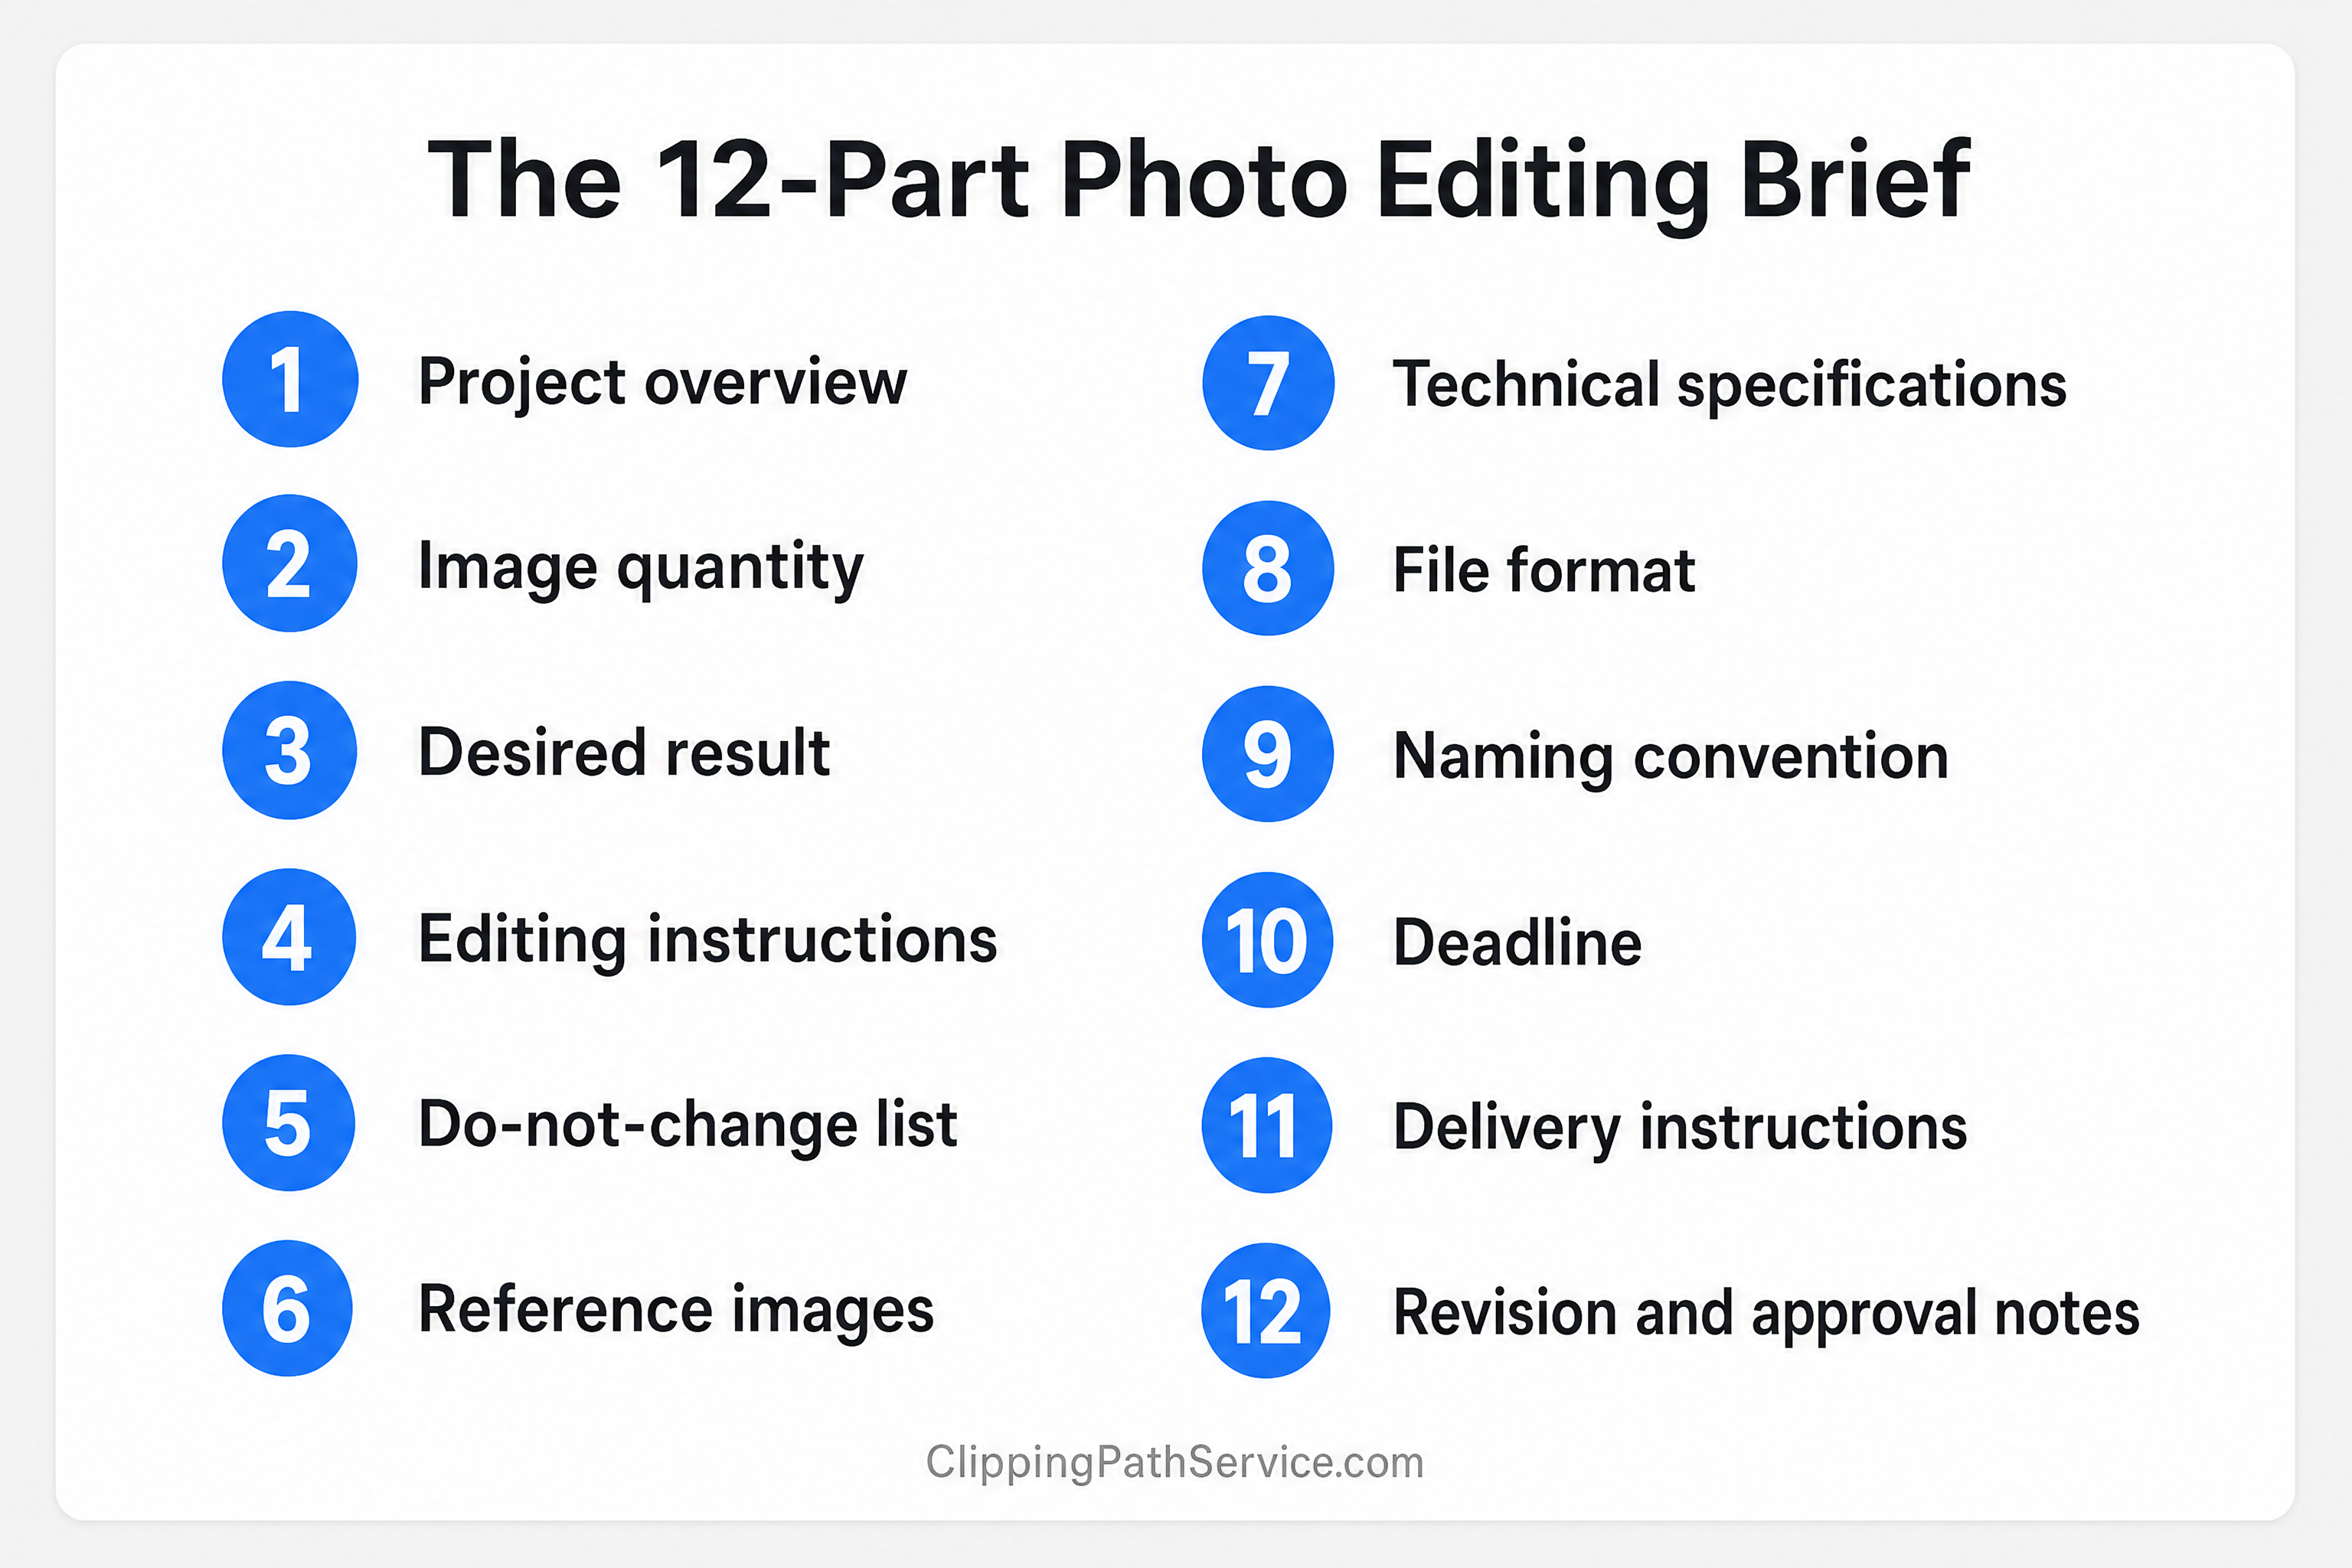
The 12 parts of the photo editing brief template.
1. Project overview
- Project name:
- Client or brand:
- Purpose (web store, print, MLS listing, portfolio, ad):
- Where the images will be used:
2. Image quantity
- Total number of images:
- Any images to prioritize first:
3. Desired result (one sentence)
Describe the finished image in plain words.
Example: "Product on a pure white background, natural shadow underneath, true-to-sample color, ready for Amazon."
4. Editing instructions
List each action, one line each.
- Cutout or background change:
- Retouching (dust, scratches, wrinkles, skin):
- Color correction or color matching:
- Exposure, windows, sky or perspective:
- Shadows or reflections:
- Other:
5. Do-not-change list
Think of the brief as two lists. Change is what the editor should modify. Protect is what the editor must preserve. The protect list is what stops a good edit from going too far.
Be direct.
- Keep natural skin texture
- Do not alter product shape, logo or label text
- Do not remove permanent features of a property
- Do not change brand colors
6. Reference images
- Link or attach 2 to 3 examples of the look you want
- Add one line for each: what to match (background, color, crop, mood)
- If you have a past edit you loved, include it
7. Technical specifications
- Final pixel dimensions (width x height):
- Aspect ratio:
- Color space (sRGB, Adobe RGB, CMYK):
- Background color (hex code if possible):
- Margins or padding around the subject:
- Resolution (dpi), only if the use needs it, such as print:
8. File format
- Output type (JPG, PNG, PSD, TIFF):
- Layered file needed? (Yes or no)
- Transparent background needed? (Yes or no)
9. Naming convention
- Example:
brand_product-name_01.jpg - Keep original file names? (Yes or no)
10. Deadline
- Delivery date and time (include your time zone):
- Hard deadline or flexible?
11. Delivery instructions
- Where to send files (download link, shared folder):
- Who receives them:
12. Revision and approval notes
- Who approves the final images:
- How you will send feedback (marked-up image, numbered list):
- What counts as a revision vs a new request:
Quick test: Hand your brief to a colleague who has never seen the project. If they can describe the finished image back to you, your editor can too.
Weak Brief vs Strong Brief
This is an illustrative example for a fashion ecommerce order.
The weak brief
Hi, please clean up these 40 product photos and make them look professional. Need them soon. Thanks!
The editor now has to decide: background, crop, retouching level, color treatment, file type and deadline. Every one of those is a chance to miss.
The strong brief
Project: Spring dress catalog, 40 images, web store and Amazon
Desired result: Dress on a pure white background (#FFFFFF), ghost mannequin effect, wrinkles softened but fabric texture kept
Do not change: Print pattern, hem shape, color. Match the physical sample (see swatch photo)
Reference: See attached example, match the edge softness and shadow
Specs: 2000 x 2000 px (1:1), sRGB, product fills about 85% of the frame. The 5 hero images also go to the print lookbook: 300 dpi
Files: JPG, plus layered PSD for 5 hero images. Naming:
brand_dress-name_01.jpgDeadline: Friday 5 PM Dhaka time, flexible by 3 hours
Feedback: Numbered list on a marked-up PDF, one round expected
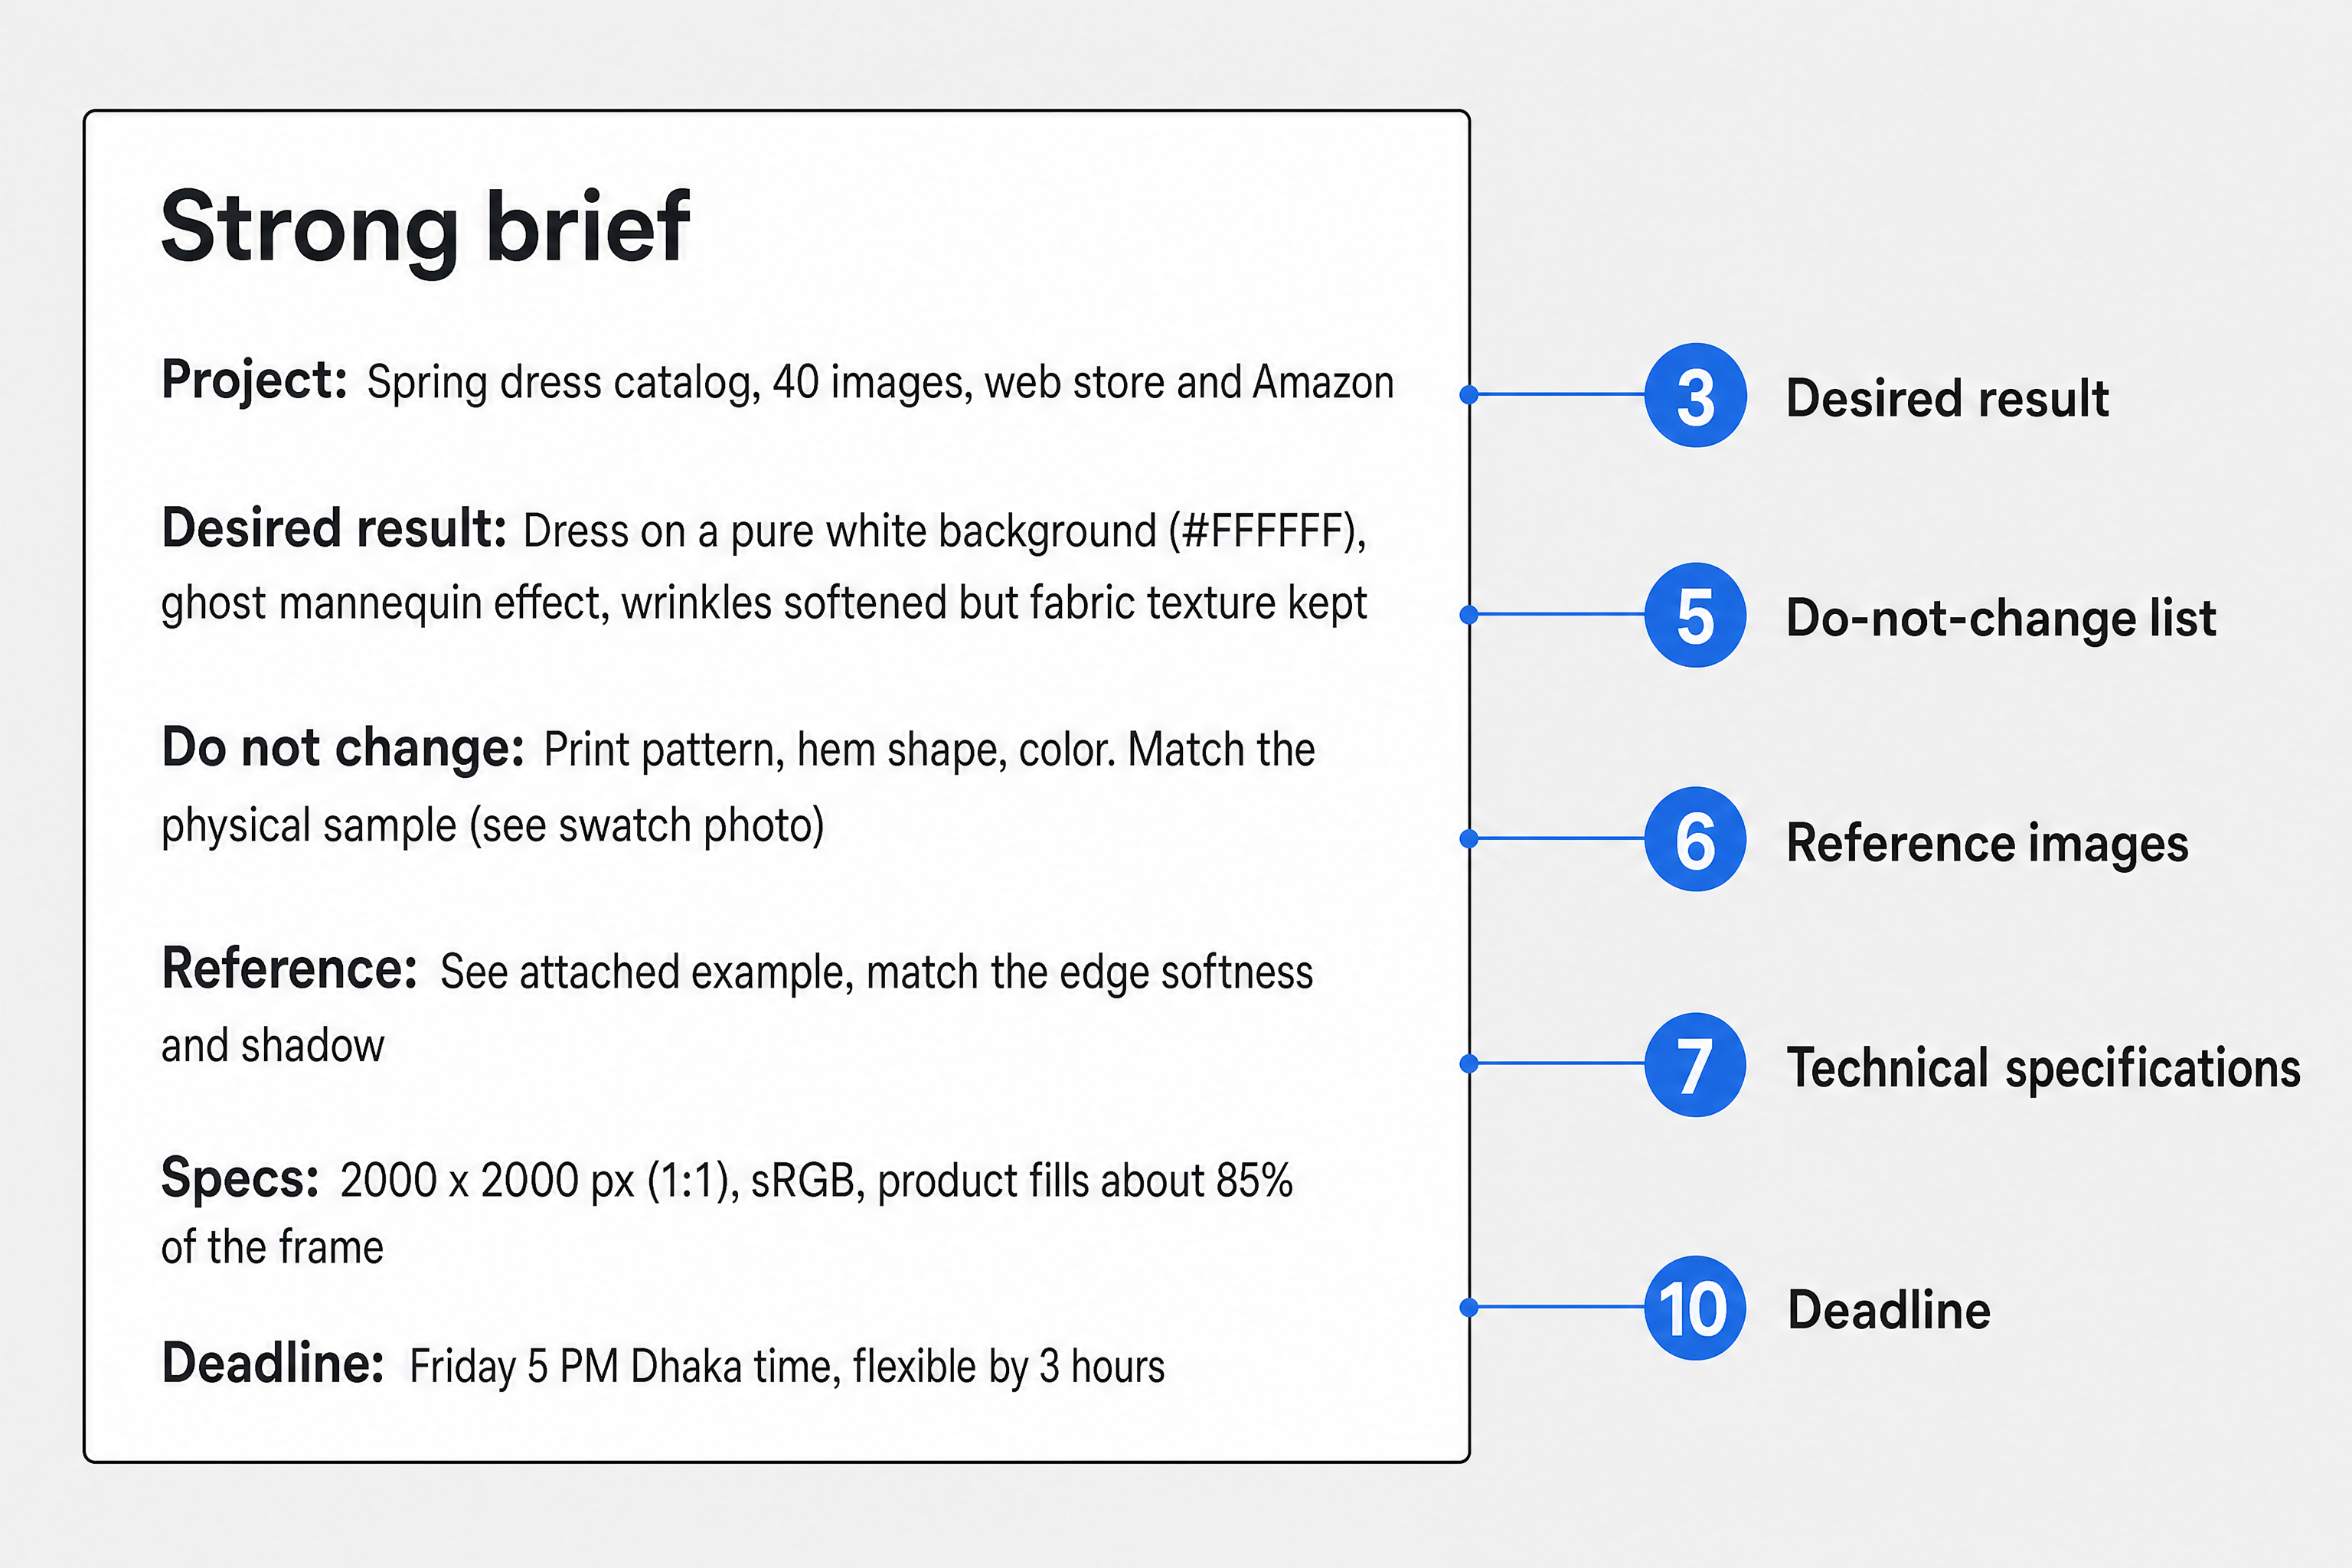
Illustrative example. The strong brief, with the template part behind each line.
Same 40 photos. Very different first delivery.
How ClippingPathService.com Has Served Clients Who Brief This Way
Everything above is the briefing workflow. Here is how it plays out in our own production work.
ClippingPathService.com has hand-edited images for photographers, studios, agencies and ecommerce brands for more than 25 years. The company reports 78,066+ projects delivered for 450+ brands and retailers. Every image goes through a 3-step quality control process with human review, and revisions are unlimited if a batch misses your brief or reference.
Photographers: your style, saved once
You send a few of your best edited photos or a short spec once. We save it and apply it to every batch, so you stop re-explaining skin tone, warmth and contrast on every order.
"They remember our preferences project to project. Quality stays consistent across large image sets."
Sophie Martin, Senior Photographer, Sportswear Brand
Ecommerce teams: one standard across the catalog
A US-based jewelry brand sent us 1,200 product images on a 4-business-day deadline. 1,162 of them (96.8%) were approved in the first round, and the batch arrived 14 hours early. The lesson for your own brief: a fixed standard up front gives every image in a large batch the same target.
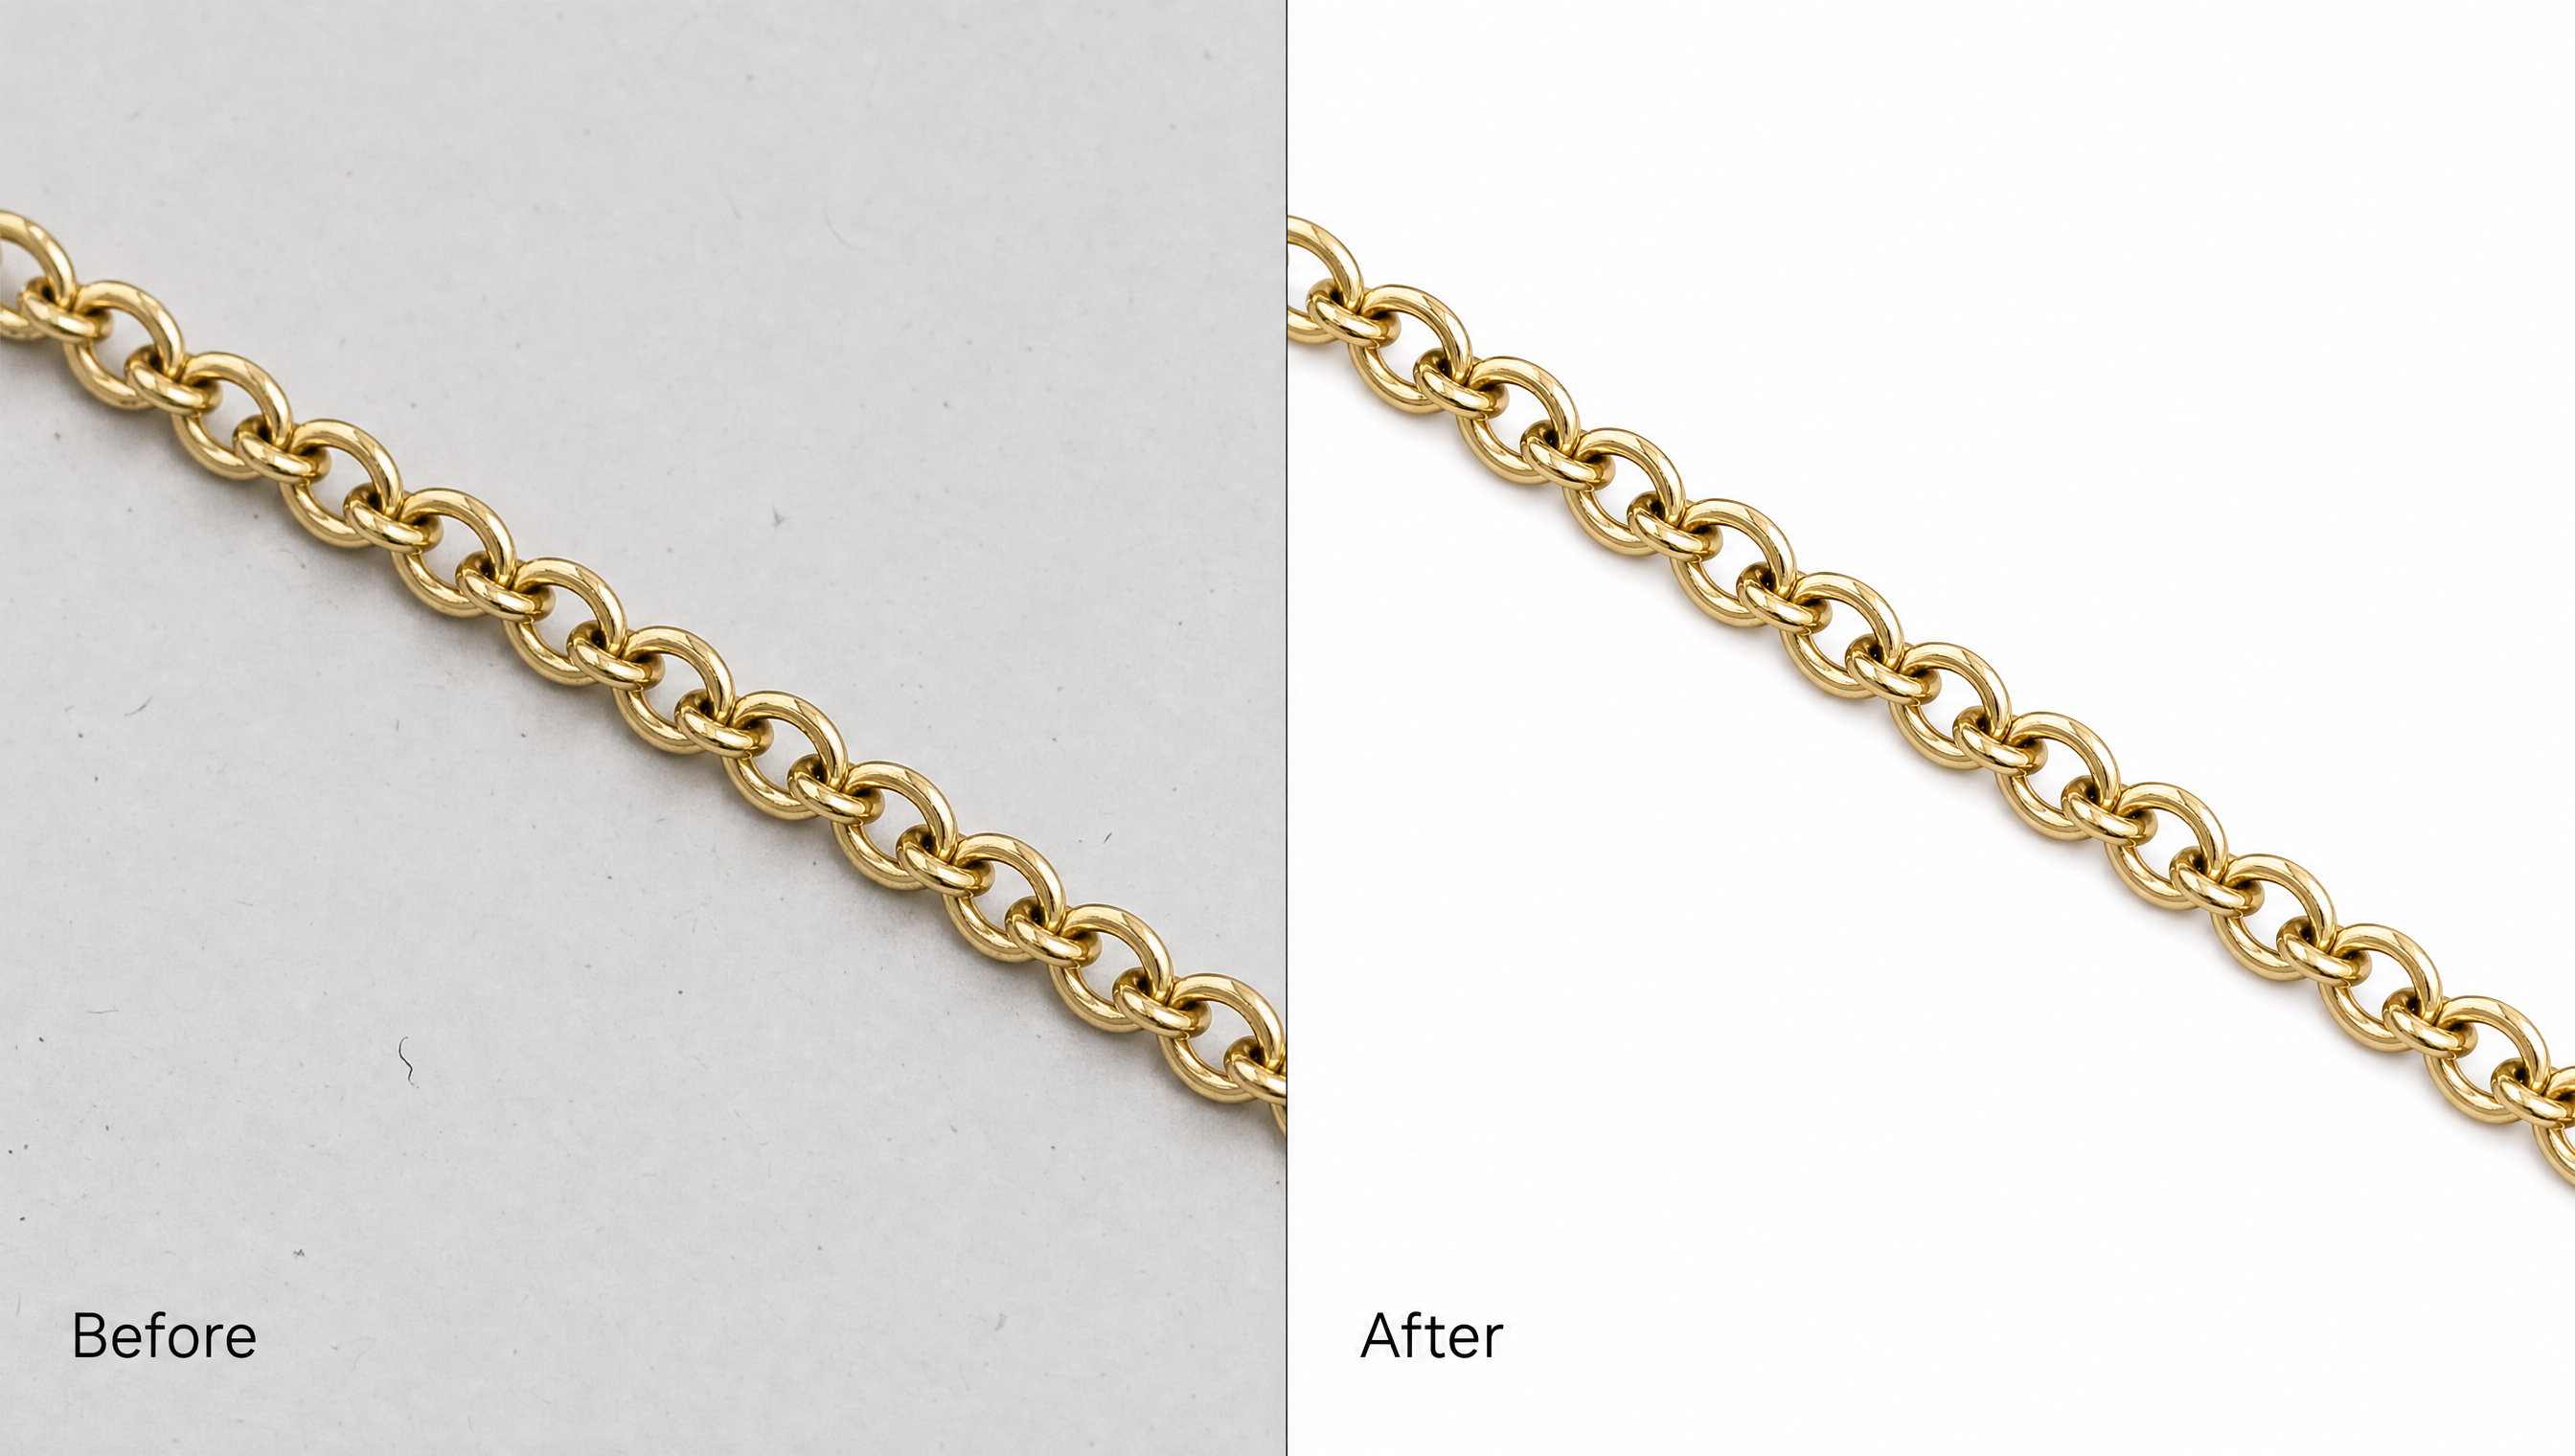
Illustrative example. A fine chain before and after a clean cutout on white.
Agencies and creative teams: briefs you can repeat
A saved brief with a reference image, a do-not-change list and one approver gives your team a documented standard to work from on every order.
Real estate: natural results
Real estate briefs have one extra rule: the edit must not mislead a buyer. Temporary clutter such as bins, cords and hoses can be removed. Permanent features, and any change that could misrepresent the property, are flagged for you and your agent to decide. Standard delivery is 48 hours, with an overnight option, and faster windows are available for an added fee. Confirm timing for your batch when you request a quote.
Your Pre-Send Checklist
Before you hit send on your next brief, check these seven items:
- Desired result written in one clear sentence
- Every edit listed as an action, not a feeling
- Do-not-change list included
- 2 to 3 reference images attached, each with a note
- Dimensions, color space and file format stated
- Deadline includes date, time and time zone
- One person named as the approver
Miss one, and you may create another round of clarification or revisions.
Measure Whether Your Brief Is Working
Track these four numbers for your next three orders:
- Revision rounds per batch
- Clarification messages the editor had to send you
- Time to approval
- Files returned in the wrong spec
If those numbers drop, your brief is doing its job. If they do not, look at which template section you skipped.
Get the Edit Right the First Time
You now have the template, the checklist and a clear picture of what your editor needs.
Not sure how to fill it in for your images? Send us 3 sample images with your brief, and our editors will edit them free.
No card required. See your brief in action before you commit to a full batch.
Want to plan your budget first? Check the pricing page for current rates, and ask for a quote if you send 500+ images a month.
P.S. Save your finished brief as a reusable template. The second order you send with it takes minutes, not hours, and a new editor can pick up your standard on day one.