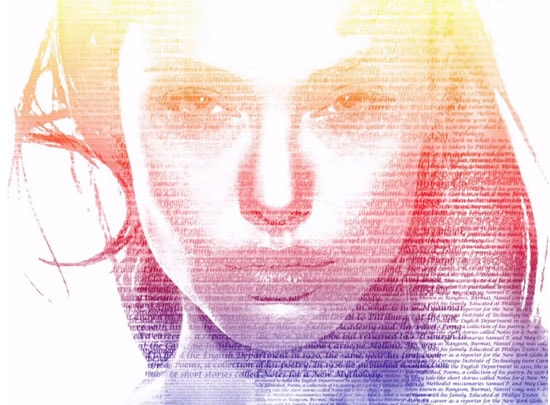
How to Make Creative Typography Portraits in Photoshop
This tutorial is about how to make a creative typography portrait using just one photo and applying a typography brush to it. This is easy but needs practice to get the best effect.
At first, open a portrait image in Photoshop. In order to get the tonal cutout look in the image, go to Select> Color Range to select ‘Color Range tool.’ Select the Sampled Colors option and click on the color area on the image that you want to be selected. The Color Range Tool will select colors similar to the ones you click on. Start by choosing the hair and click OK. Copy and Paste the selection onto a new layer. Repeat the last two steps to build up the tonal value and get enough contrast. Try selecting different color ranges in the color range drop down option to get different tones. Copy and paste each selection onto its own layer. Turn off your portrait layers and background layer to see if the contrast of your image on a transparent background looks good. Next, turn off all layers except for the tonal layers. Merge all the layers into a new single layer by selecting Ctrl + Shift + Alt + E and de-saturate the image with Ctrl + Shift + U. Create typography brushes now.
Photo Courtesy – vcdeanb.wordpress.com/
Open a new document as the same size as your image. Try to use the ‘Type Tool’ to create a type box and fill the text area with words. Choose the font wisely so that the words can be readable. Now, use the ‘Rectangular Marquee Tool’ to draw a circle around the type. Go to Edit> Define Brush Preset to rename the brush. Go back to the portrait document next and Ctrl + Click the merged layer’s icon to select the entire layer. Hit Ctrl + Shift + N and click the Layer Mask icon at the bottom to create a mask to define the figure while painting onto this layer. Select the typography brush that we created after selecting Brush Tool and start clicking and painting onto the layer we created. Go back to the individual tonal layers, Ctrl + Click the layer icon and paint on the type layer to add more definition and dark tones to the typography. You can always go to the Brush Panel and adjust the brush scattering and settings to make it easier to move the type around. Once you have your portrait laid out and want to add color, simply click on the ‘Layer Effects’ icon at the bottom of the layers and add a ‘Gradient Overlay’ to the layer. This will help spruce up your portrait.
That sums up the whole process. Hopefully this will help you to be making a lot of creative typography portraits using Photoshop.
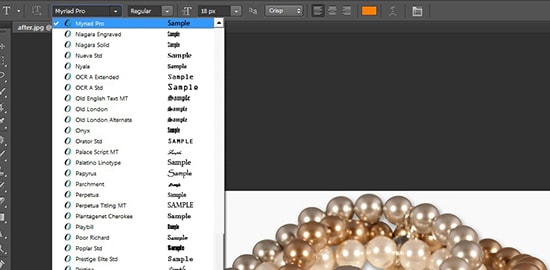
Here, you will learn how to install fonts in Photoshop on your computer running windows. There are a lot of websites that offer free font. You can choose any font for the test font. Hence, go … Continue reading How to Install Fonts in Photoshop
Read More
Today you will learn how to create beautiful flaming rose using Adobe Photoshop. You will need an image of a rose for this. At first, open a new 800 x 800 pixel document in Adobe … Continue reading How to Create a Rose of Fire in Photoshop
Read More