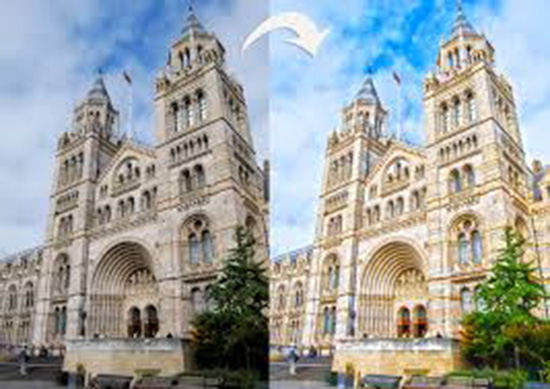
How to Create HDR Effect in Photoshop
Here, you will learn on how to create HDR effect with some photo edit in Photoshop. HDR generally means ‘High Dynamic Range.’ It will be done using only one photo. I hope it will help you both the beginner and advanced level of students in a great deal.

Photo Courtesy – http://jibaroartz.blogspot.com/
HDR effect generally needs three images. Among them, one consists of higher contrast, one lower contrast and one demonstrates in the middle. Let’s get down to the business end. At first, select a background image under a background layer. Duplicate the layer. Close the eye of the background layer and select layer 1. Now, go to Image> Adjustments> HDR Toning from the above layer. Make some adjustments there which seem necessary to you. Then, you will have the clear idea of normal image and the HDR effect on any image. That sums up the whole process.
I hope that it will help you and from now on, hopefully you will follow this procedure more often in Photoshop and be an expert in this field in the future.
